Artists: How to Re-Surface Old Paintings, both oil and acrylic

A Response to Last Month’s Post: How to Re-Prime Used Canvases


This blog post is inspired by a blog post from last month, entitled: Artists: What Should You Do with Unfinished Artwork? dated August 12, 2018. In this post, I wrote about the artwork that had been abandoned for various reasons. I also added a list of various highlights from an article entitled, “50 Ways to Use Your Unfinished Art.” Several suggestions for completing your artwork were listed in the aforementioned article including taking pictures of your artwork to manipulate it, cutting up the artwork and re-assembling it, throwing the painting away, etc. However, one technique that I didn’t mention for completing art work is to start over from scratch. For example, this could mean re-surfacing an old canvas by using sandpaper or even a power sander, depending on how thick the paint has been applied to the canvas. The processes for re-finishing canvases are different, depending on whether acrylic or oil paint was used, which is a fact that I learned after reading two articles on The Painters Keys website- Re-priming Old Canvases, and How to Resurface an Old Painting by Ericka Lancaster. I really wish I had known this sooner, as I am not sure how my old paintings, which have been re-surfaced with sandpaper and acrylic gesso, will hold out over time.

Consequently, I plan to do more research in the future, before I am embarking on a similar project with older canvases. I want to be certain that I can create quality paintings which will pass the test of time. Ok, so now to what I learned from reading these articles. For example, in the Painter’s Key’s website, the author responded to a query from a reader about how to restore an old canvas, so that it could be re-painted. (Source: http://thepainterskeys.com/reprime, Robert Genn, date of access 08/24/18). In response, the author stated that to re-surface an old oil painting can create some concrete and creative challenges because if the re-surfacing process is not done correctly, it can cause the paint to flake off from the surface.  (Source: ibid) Therefore, because of this possibility, many artists choose instead to use new materials, i.e. new canvases or substrates.  (Source: ibid)

Here are some tips for re-purposing oil paintings from the article, Re-priming Used Canvases:

  • Sand the surface of your oil painting until it is completely dull in appearance. (Source: Ibid)
  • I used a power sander with 150-grade coarse sandpaper, because it is easier to use than individual strips of sandpaper, and it gets the job done much faster.
  • After you sand the painting, use a microfiber cloth to get rid of any excess paint chips. For heavily encrusted paint, you can give the canvas or paper another pass with the power sander.
  • When the canvas is completely clean and you can see the tooth of it, use an “oil or alkyd-based gesso or oil primer.” (Source: ibid) You can use a scumbled technique and a rag, to cover the offending areas you don’t like about your painting, and leave other areas, untouched that you like. Using this technique is a compromise between using the old surface and the paint which remains, and painting a new layer of paint. (Source: ibid)


  • As an alternative, you can use a mixture of titanium white oil paint and linseed oil. You may add additional colors to the mixture if you would like to add an underpainting; such as burnt sienna or yellow ochre. (Source: ibid) This step will provide you with a middle value, with which to compare your other values and help to create color harmony in your painting.


On the other hand, re-priming or painting over acrylic paintings is a  completely different scenario and process. For instance, “acrylic molecules remain sticky forever,” and you need to ensure that there is “no final varnish remaining.” Instead, acrylic paintings should be “cleaned outdoors with household ammonia and well flushed with water before applying a water-based gesso, thick or thin.” And unlike oil based surfaces, paintings with an acrylic paint can be re-surfaced with gesso as a priming agent. (Source: ibid)

Here are some steps you can follow to re-surface an old acrylic painting, according to the artist, Erica Lancaster:

  • Clean the old acrylic painting with a soft microfiber cloth until it is free of dust or grime.
  • Use sandpaper to remove the old acrylic paint with a light touch, while you concentrate on “heavily textured” sections of the canvas. If you can’t get rid of all the texture from the acrylic paint, don’t worry about it.
  • Go over your sanded acrylic painting with a clean cloth to remove any additional paint particles.
  • Paint your canvas with Gesso and use even coats. Remember to let each coat dry at a time before applying a new layer of gesso. This can take up to 24 hours to “cure.” If you want to thin out your gesso, you can add water to the mixture. Test your canvas and check to see that it is completely dry, before applying any acrylic paint. As a general rule, you want to have at least two dry coats of gesso on your painting before you begin adding acrylic paint.
  • Go over your canvas with sandpaper again. As to how many times you choose to sand the canvas that is completely up to you. Deciding on what amount of texture to give your paintings is a personal creative choice, and it depends on what type of “look” you want your painting to have, such as photorealism or abstraction. If you want a realistic look, you would want less texture and thin smooth layers of paint.
  • The final step before you begin painting is to wipe your canvas again with a clean microfiber cloth. Now your canvas is ready to begin painting upon. (Source: http://www.erikalancaster.com/art-blog/how-to-resurface-old-canvas-paintings-to-crete-new-artwork.com, “How to Resurface Old Canvas Paintings to Create New Artwork,” Erika Lancaster, date of access, 8/24/18.

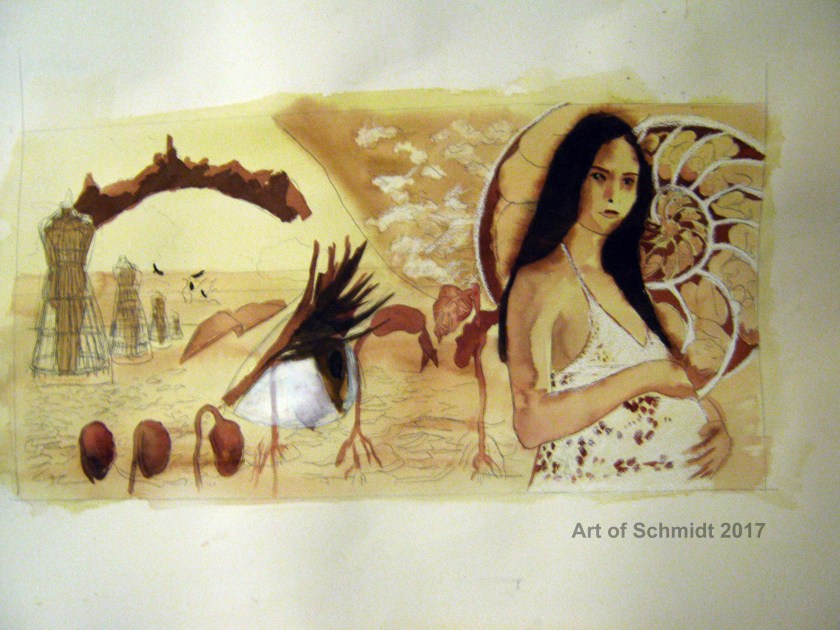
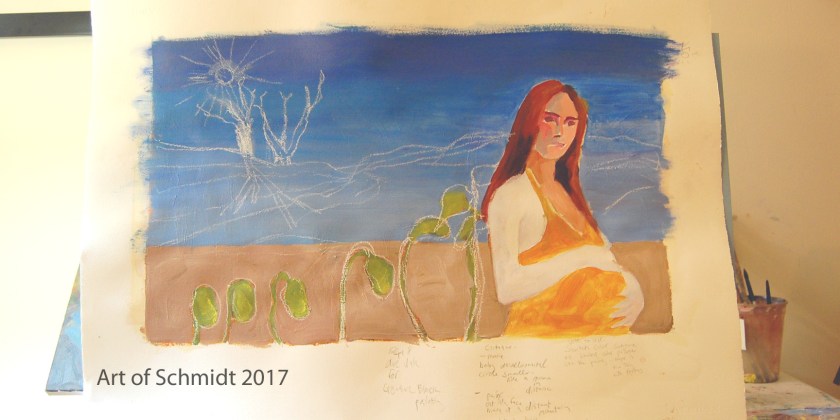
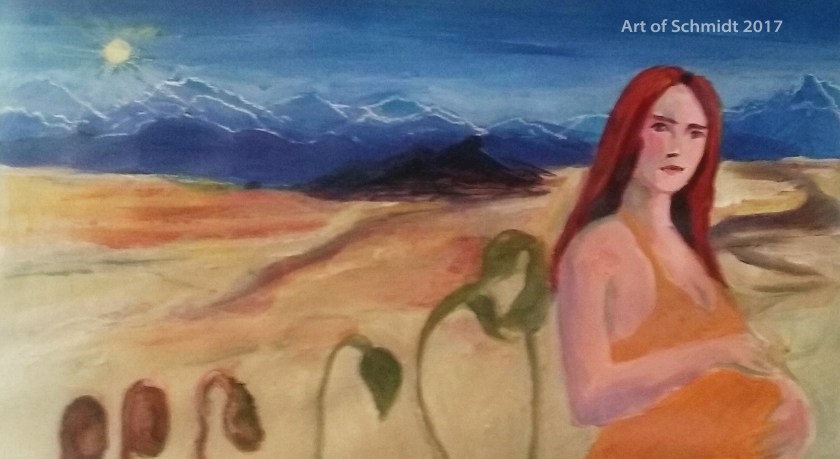
So there you have it. Two different approaches to re-surfacing old paintings, depending on whether you have an acrylic or oil painting on your canvas.  This week’s artwork

water lily three value sketch_edited-1, flat
Three Value Sketch, water lily, graphite on paper, 5 x 7 inches, Jodie Schmidt, 2018.
Water Liliy redux, final
Adobe Photoshop Photo Collage, digital image, Adobe Photoshop Elements, 5 x 7 inches, Jodie Schmidt, 2018.
water lily watercolor, color study_edited, flat
Color Study for Water Lily, Mixed media, 6 x 7 inches, Jodie Schmidt, 2018.

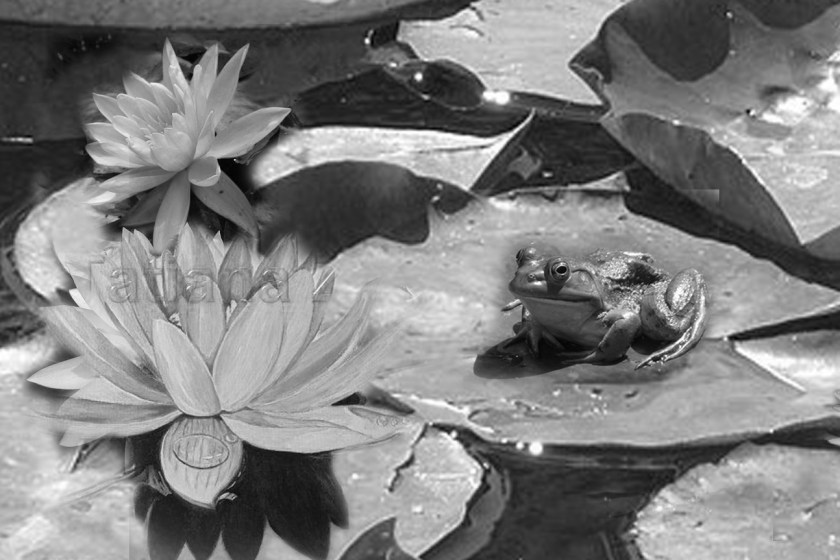
features the creative process of my latest painting in progress, a water lily.  My next step is to combine all these sources I created to make a completed oil painting, which I hope to finish in the near future! Happy painting and thanks for stopping by!

What Should Artists Do with Unsold Art?

Several few weeks ago, I read a blog post by Jason Horejs entitled, “What Should an Artist do with a Lifetime of Unsold Artwork?” The article focused on a question posed by a reader on Jason Horejs’s site, who had reached the age of ninety, and had produced a vast collection of artwork during their career as an artist and had never mastered the art of marketing, but nonetheless had showed their artwork in various shows and competitions throughout their lifetime. Despite this, the artist was left wondering what to do with the artwork that hadn’t sold, and felt that their shyness had played a part in keeping them from selling more artwork. Jason Horejs opened up the question for discussion on his blog post, by asking readers to respond to this reader’s question about how to dispose of excess, unsold artwork, whether the artist was living or not. The answers to this question varied from hosting a super art sale, donating the work to a charitable cause, or selling the artwork to auction houses and art galleries thereafter.

Although I hope to have many more years to live, I am considering this question myself, “What should I do with my unsold artwork?” This question has been taking an added significance since I am rapidly running out of space in my apartment to store my paintings and drawings, despite occasional sales, art commissions and donations over the years. I am new to the world of art entrepreneurship, and still have a long way to go in refining my marketing and sales techniques; however, I have been painting and drawing for several years. In fact, I have been drawing and painting since I was nine years old, when I took my first painting class, and I have been intentionally focused on selling and marketing my artwork for about a year. Over time my stash of unsold artwork has continued to accumulate.

In addition, after attempting to organize my artwork this past week, by wrapping them in wax paper and bubble wrap, I am getting an idea of how much work it will be to find places to put my artwork. Now that I have a clearer picture of how long this organization process will take, I’m also realizing that I do not want this task to consume all of my time. I also don’t want to start renting a storage space to store the art yet, although it may come to that at some point. Another problem is that I am less inclined to give my artwork away to friends/family because I am making the switch from creating art as a hobby to a small business, and I feel it’s unfair to offer my artwork for free to some and charge for it from others.

In the past, I have given my artwork to others as gifts, and some of it has been trashed as a last result when I could not think of a way to salvage the painting. Other times, I have recycled canvases by sanding them and re-applying gesso to start a new painting. Sometimes I can get a really great painting out of the recycled canvases. Occasionally, my artwork has been sold to collectors and fans of my artwork. I’m grateful for each and every sale. On the other hand, I’d like to consider what some of my options might be for dispensing with my artwork. Some ideas that come to mind are: 1.) listing places in my neighborhood and surrounding areas, where my artwork can be exhibited such as art galleries, retail stores, and coffee shops, signing up for more art contests,, decorating my home and switching out the artwork periodically, and storing my best work and researching additional strategies to sell them online or in books about art business.

Here’s what some other people had to say about the subject of disposing of excess, unsold artwork: Gallery owner of Xandu Art Gallery in Phoenix, Arizona: Jason Horejs states that: “It’s never too late” to learn how to market your artwork, on his blog www.reddotblog.com,  Artist: Lori McNee suggests: Evaluate the unsold painting to see if you can make it better, on her website www.finearttips.com, and Teaching Artist: Christine Martell offers: Use old artwork to make new work by collaging drawings and paintings or making sculpture out of it, on her website http://christinemartell.com/about-christine-martell/. What about you reader? Do you have any additional thoughts on this subject? I would love to hear your suggestions, as I work through this long-term project of organizing my art studio and my unsold artwork.

Sketchbook cover, edited.jpg.
I’m taking a break from my biographical sketch of Sting this week and working on some prompts from this sketchbook. I hope to get back to the portrait next week.
Sketchbook, sunflowers,edited 2
Pictured is a colored pencil sketch of a field of sunflowers.
Sketchbook, Emperor Dragonfly, edited 2
Here is another page from my sketchbook of an Emperor Dragonfly made with colored pencil.
Sketchbook, Redwood, edited
A colored pencil sketch of a redwood tree.

What to Do When Your Painting Goes Terribly Wrong

If you are a creative type or if you like to make things, you have probably encountered the moment when the finished product you imagined, does not live up to your expectations. As an artist, I have experienced this frustration more times than I can count. Some paintings and drawings are simply learning projects and are difficult to salvage, while others can be fixed. I know it’s been said that you learn more from your mistakes than your successes, but when I get to a point in a painting or drawing and I realize that the painting or drawing doesn’t look right, it can be really frustrating. I start doubting myself; feel like giving up, or doing something that I am not good at, like cooking or cleaning.  Since I know I am not a good cook, if it doesn’t turn out so well, it’s a waste of ingredients but I don’t feel as emotionally attached to the outcome as I would to a painting or drawing.

I recently read a forum question on the website, www.

photo collage, pregnancy, desert, eye, dress forms, seeds, woman, process, artist's block.
Here is a photo collage I made in Adobe Photoshop which I made by combining various photographs in the Photoshop program. I wanted to illustrate the feeling of artists’ block, which can feel like a time of dormancy. I plan to translate this collage into a watercolor painting soon.
Waiting small
My first version of this painting was made with sepia brown watercolor paints. I’m not sure I like this color and the composition feels too busy.
Portrait Collage
Creative Block: Waiting ( with Gesso added). The composition was getting too cluttered so I decided to cover up the distracting elements with acrylic gesso.
Creative block, with color
I painted out the brown watercolor paint to try and make the image more interesting with a limited color palette of yellow orange, red orange, blue, green, peach and blue violet. Still a little too busy with the composition.
Portrait collage
Here is the revision I made after painting out the busier composition with acrylic gesso. I also decided to limit the color palette to turquoise, red-orange, yellow-orange, blue- violet and muted green, with some additions of brown, black and white. I used a soft pastel to draw in the composition after the acrylic paint had dried.
Portrait collage
This is my most up to date version of the acrylic painting, Waiting: Creative Block. Here I have begun painting in the new compositional elements to add depth to the desert landscape, including sand dunes and distant mountains. I also painted in the flesh tones and shadow colors on the figure. A few more details and I hope to be finished with the painting soon!

Wet Canvas.com and the question of the day was,” When should I stop working on a painting?” I was intrigued by the question and wondered how other artists dealt with paintings that don’t go according to plan. I read about a variety of solutions suggested by artists who had hit the wall creatively. Some remedies were familiar to me, like my tendency to put the painting away and stop looking at it for a few days, weeks, months, or even longer. On the other hand, some solutions were not as familiar, such as displaying the painting on an easel in a living room and then taking time to look at it from time to time to diagnose the problem. A favorite technique of mine is to write a list of things I want to change in the painting, be it the drawing, colors, value, edges, etc.  In my case, some of the art work I have abandoned was started about two years ago, and I am just now starting to look at the sketches and Photoshop files.

This week I took some time to work some more on my acrylic painting, Waiting: Creative Block. I realized that there were several things bothering me about it. The composition was one of the biggest glaring errors I noted in this painting. First, I started with revising the composition in Photoshop, taking out some photos while adding others, to try and simplify the painting.  After that, I wrote a written critique and consulted a landscape painting art book, entitled, Paint Landscapes in Acrylic, by Lee Hammond, to search for tutorials on painting skies. Next, I watched a You Tube art tutorial, titled, How to Paint a Desert Tree, Acrylic Painting Lesson, by Schaeffer Art.  My next step was to begin painting out the busier parts of the composition with gesso. After the first two layers of gesso had dried, I started drawing the new composition in with a white Rembrandt soft pastel, using the photo references I had collected to draw in the distant mountains, sand dunes, and sun. My final step was to look in my portrait painting book by Chris Saper, Classic Portrait Painting in Oils, from which I took inspiration for the figure in my painting. I have included the various stages of this painting from the start to my latest revisions on it this week. Thanks for stopping by!