If you are a creative type or if you like to make things, you have probably encountered the moment when the finished product you imagined, does not live up to your expectations. Creative types such as musicians, composers, producers, dancers, writers, artists, photographers, cooks, and makers of all types, can probably tell you what it feels like to hit a wall with a project, how it felt, and what they did to navigate that feeling of utter frustration. As an artist, I have experienced this frustration more times than I can count. Some paintings and drawings are simply learning projects and are difficult to salvage, while others can be fixed.
I know it’s been said that you learn more from your mistakes than your successes, but when I get to a point in a painting or drawing and I realize that the painting or drawing doesn’t look right, it can be really frustrating. I start doubting myself, feel like giving up, or doing something that I am not good at, like cooking or cleaning because I know that I am not good at these things, so my expectations of success in these domains are much lower than for painting or drawing since I have no training in cookery or housekeeping. Since I know I am not a good cook, if it doesn’t turn out so well, it’s a waste of ingredients but I don’t feel as emotionally attached to the outcome as I would to a painting or drawing.
I recently read a forum question on the website, Wet Canvas.com, and the question of the day was,” When should I stop working on a painting? I was intrigued by the question, and wondered how other artists dealt with paintings that can “look like a dog’s breakfast.” I read about a variety of solutions suggested by artists who had hit the wall creatively. Some were familiar to me, like my tendency to put the painting away and stop looking at it for a few days, weeks, months, or even longer. Others were not as familiar such as putting the painting somewhere where you can see it, such as on an easel in a living room, and then taking time to look at it from time to time to diagnose the problem. Another favorite technique is to write a list of things I want to change in the painting, be it the drawing, colors, value, edges, etc. In my case, some of the artwork I have abandoned was started about two years ago, and I am just now starting to look at the sketches and Photoshop files.
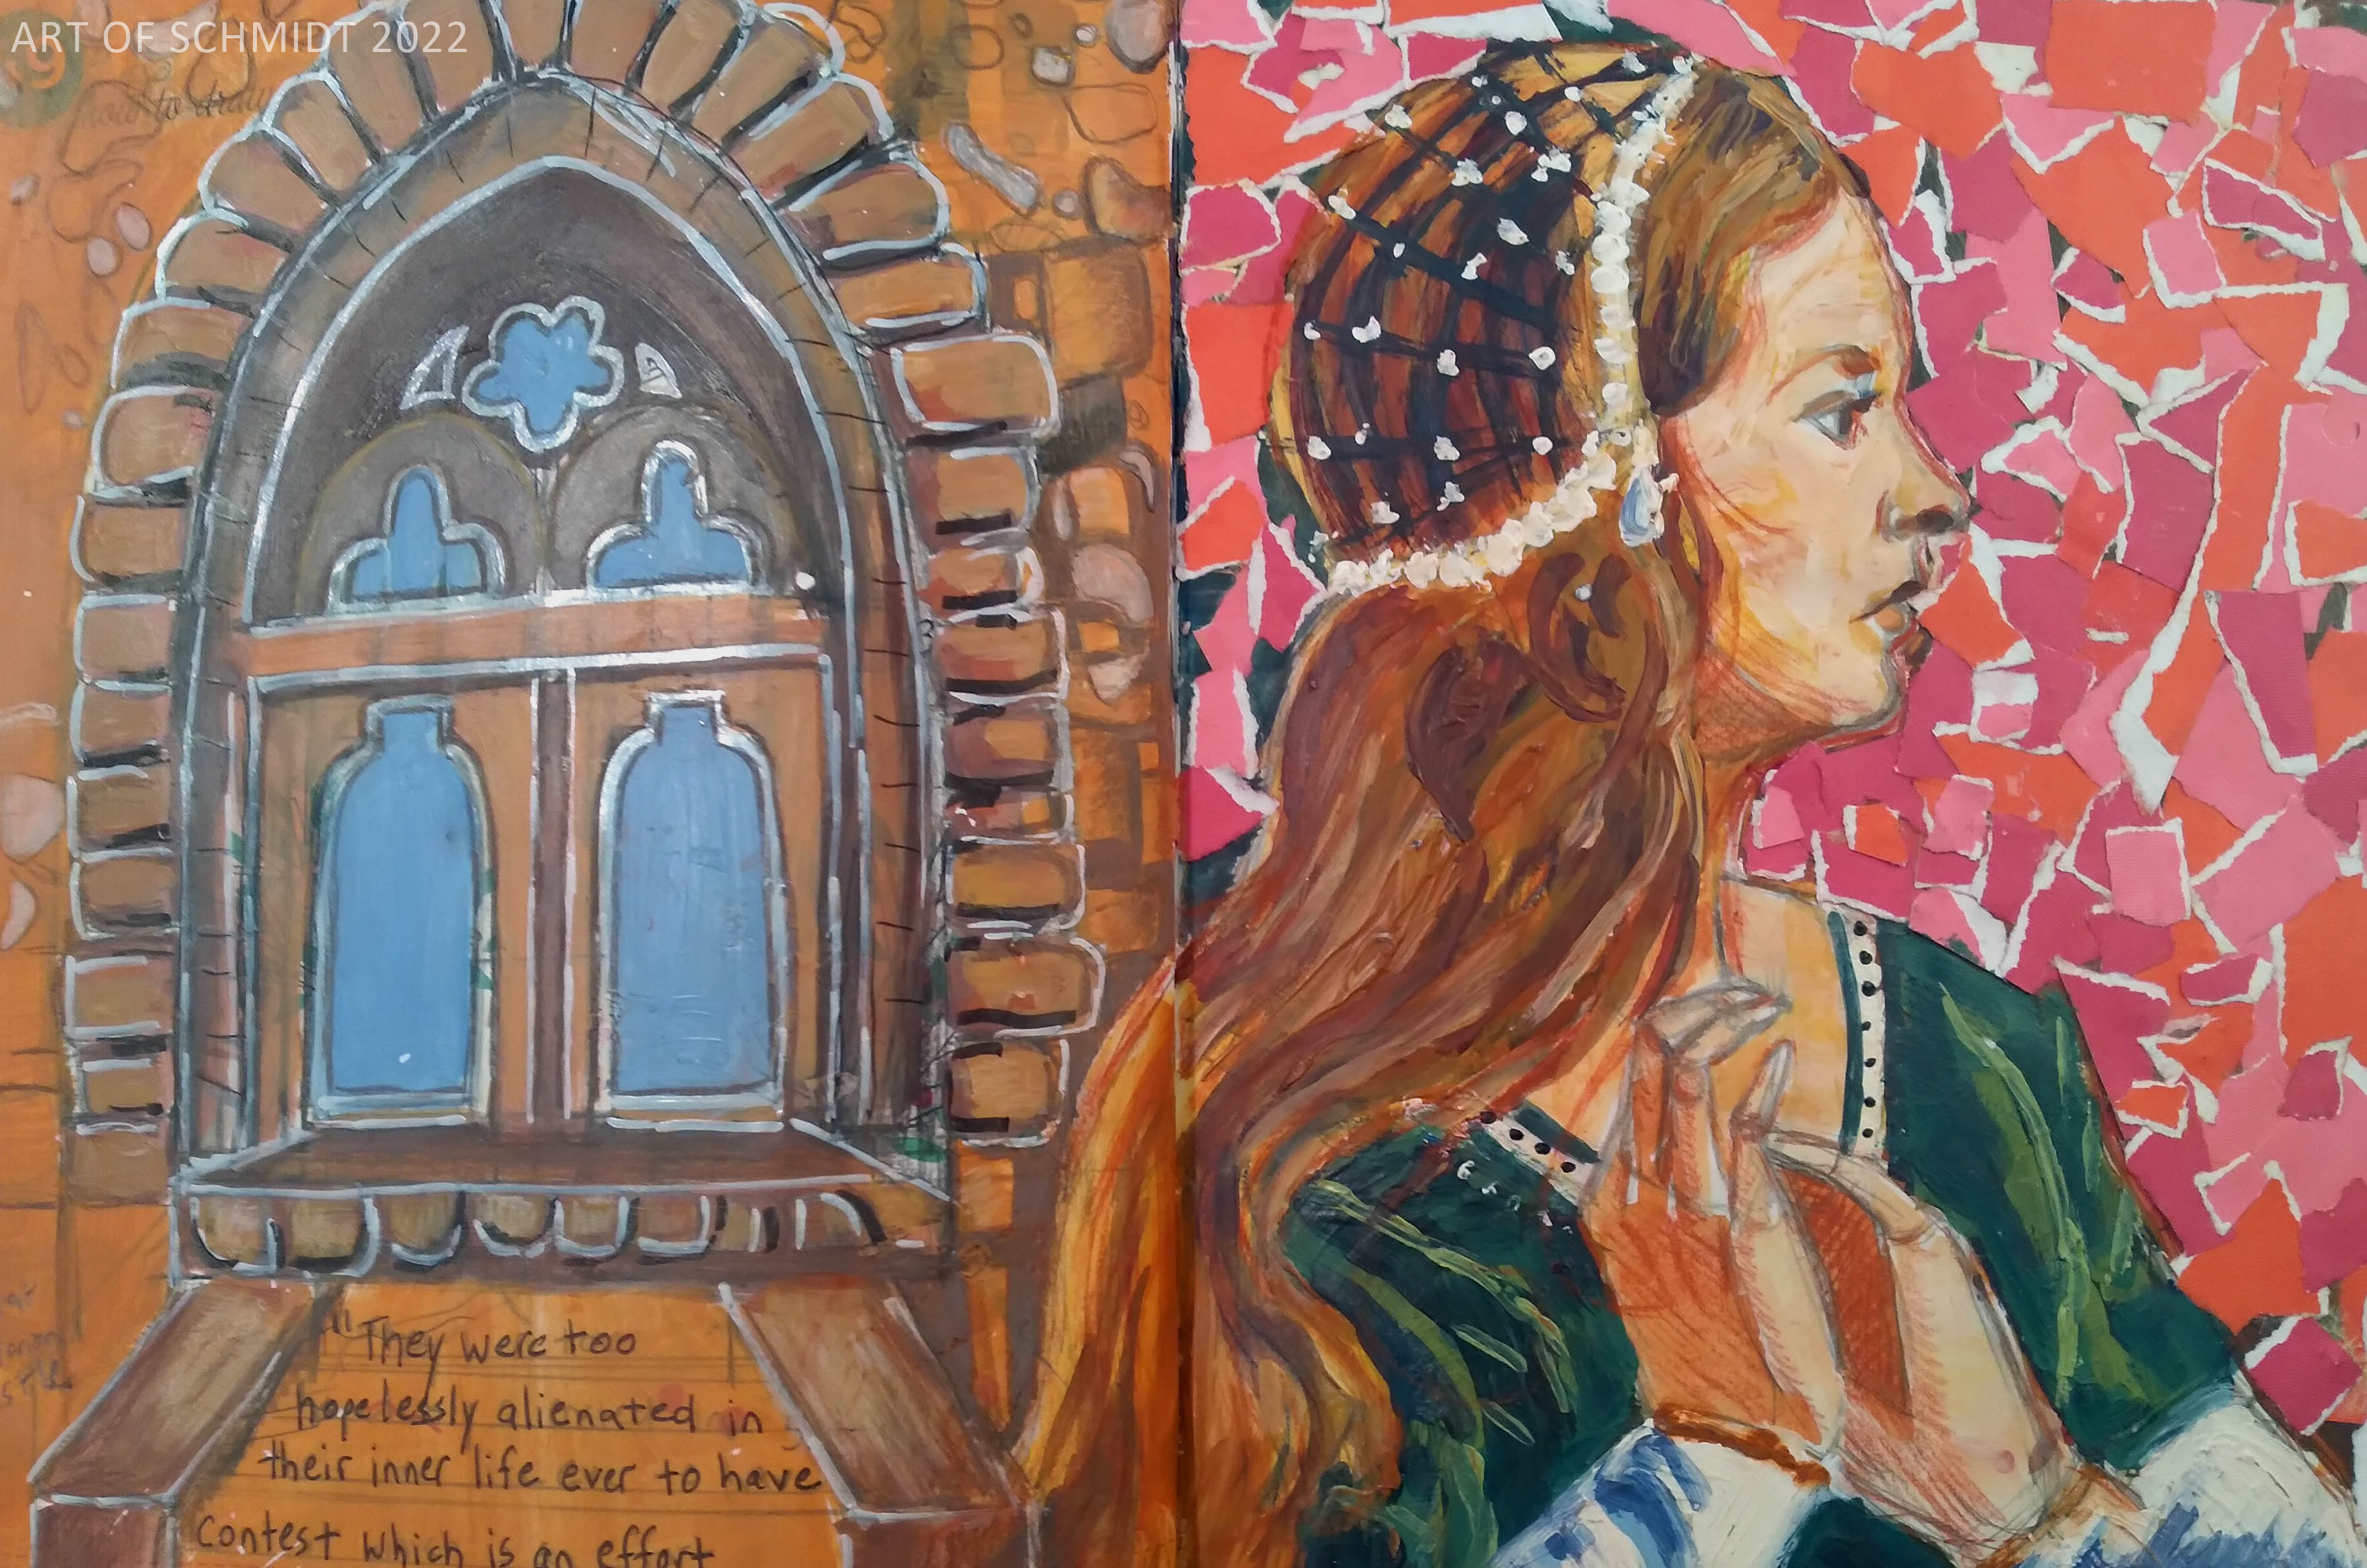
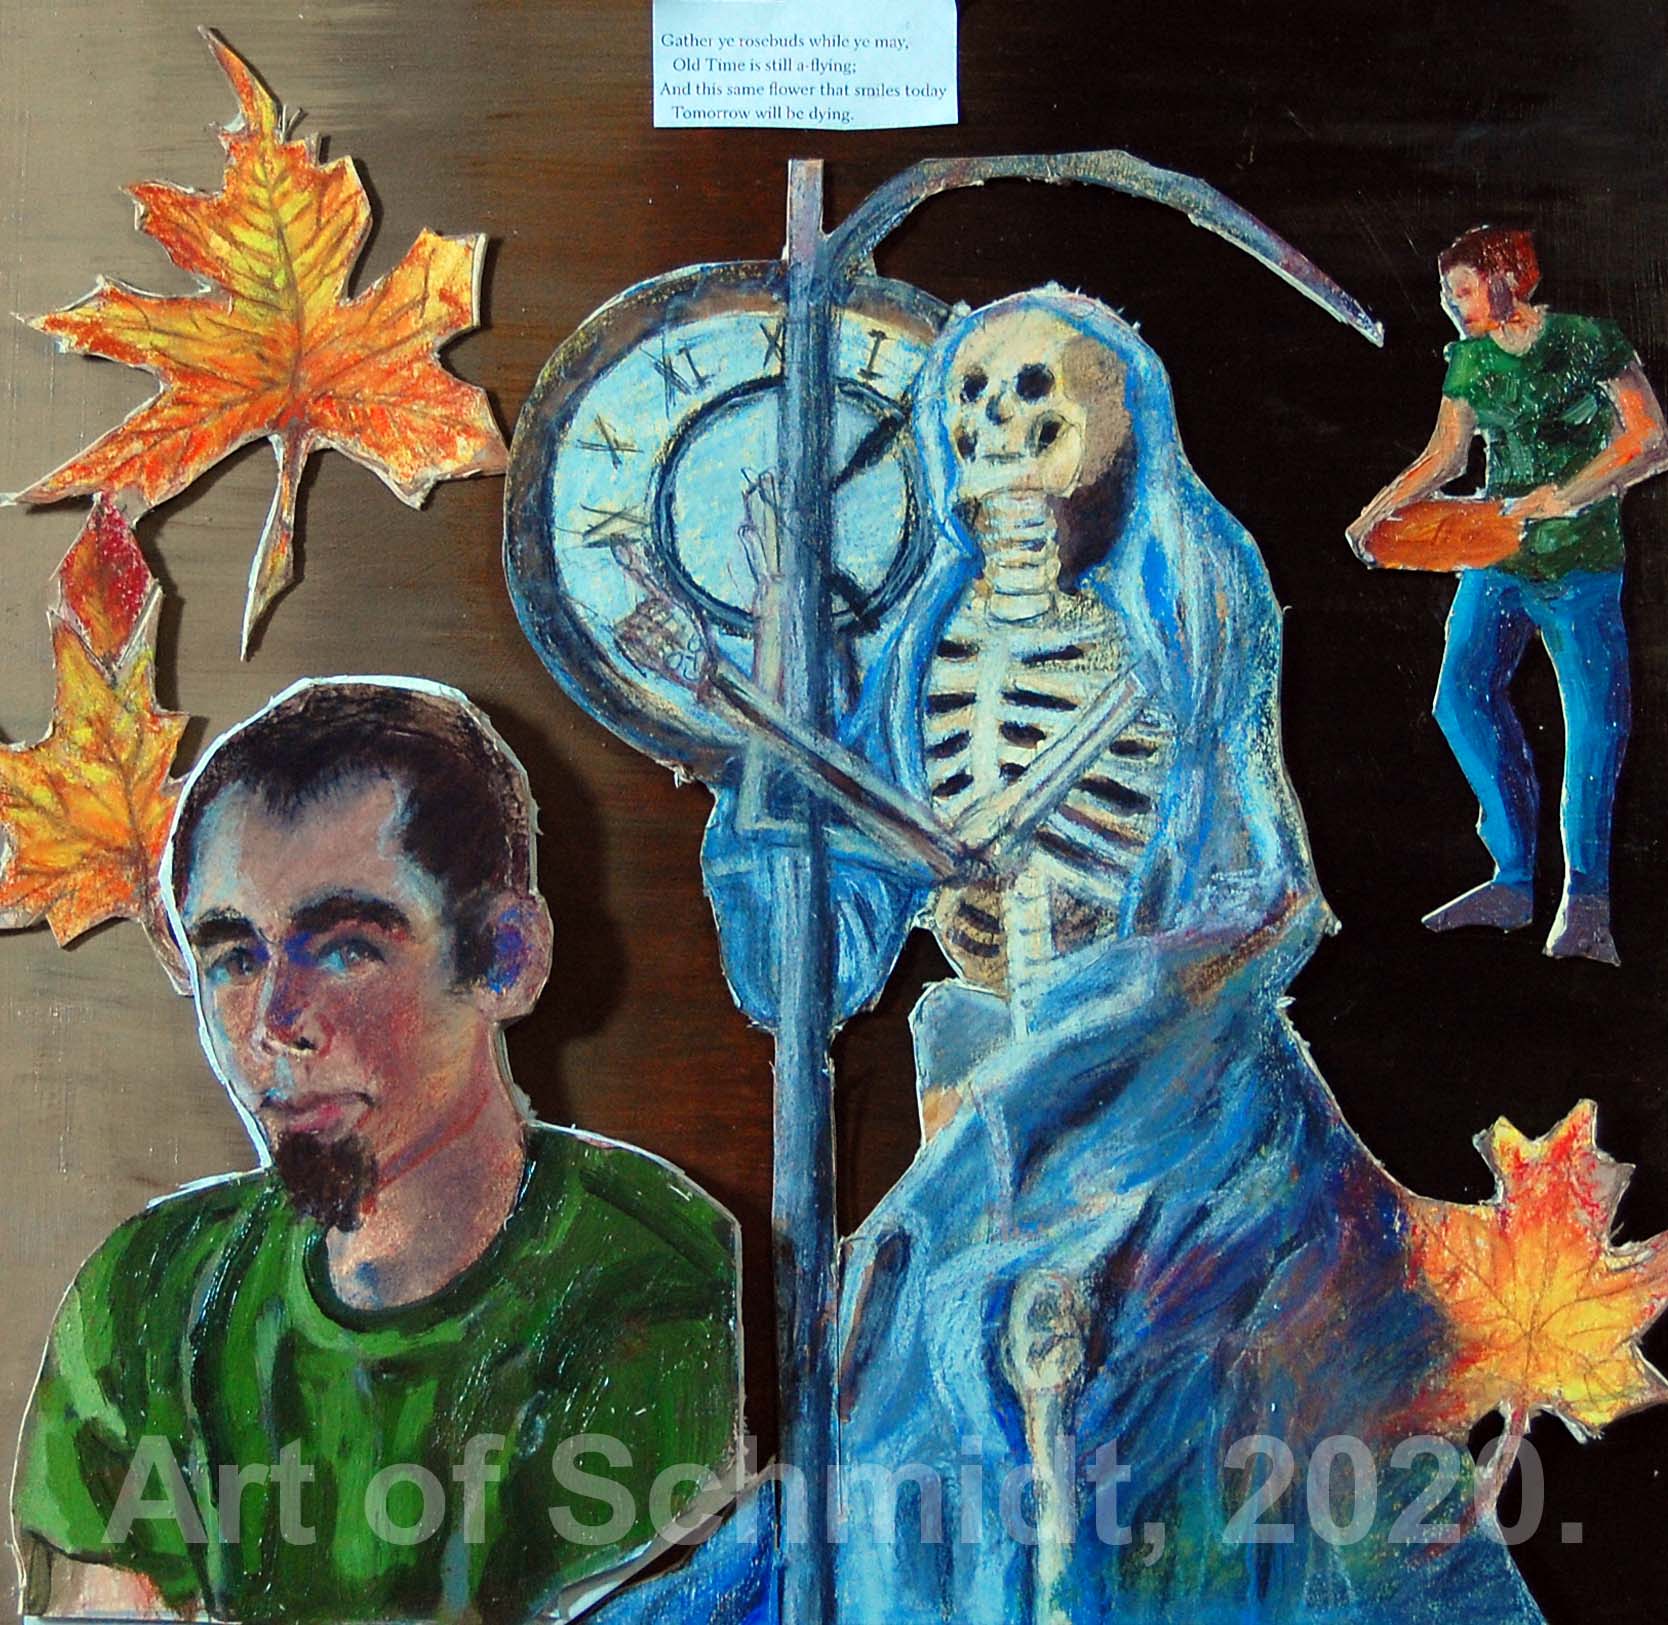
This week I took some time to work some more on my acrylic painting, Waiting: Creative Block. I realized that there were several things bothering me about it. The colors and values, and composition were some of the biggest glaring errors. I am realizing there are many reasons why this painting series of poetry illustration works have been abandoned. One of which was being too busy with other things to give the series the proper amount of time it requires to get things right, such as the composition and the drawing. Since I dropped out of the Social Work program at Frederick Community College, I do have more time to work on paintings.
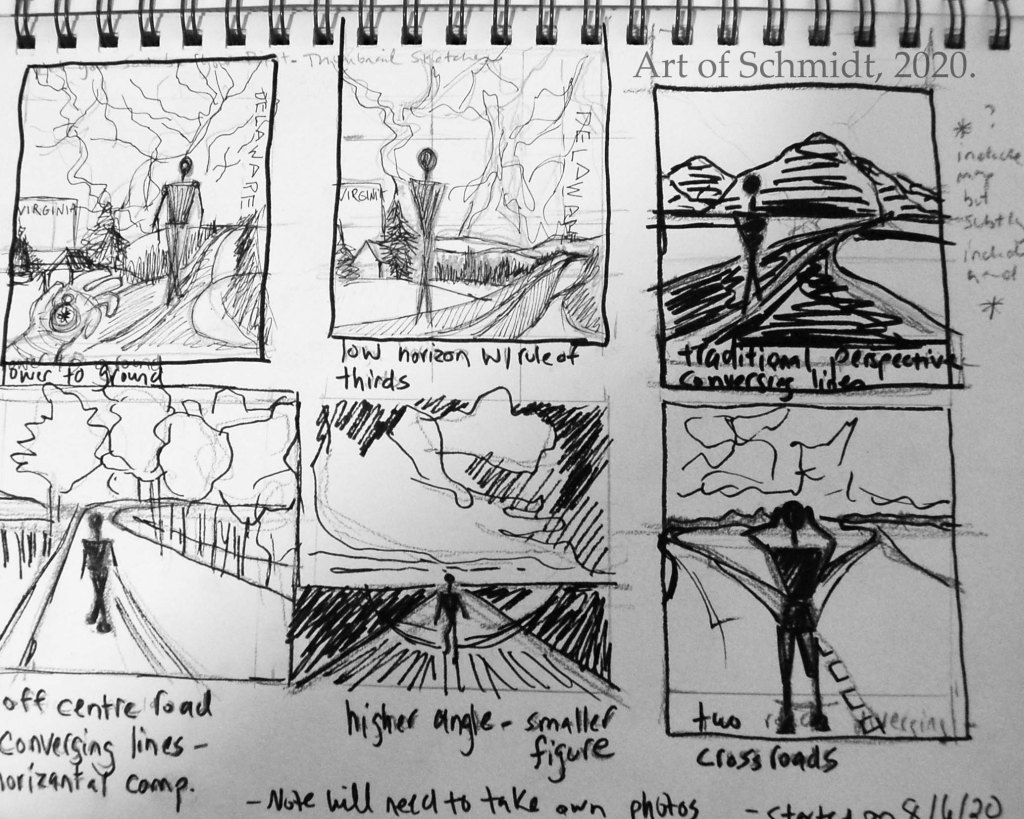
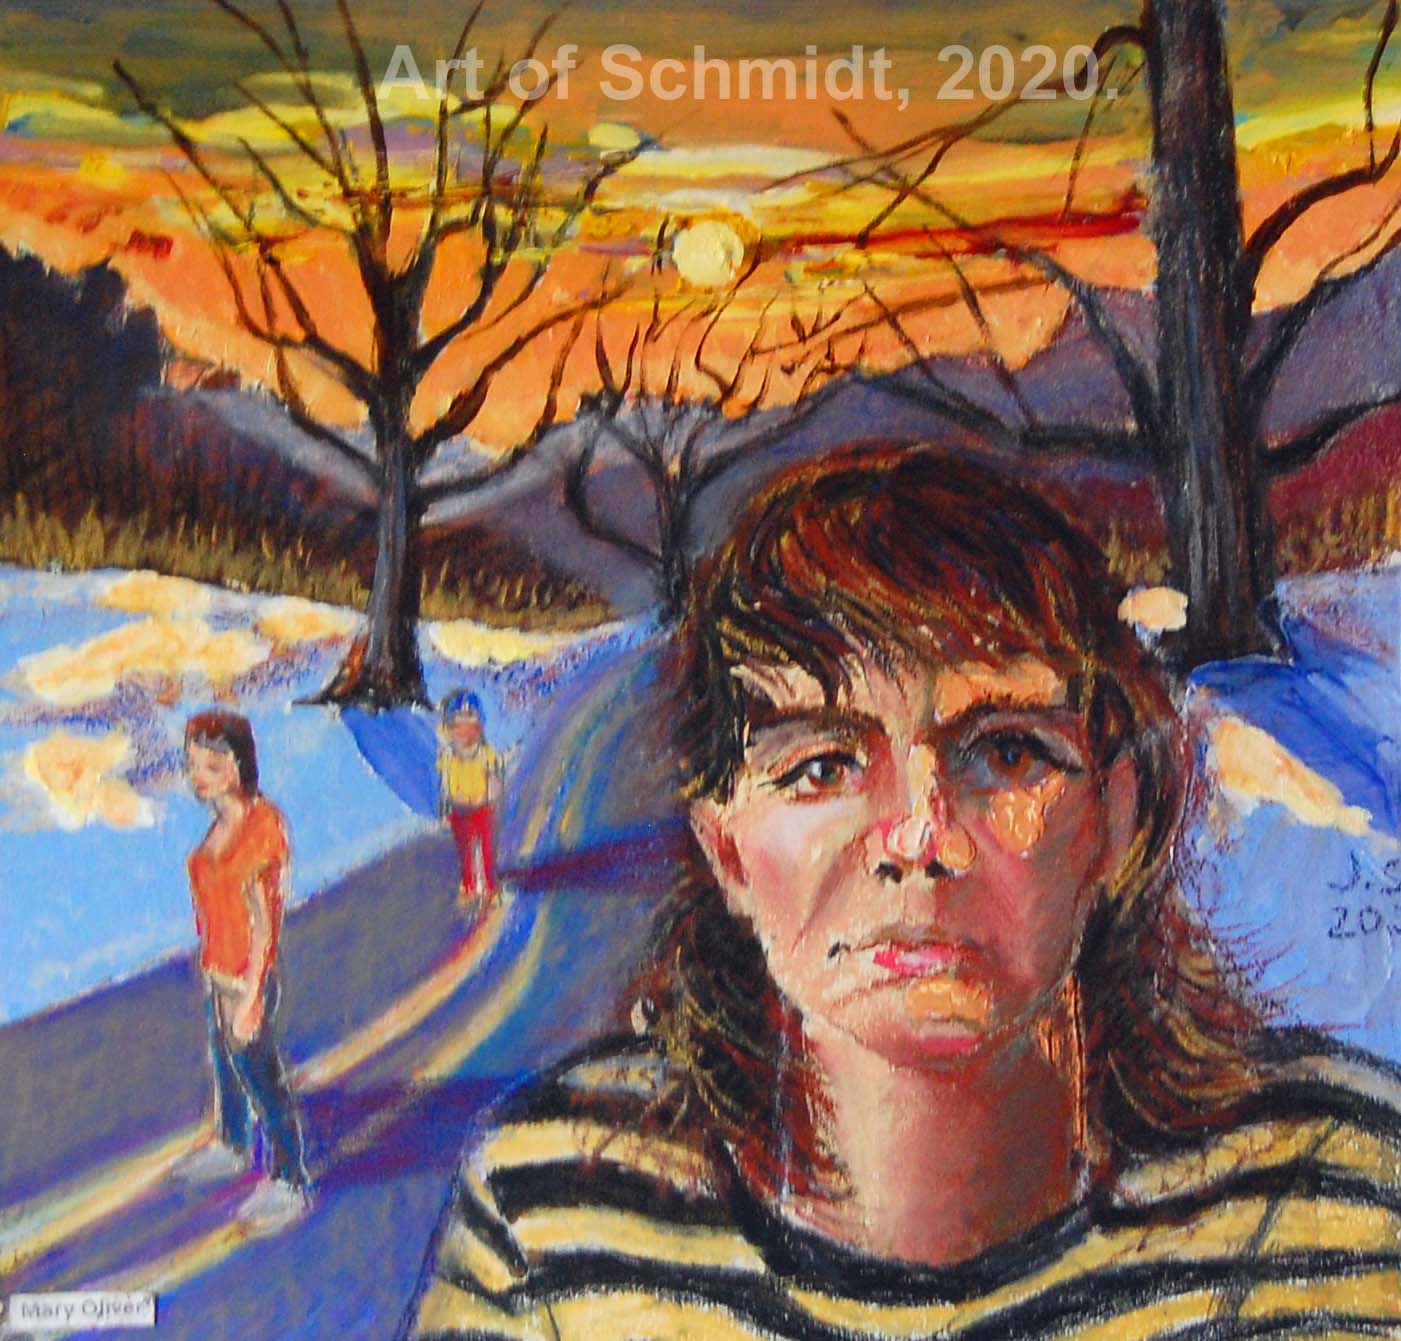
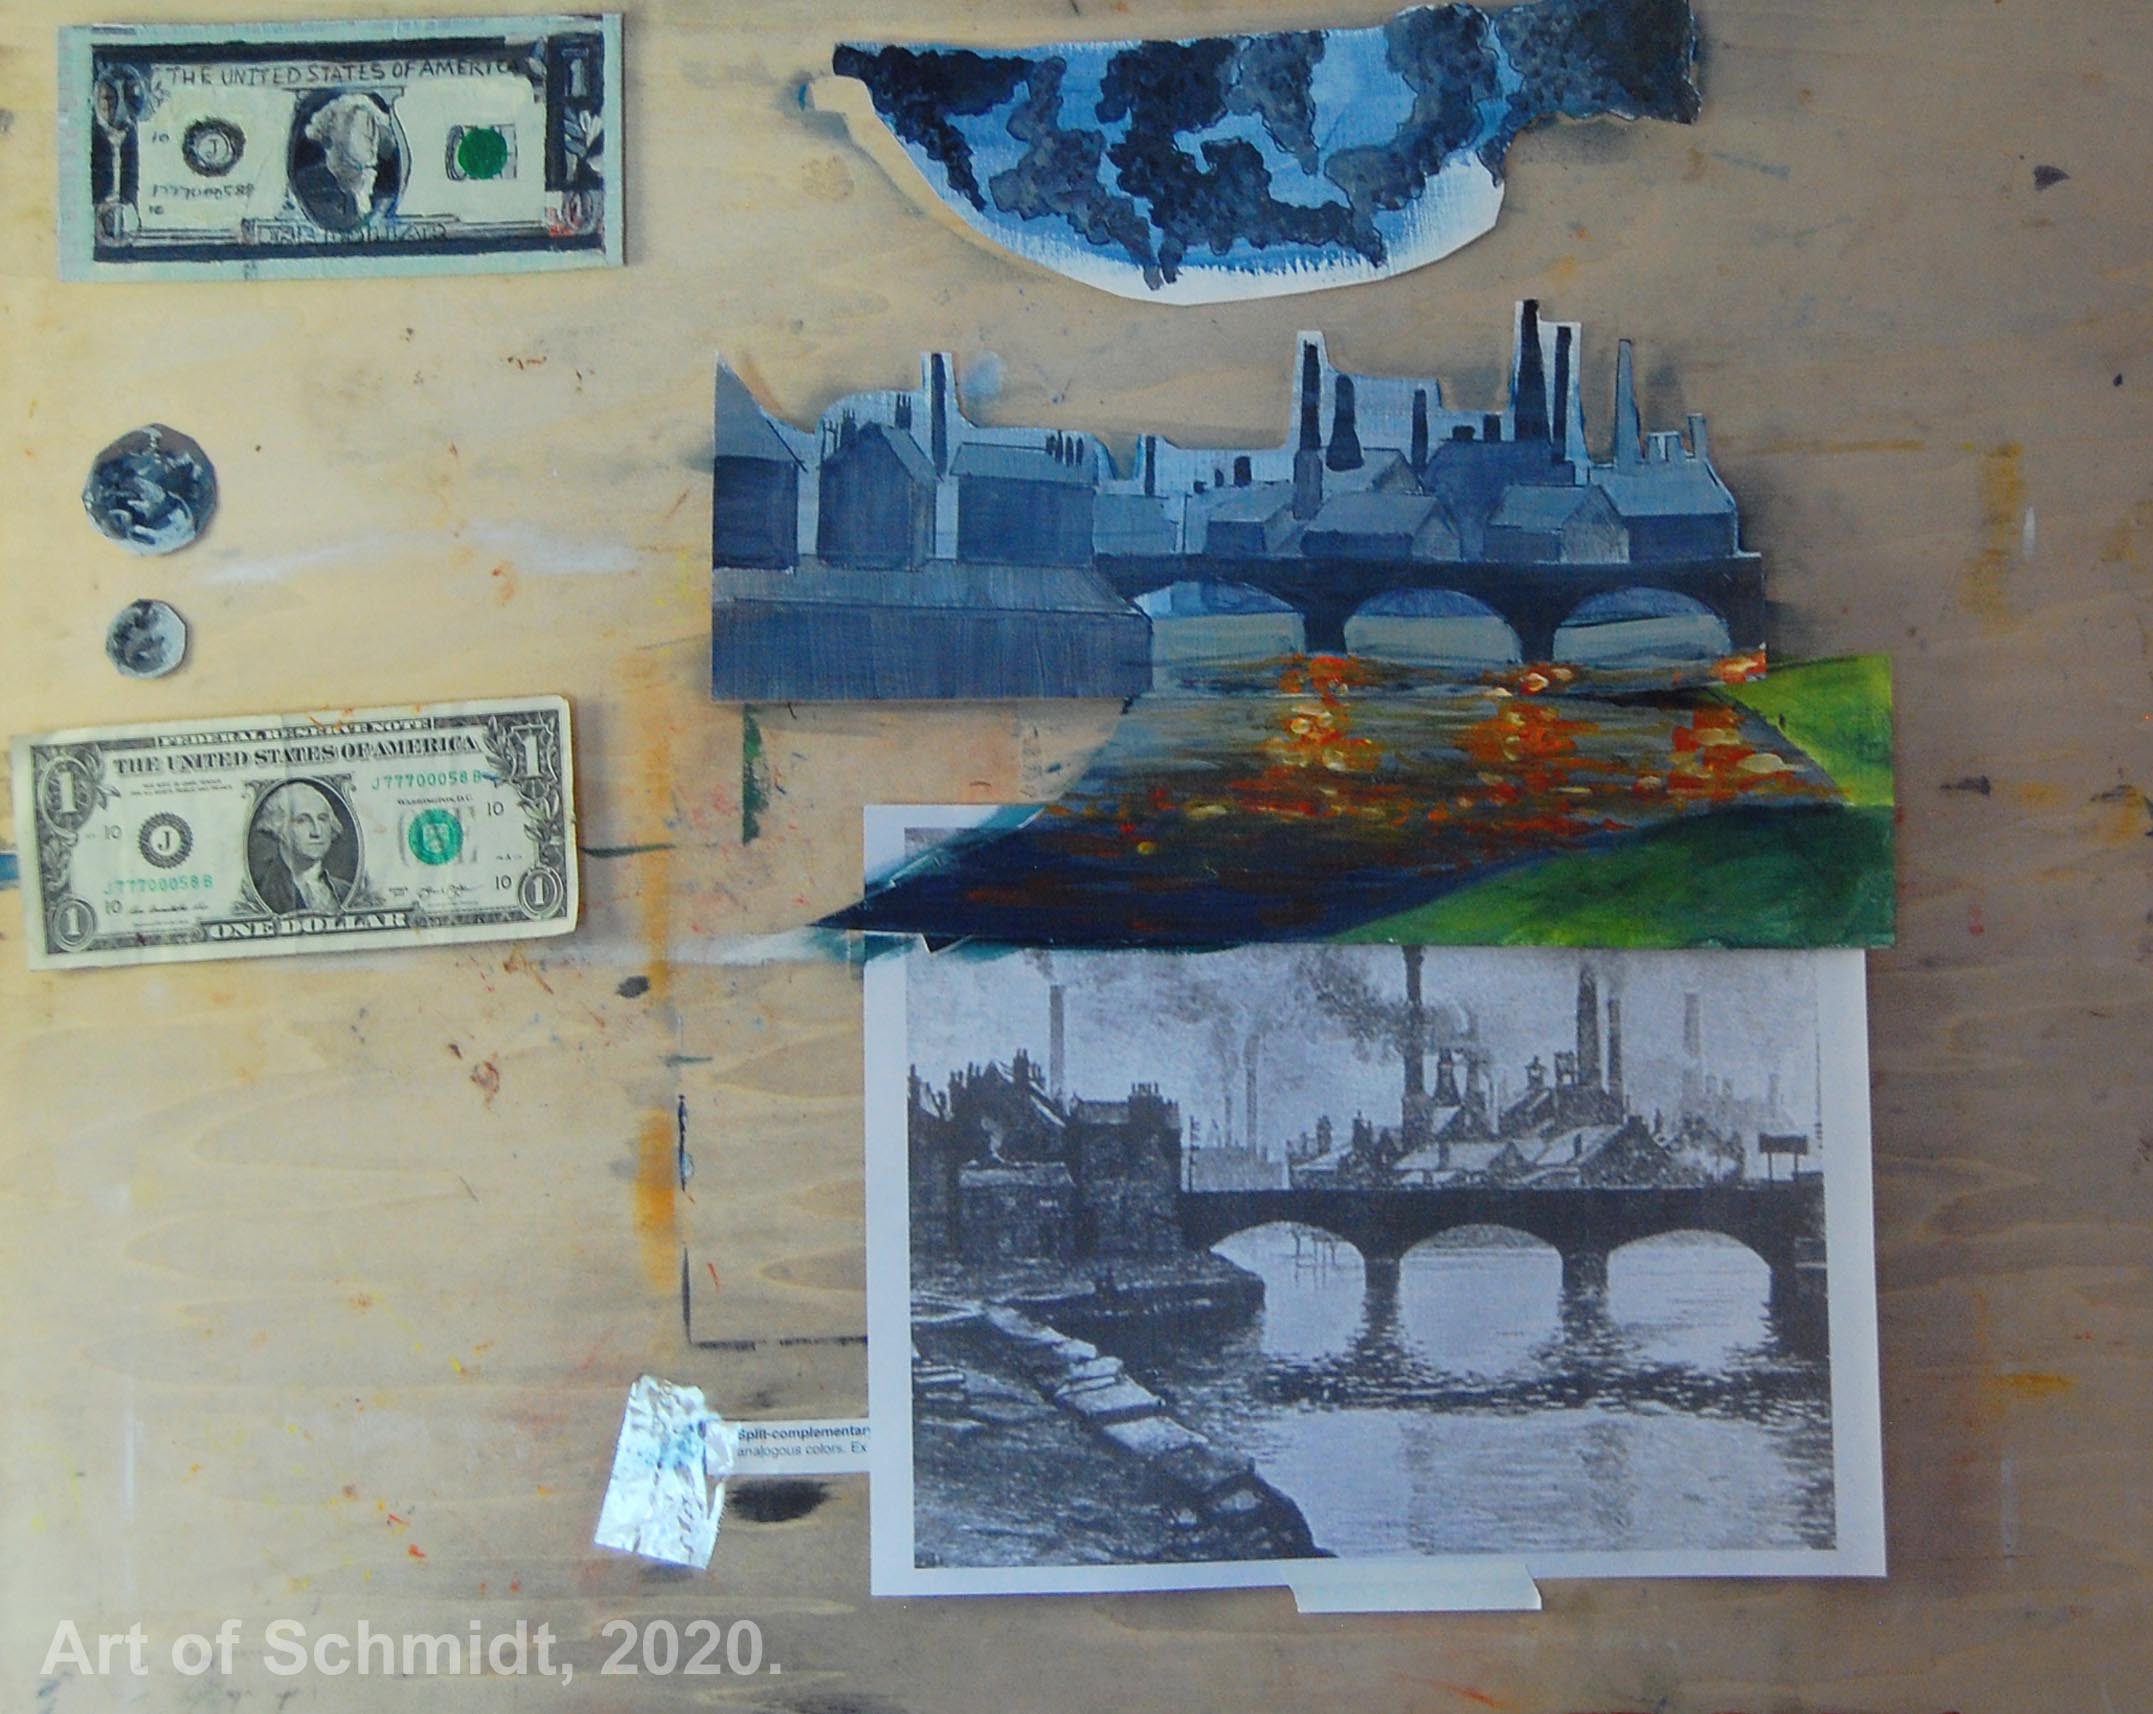
And since I have deliberately looked at my schedule e and started marking studio days on the calendar, I have more “intentional “time. But I am also realizing just how hard this series is, as I am making some paintings almost entirely from scratch by combining different photo references in Photoshop and then drawing and painting them, with this technique, I do not have the luxury of working from reference photos already taken. I have to look for source material and then combine it to make it my own. This project is highlighting areas of weakness in me as an artist, and one of them is composition. I have a tendency to put everything in the middle and don’t often use more unconventional compositional styles. I want to change that and start looking to master artworks to try and broaden my skills in this area.
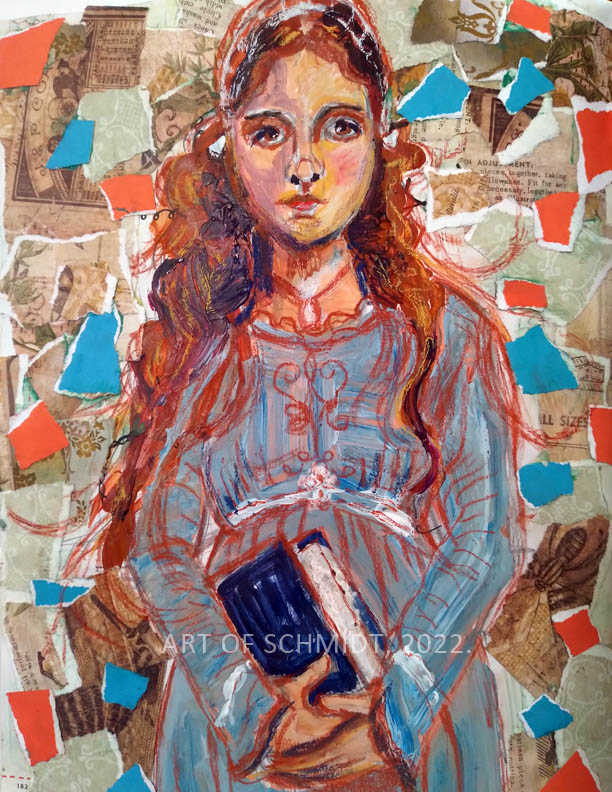
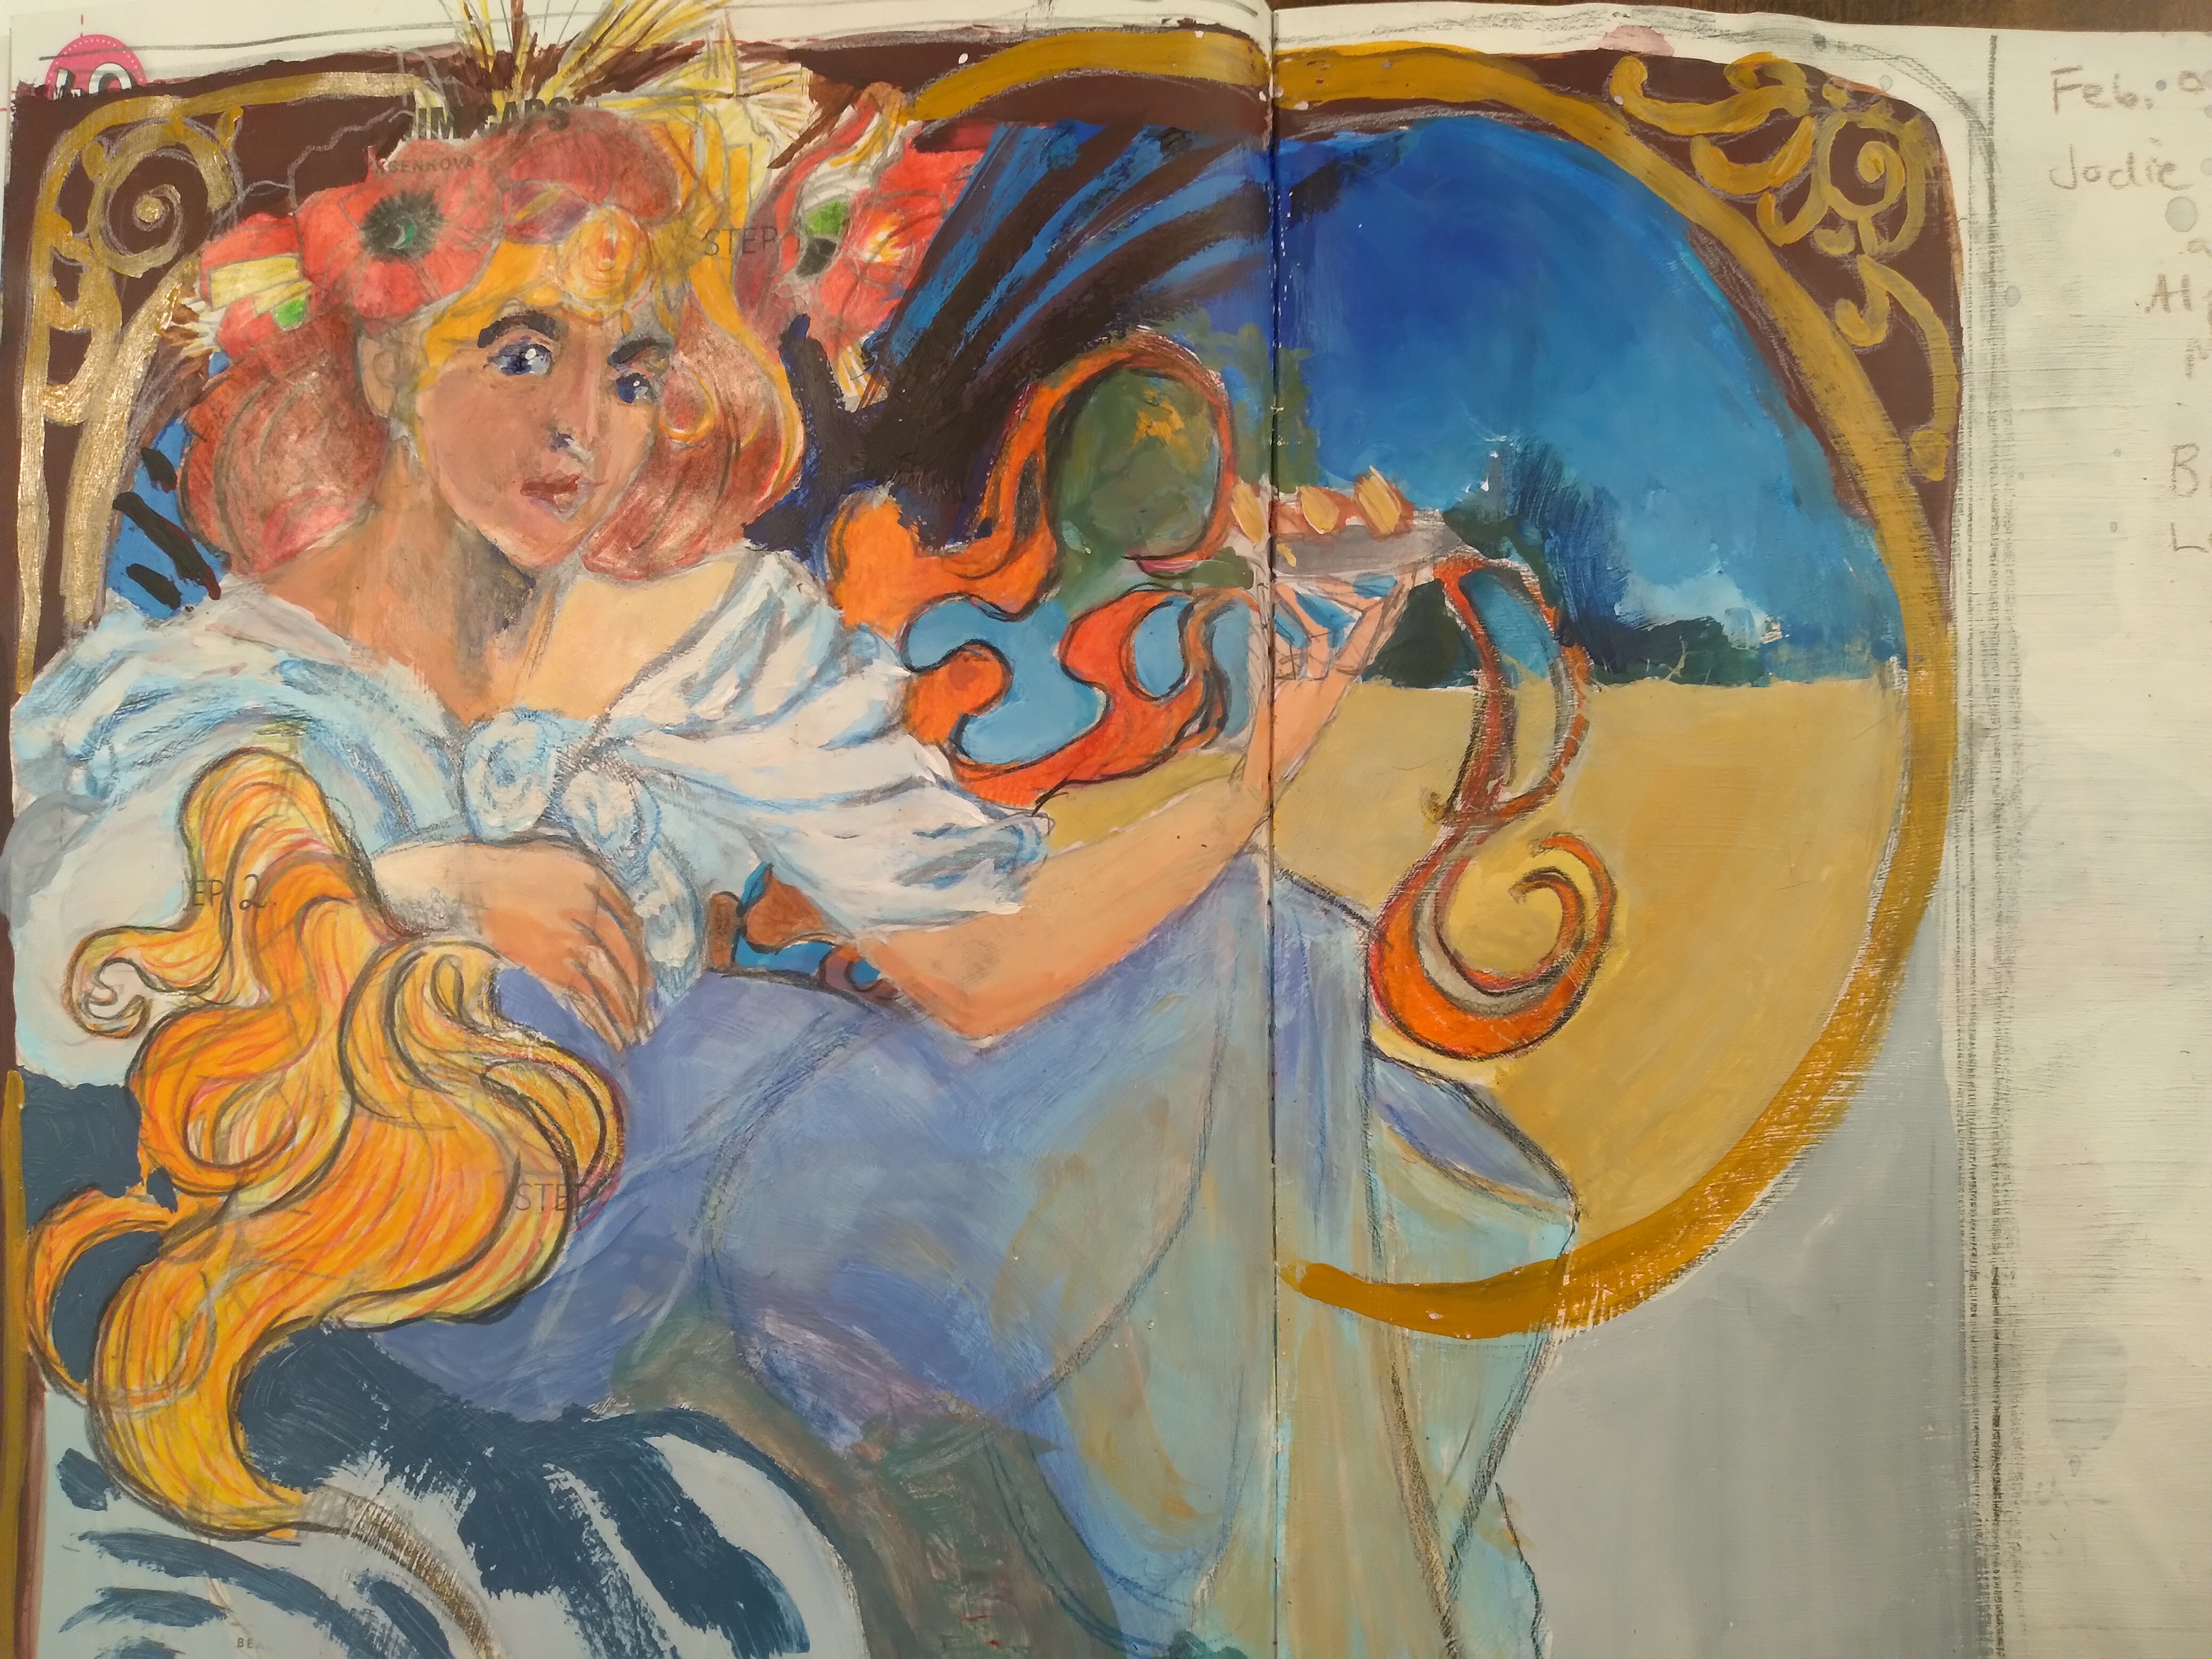
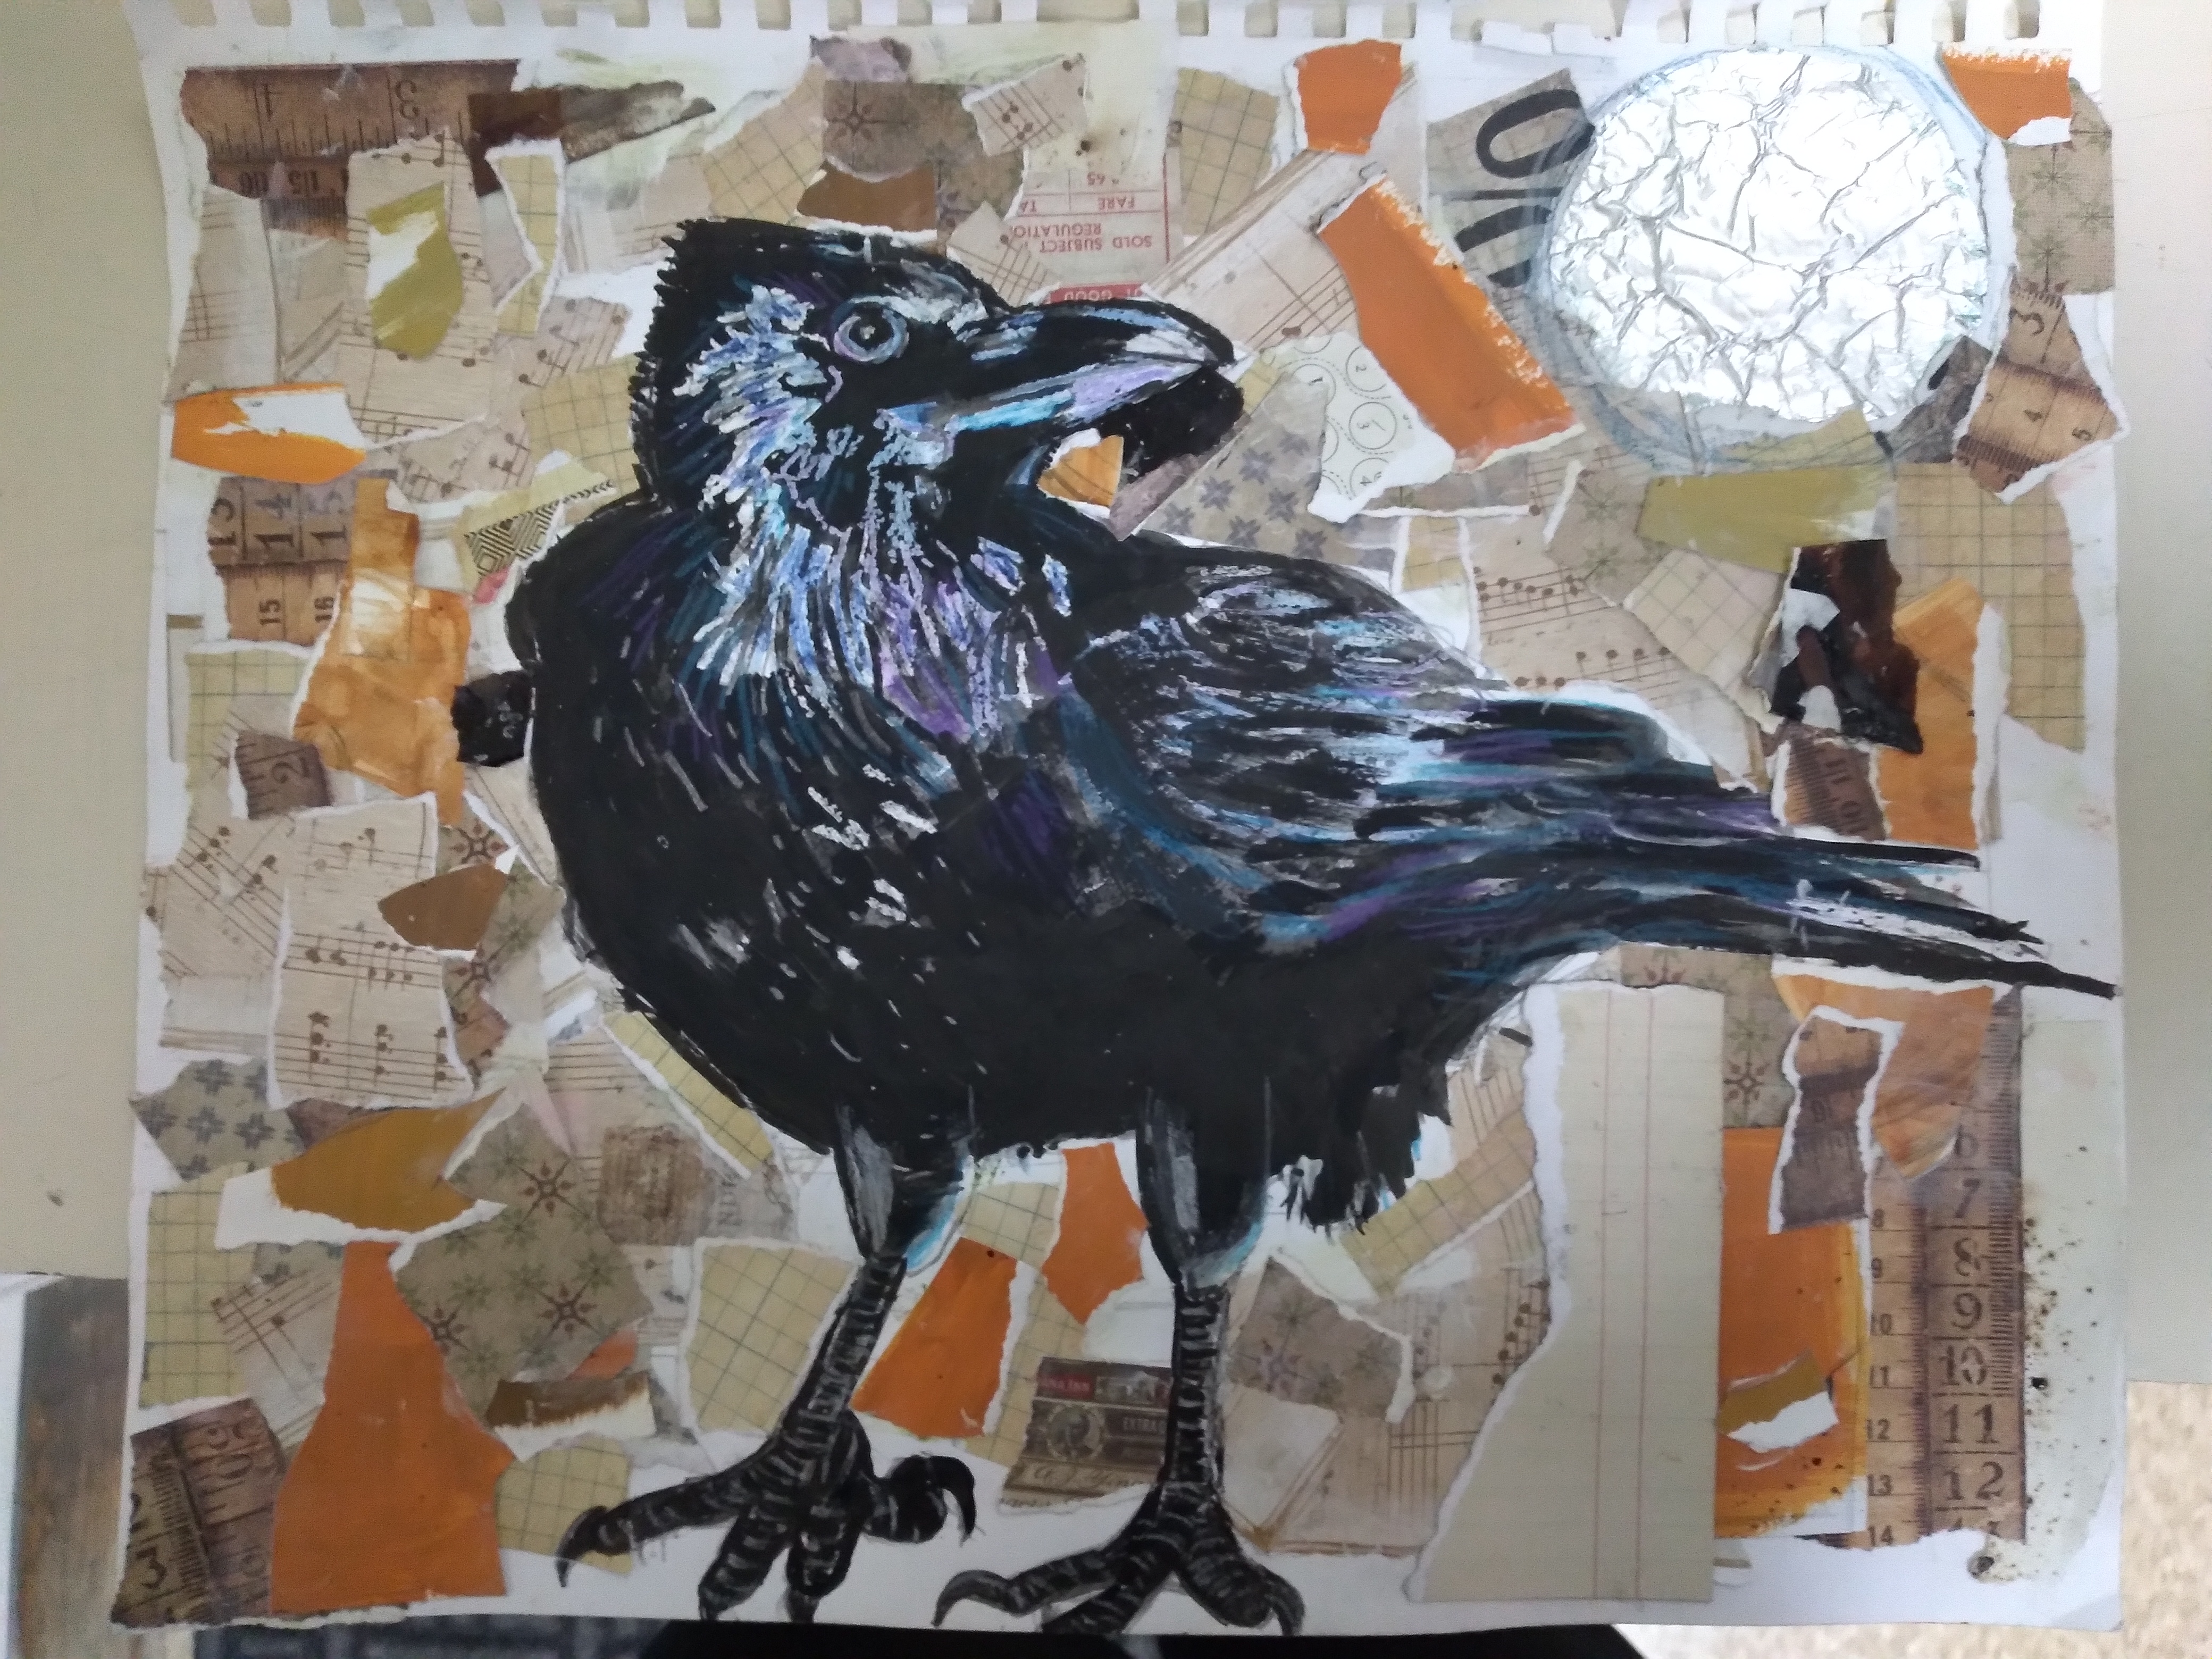
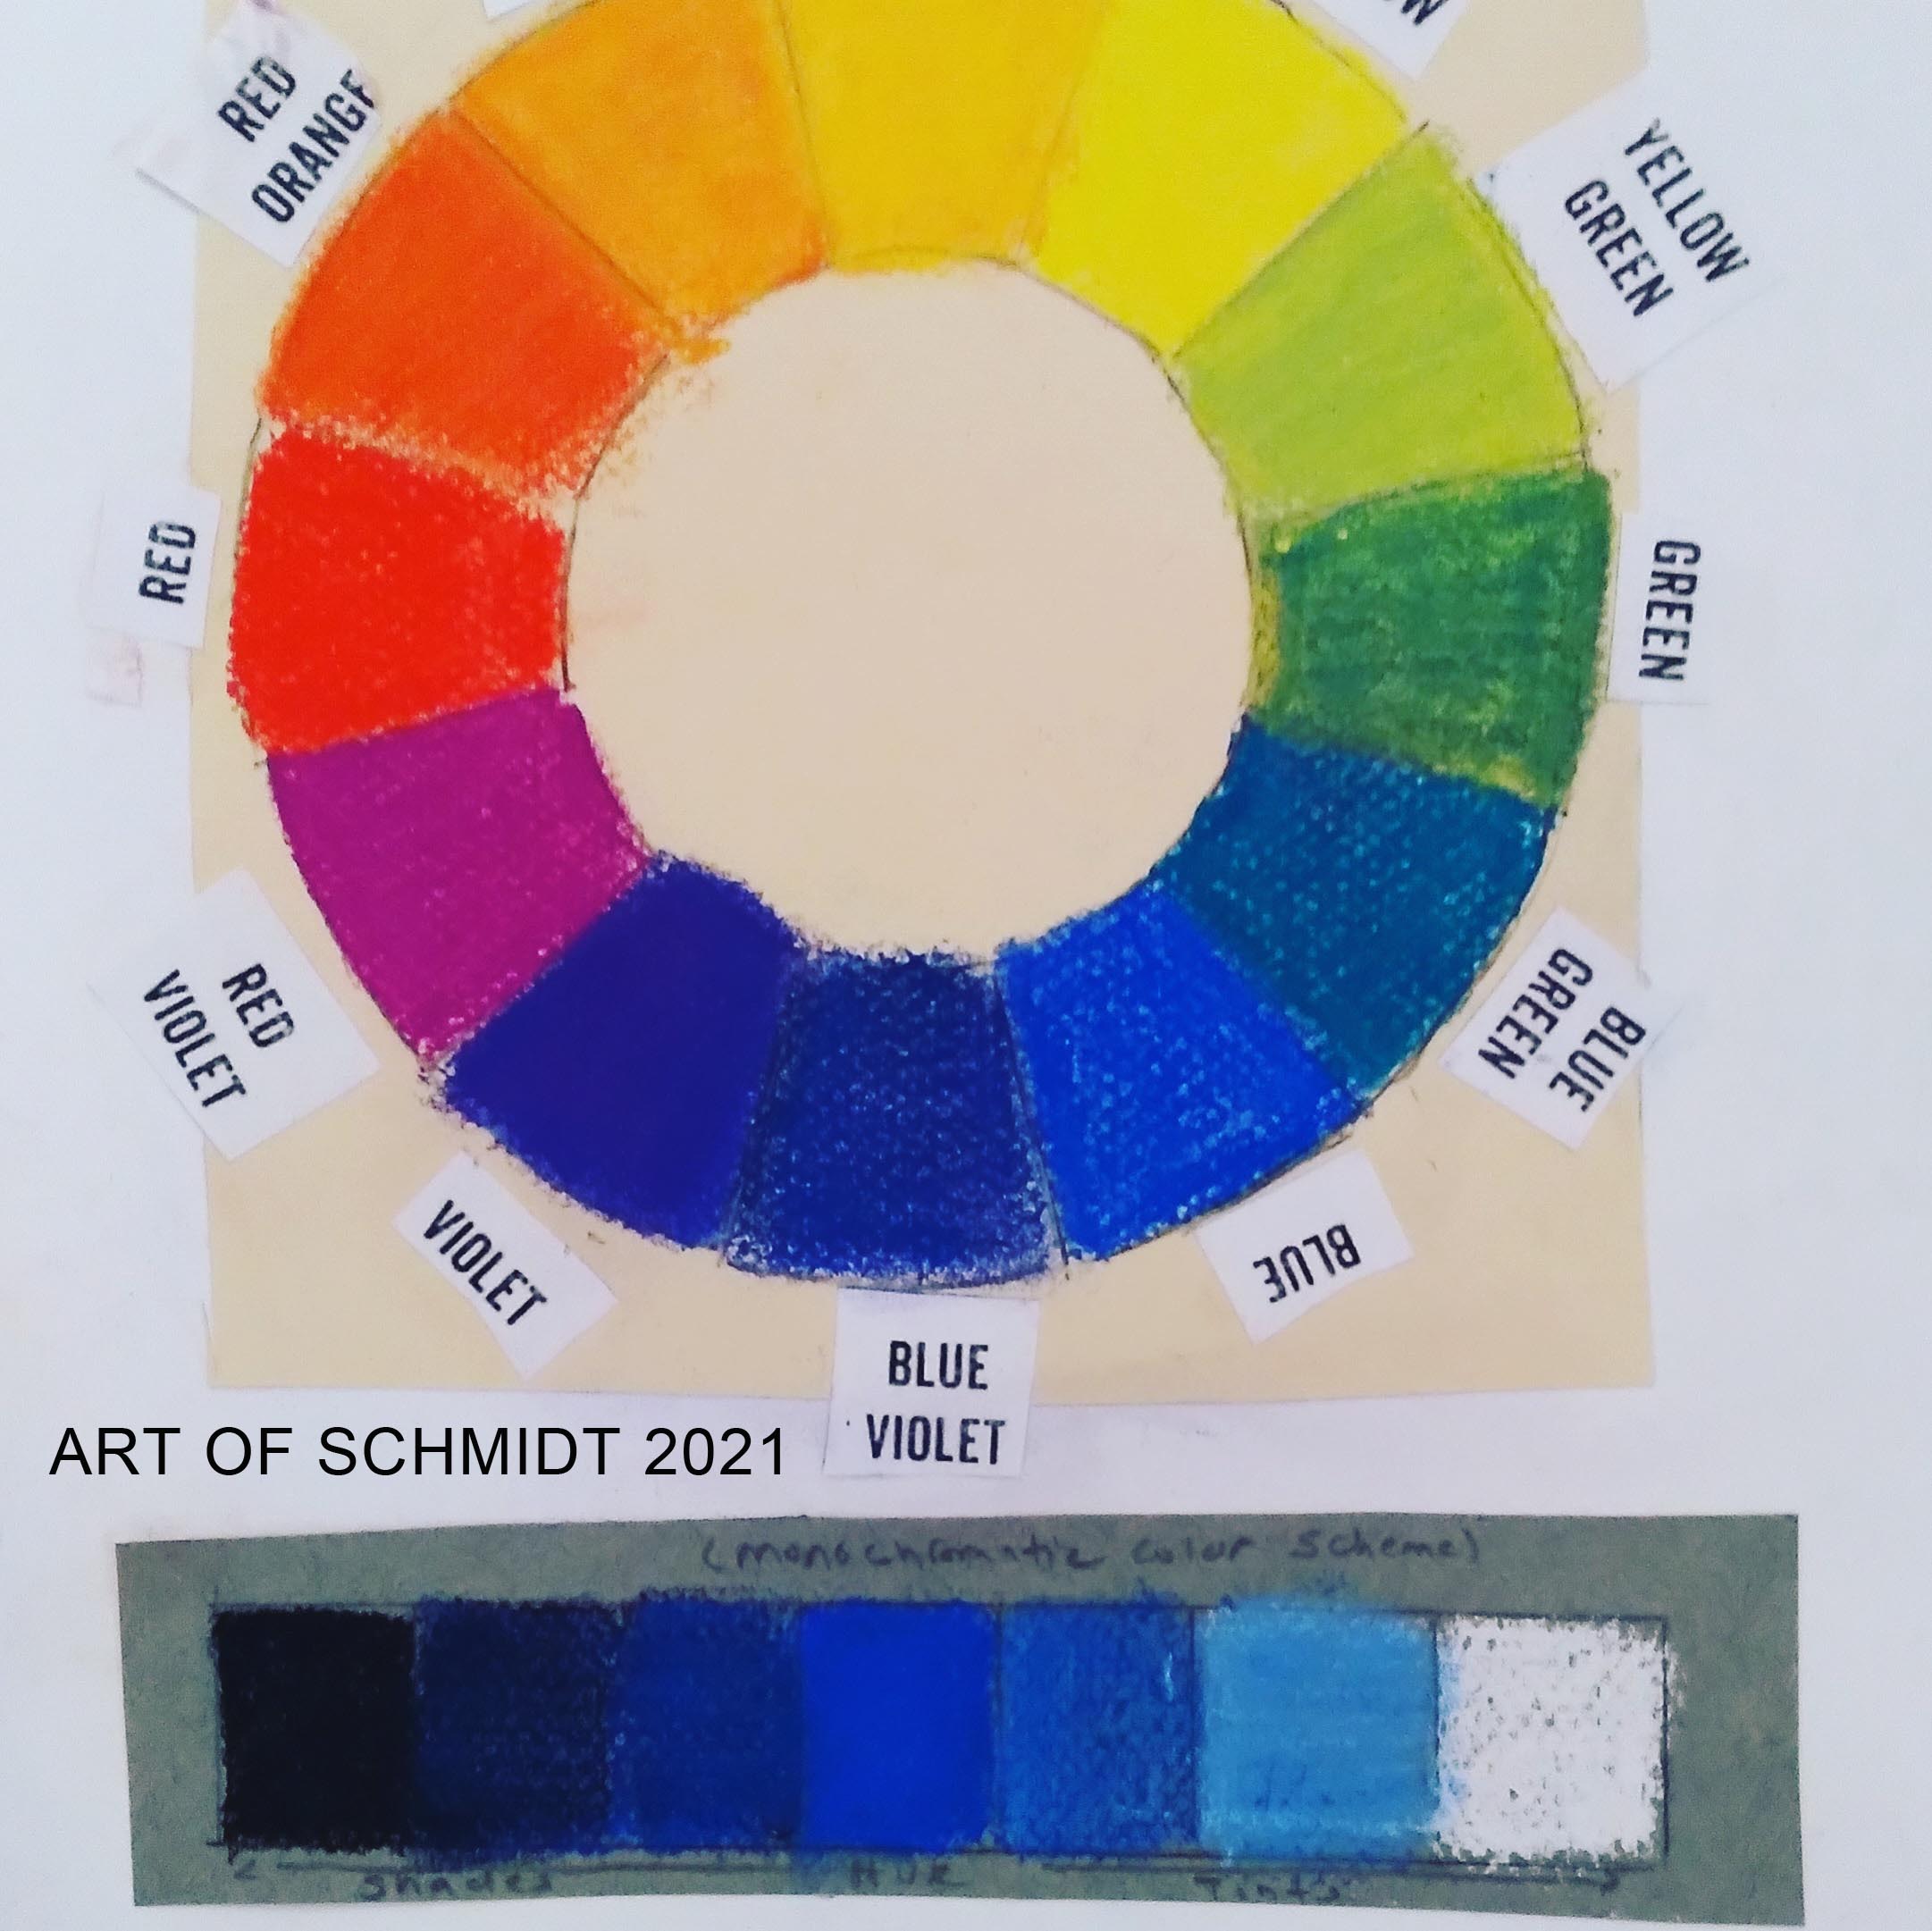
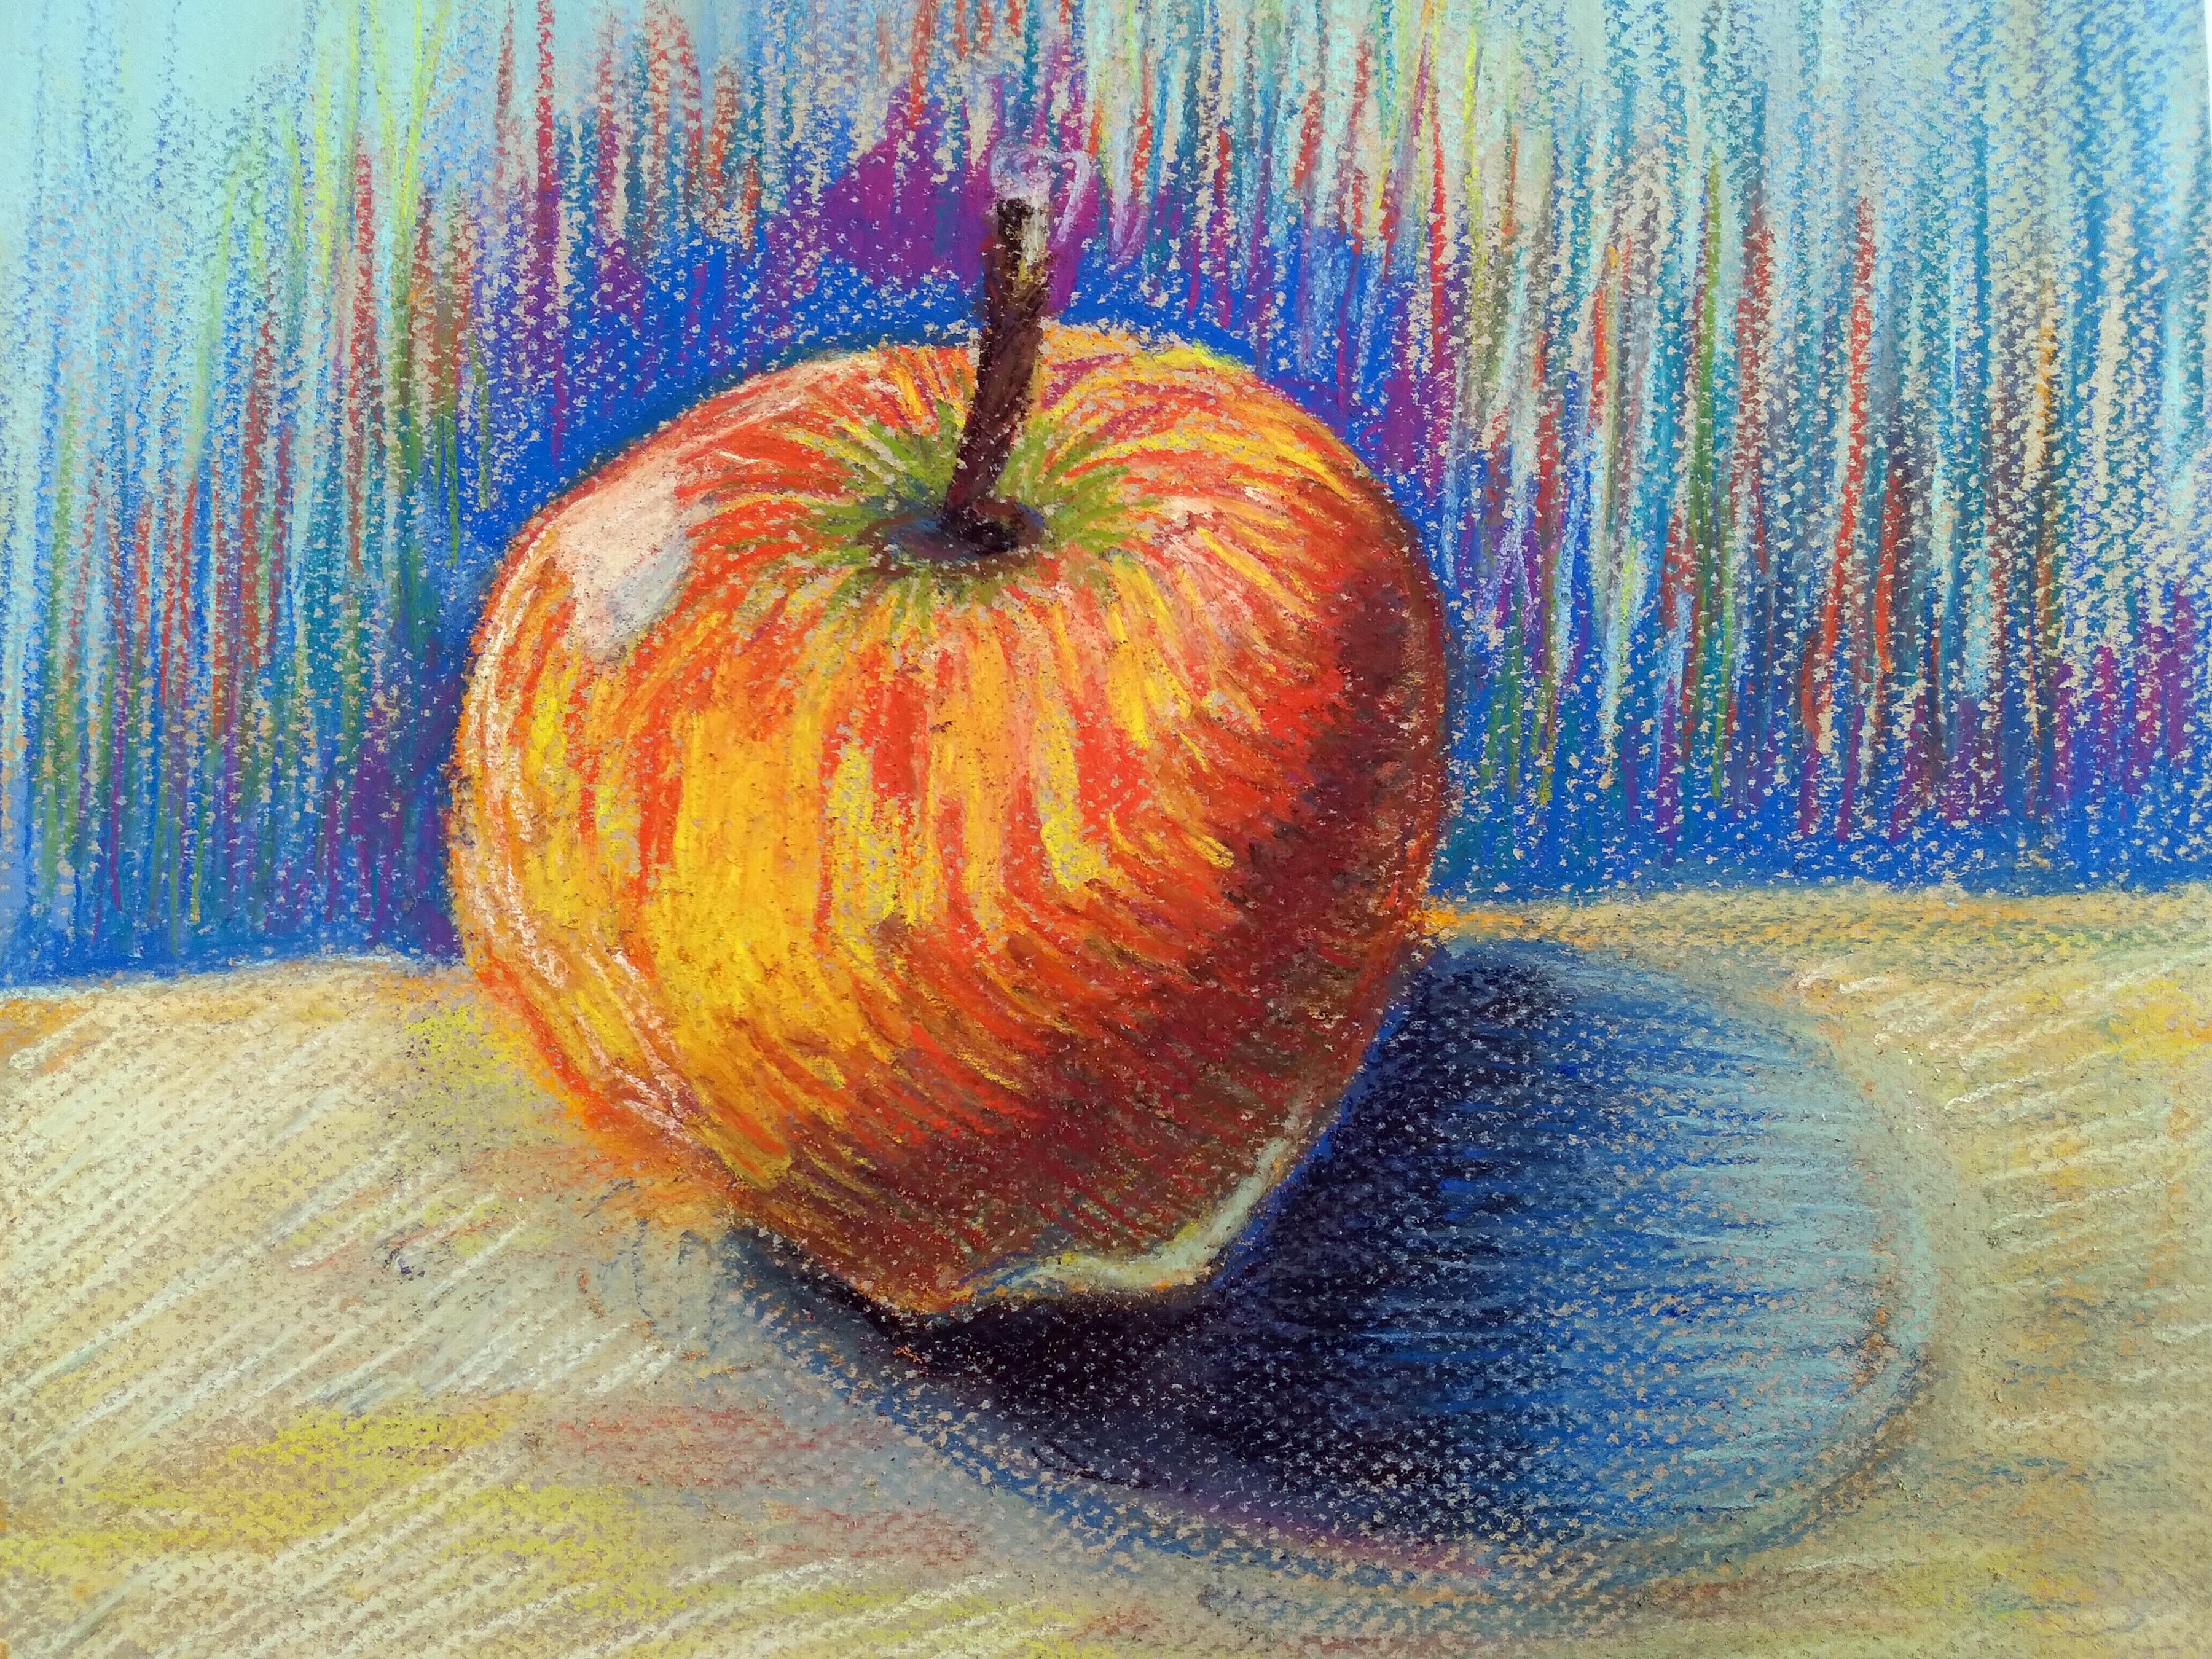
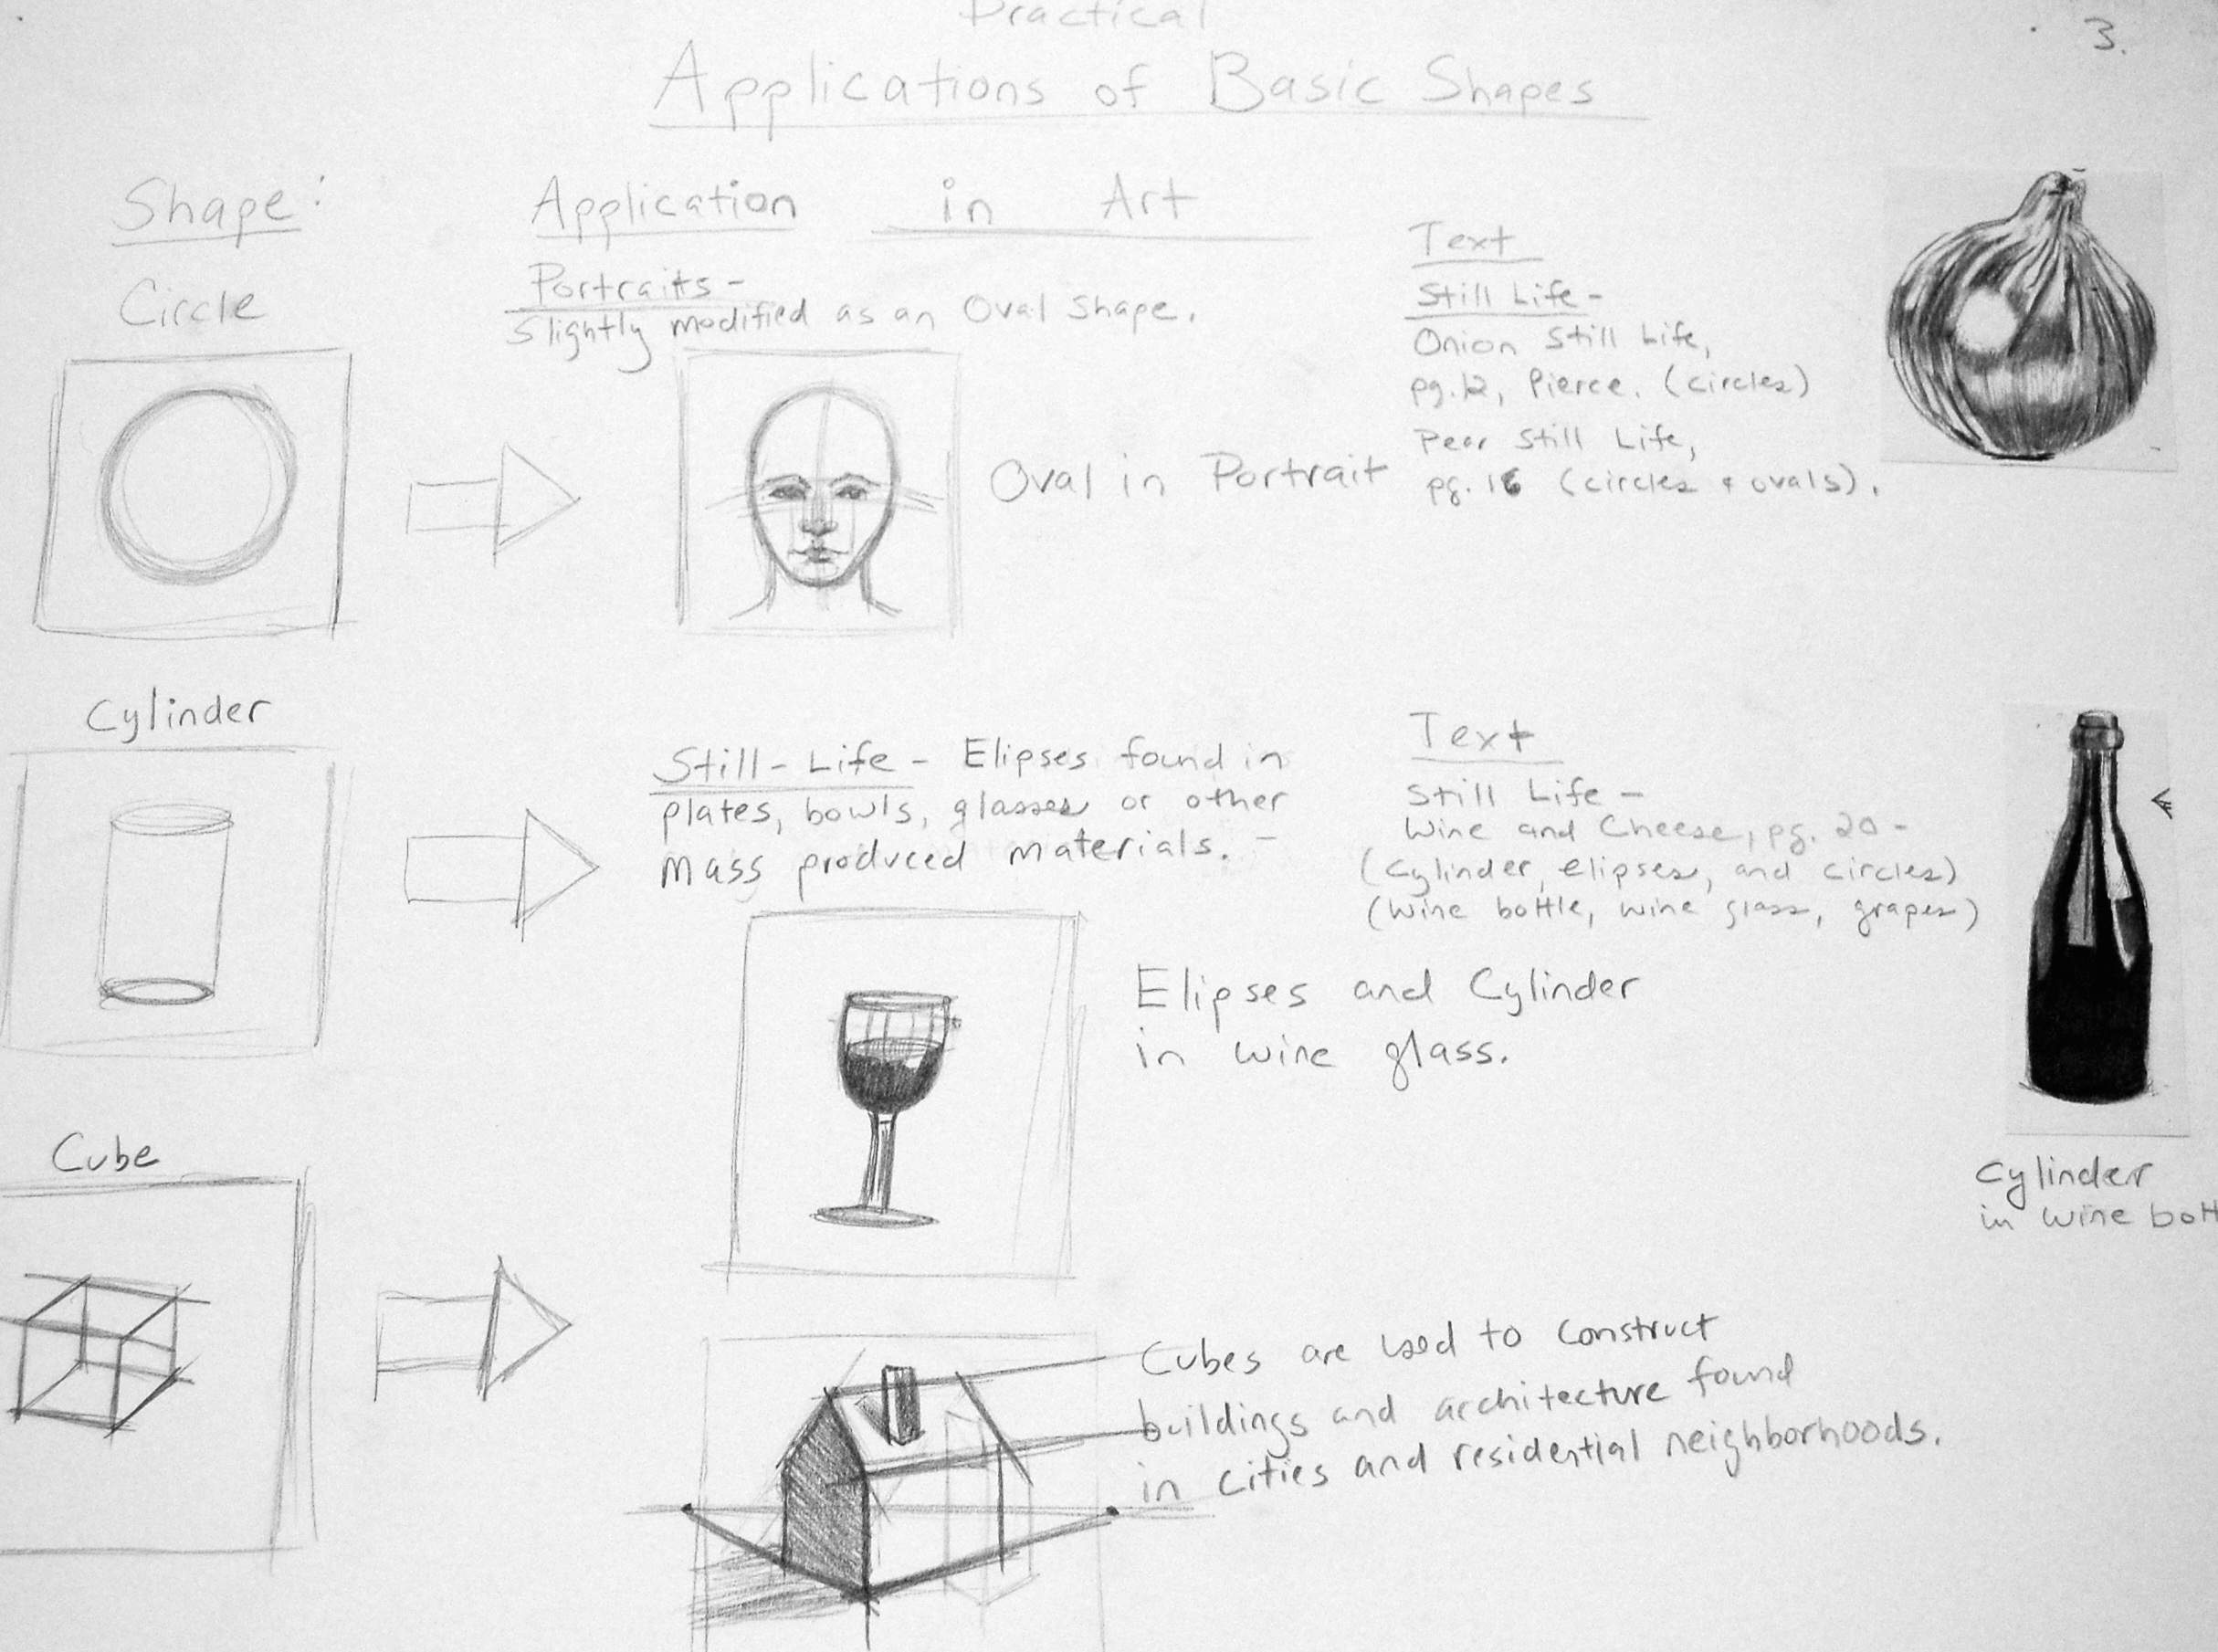
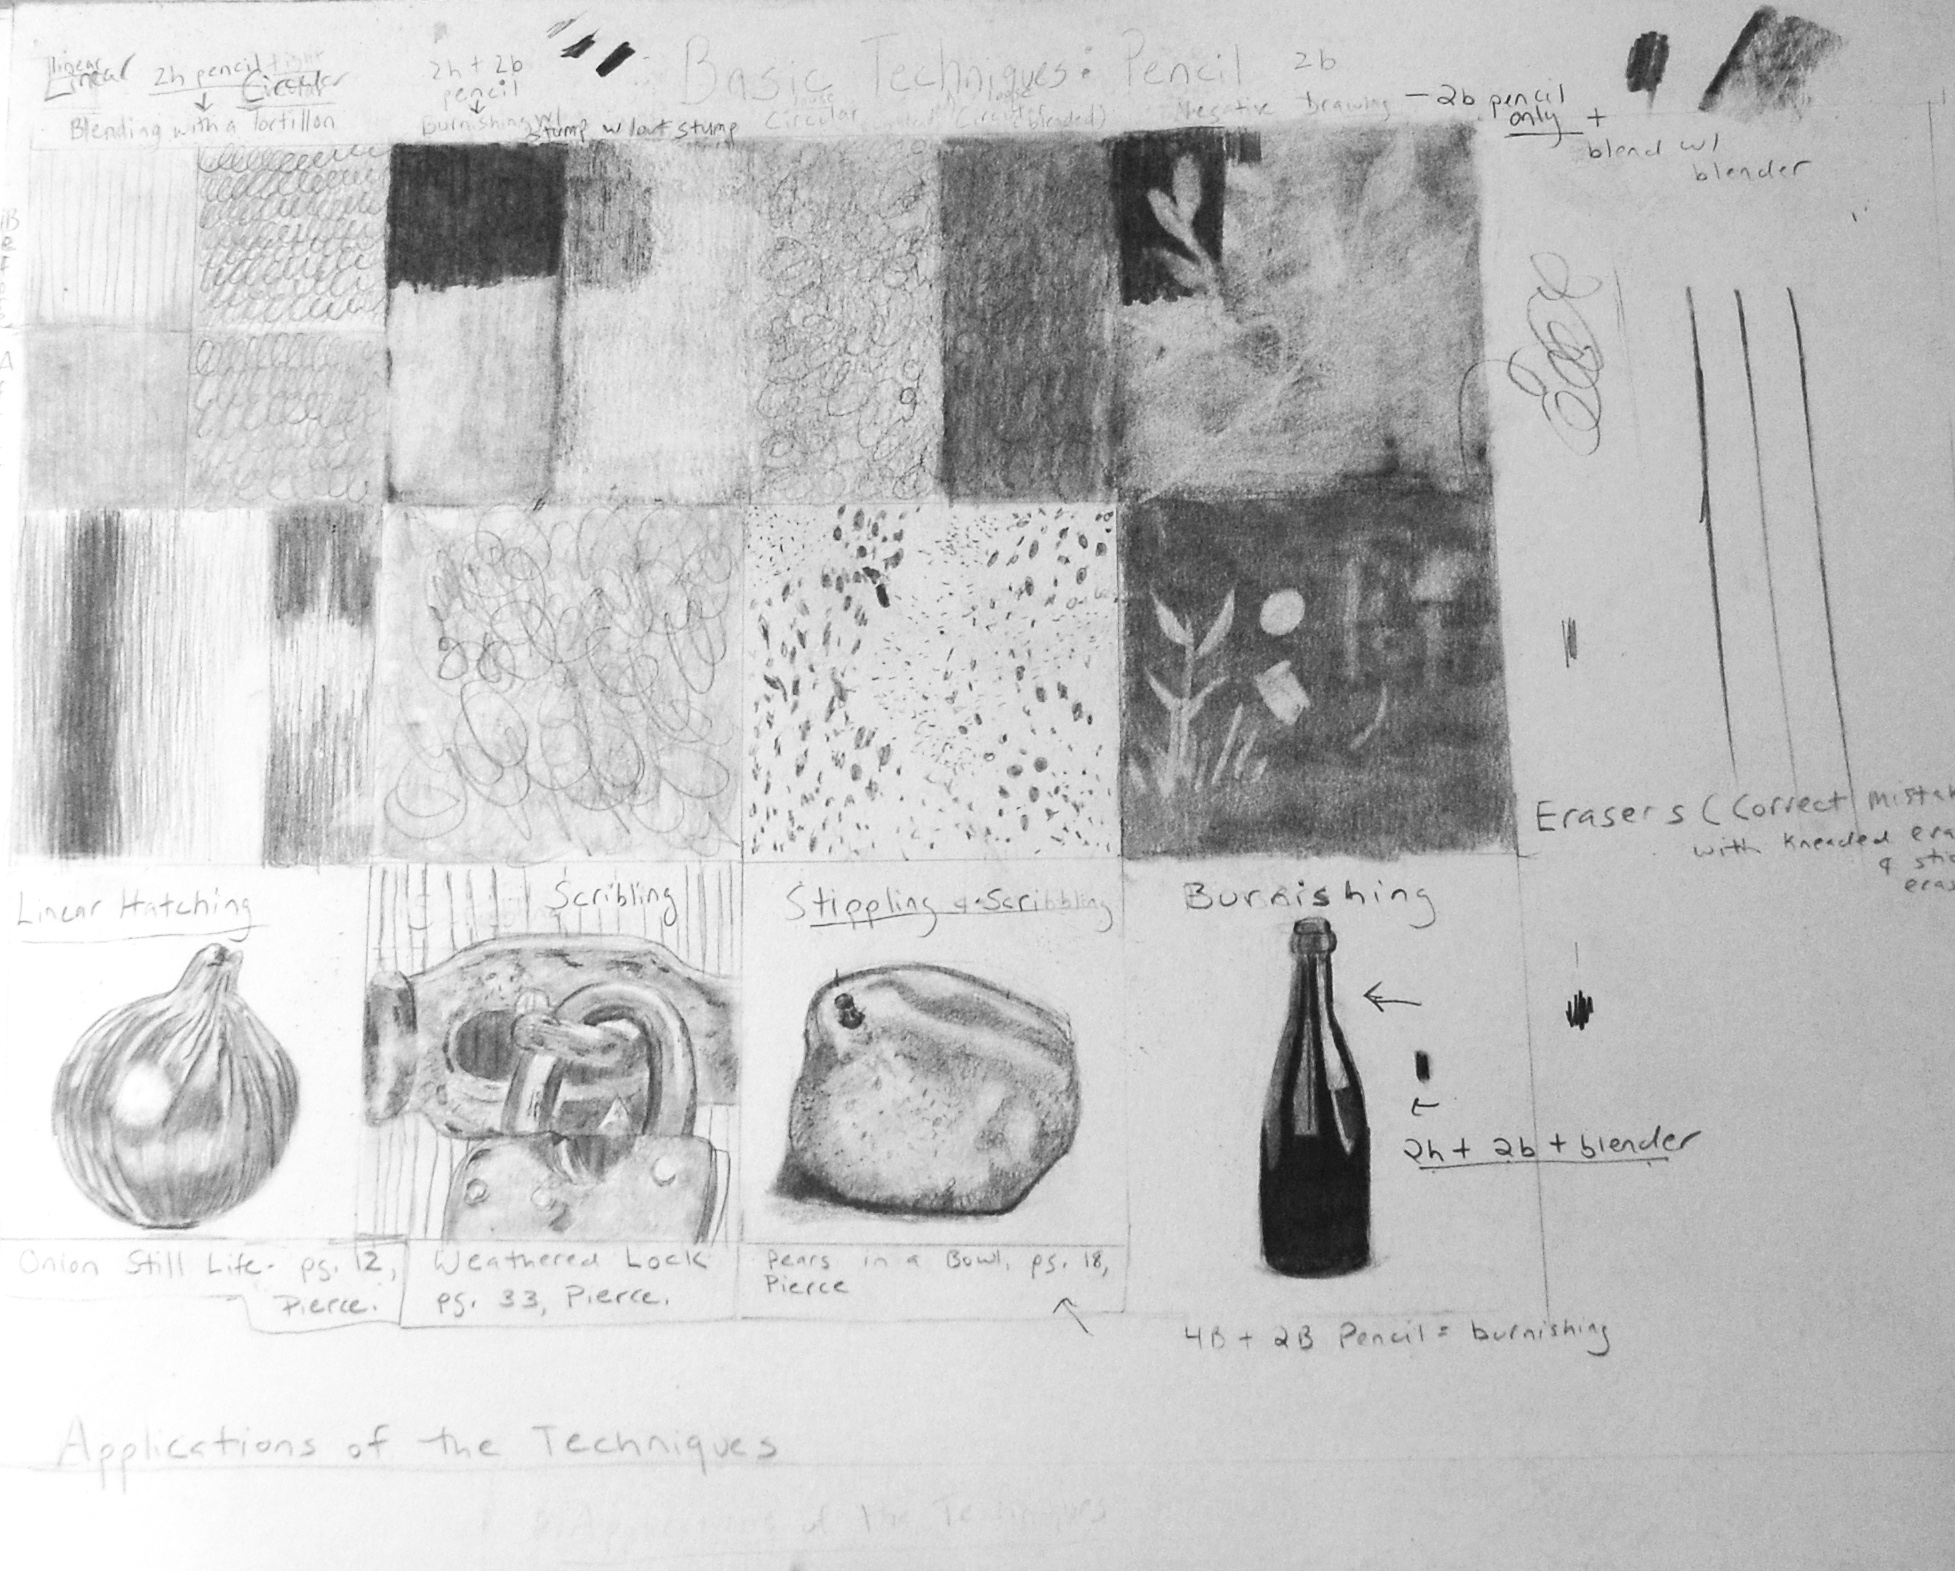
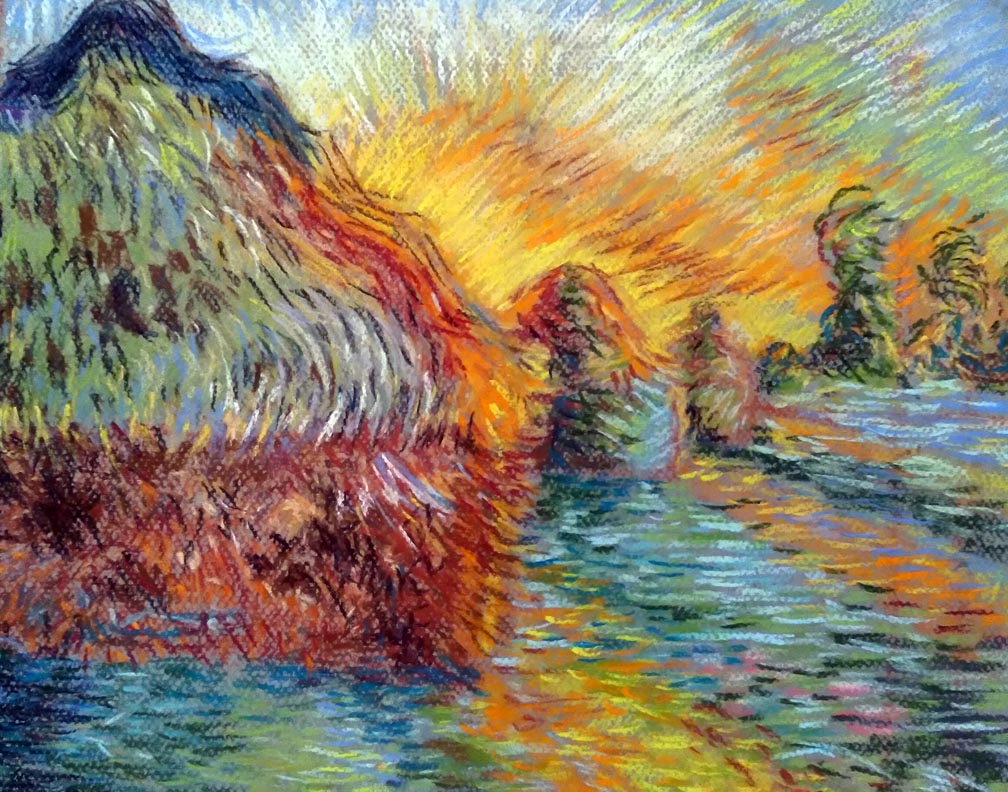
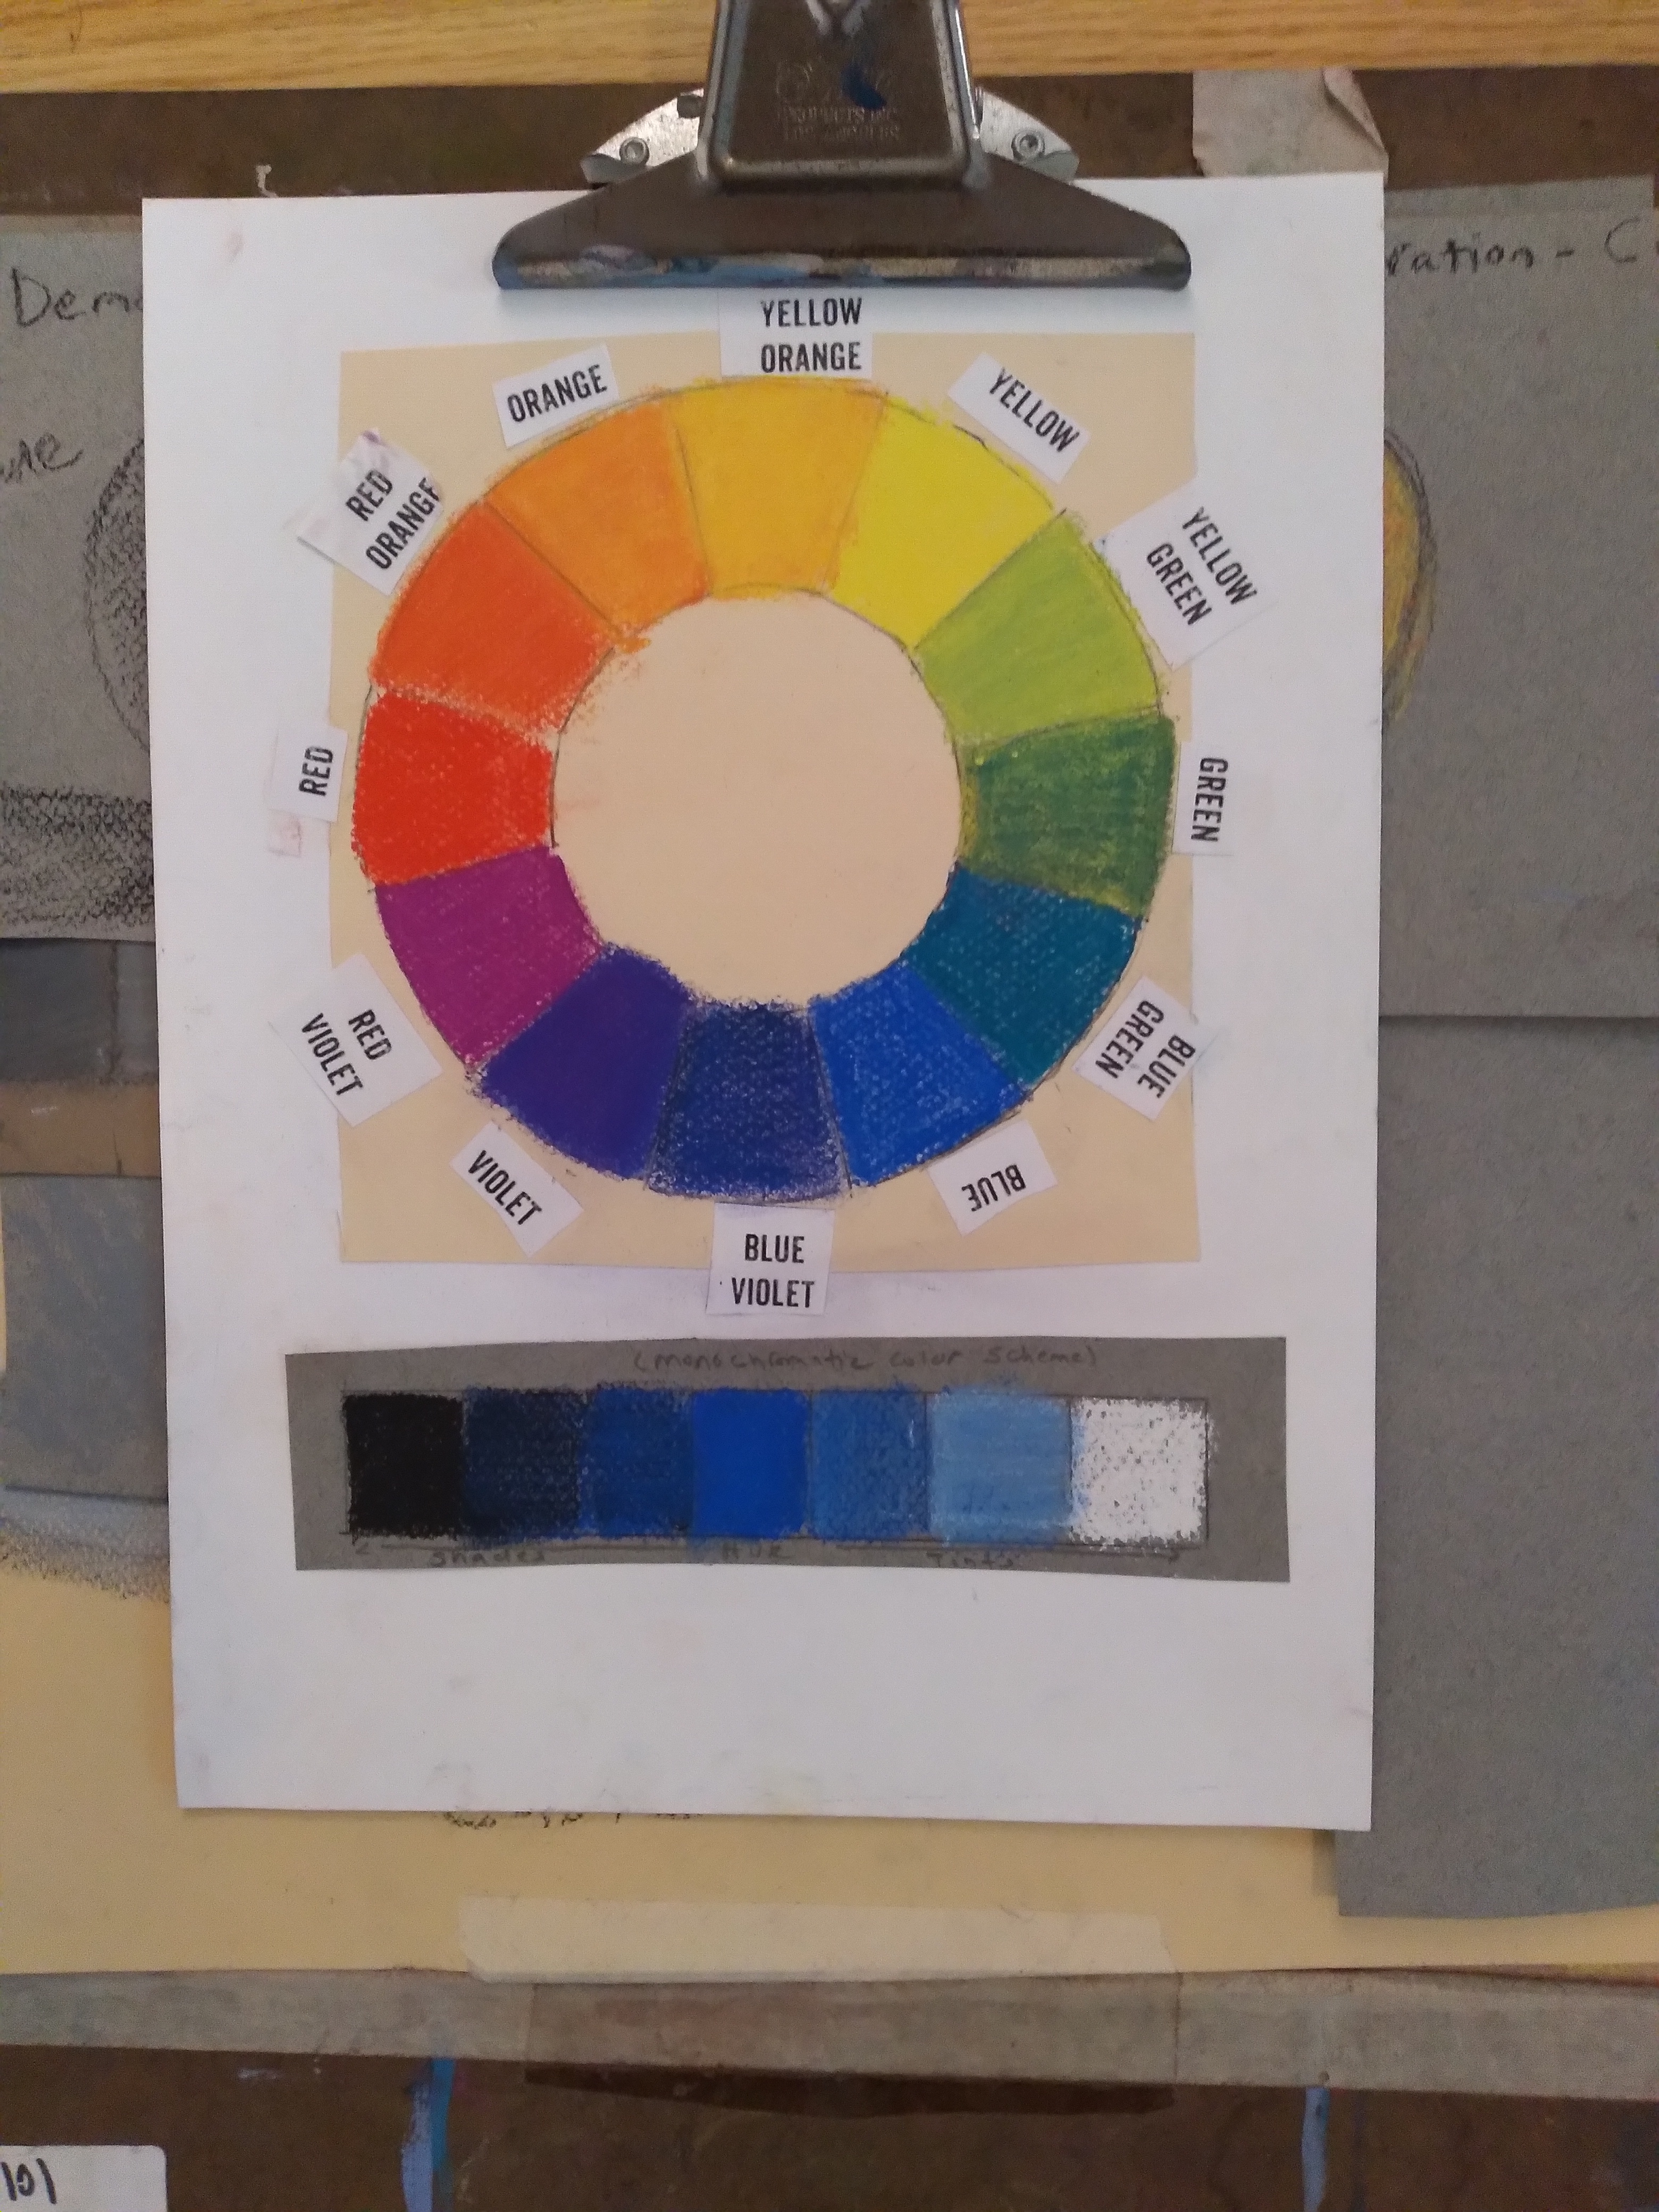
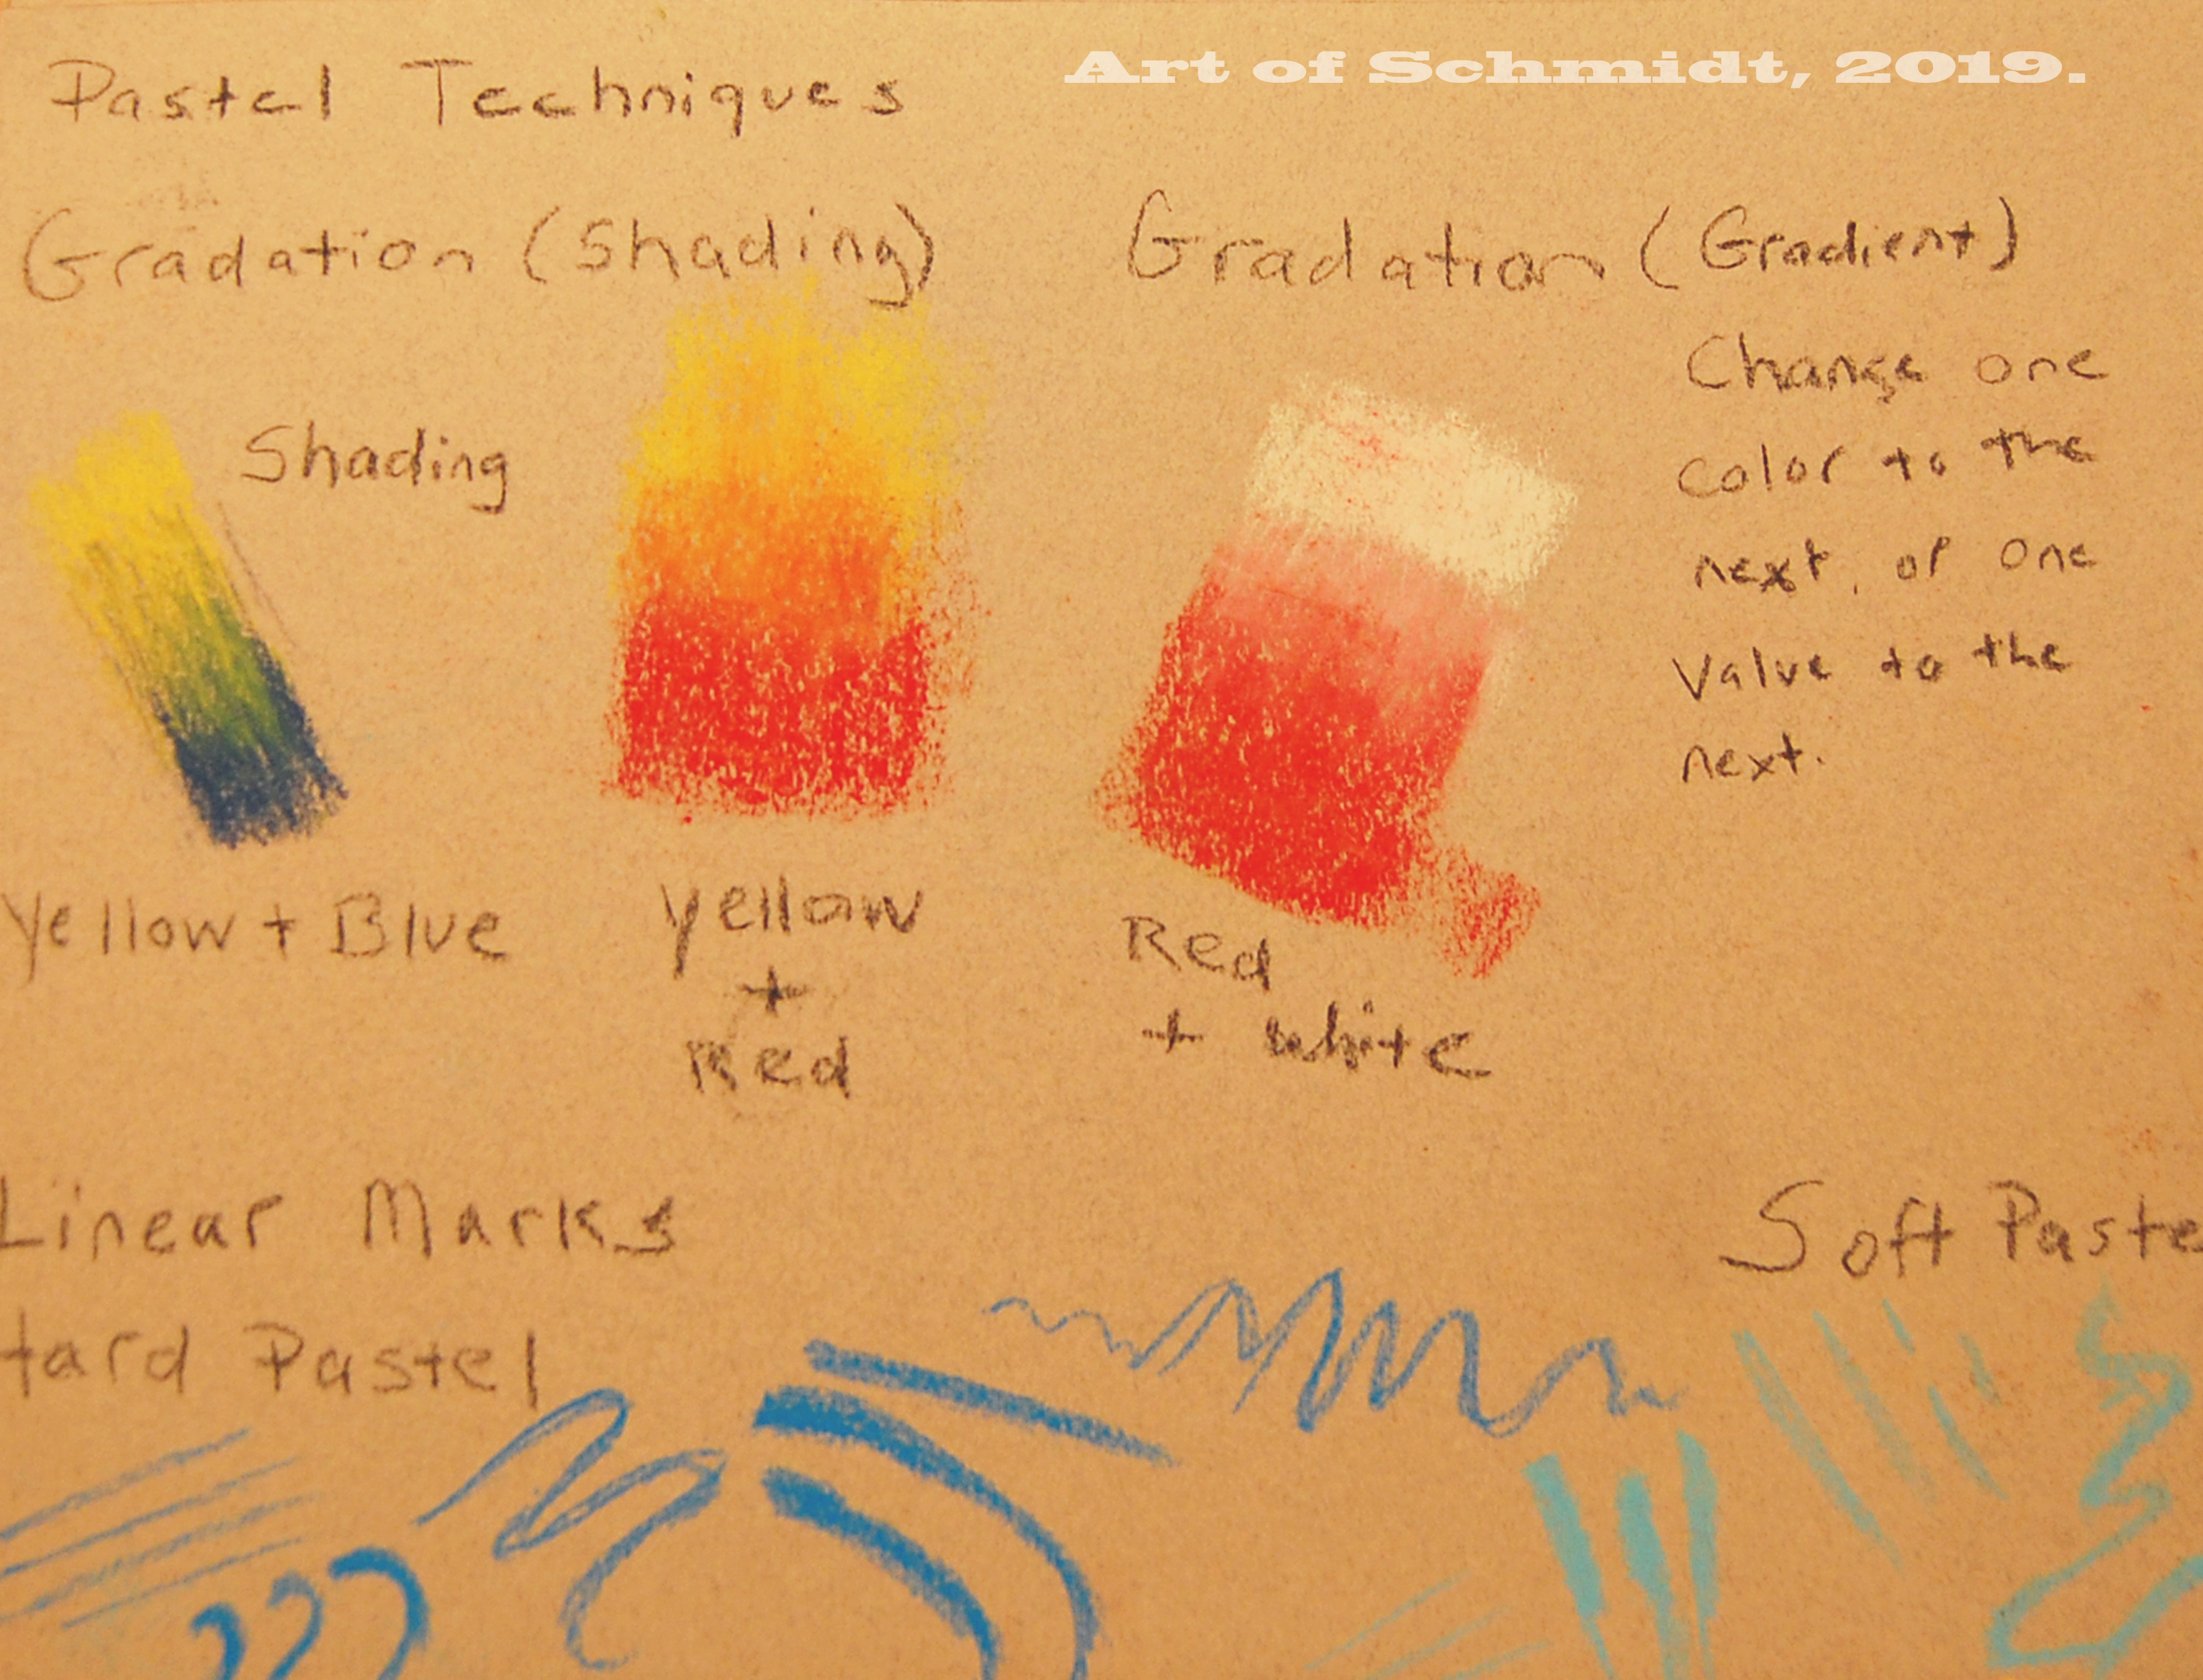
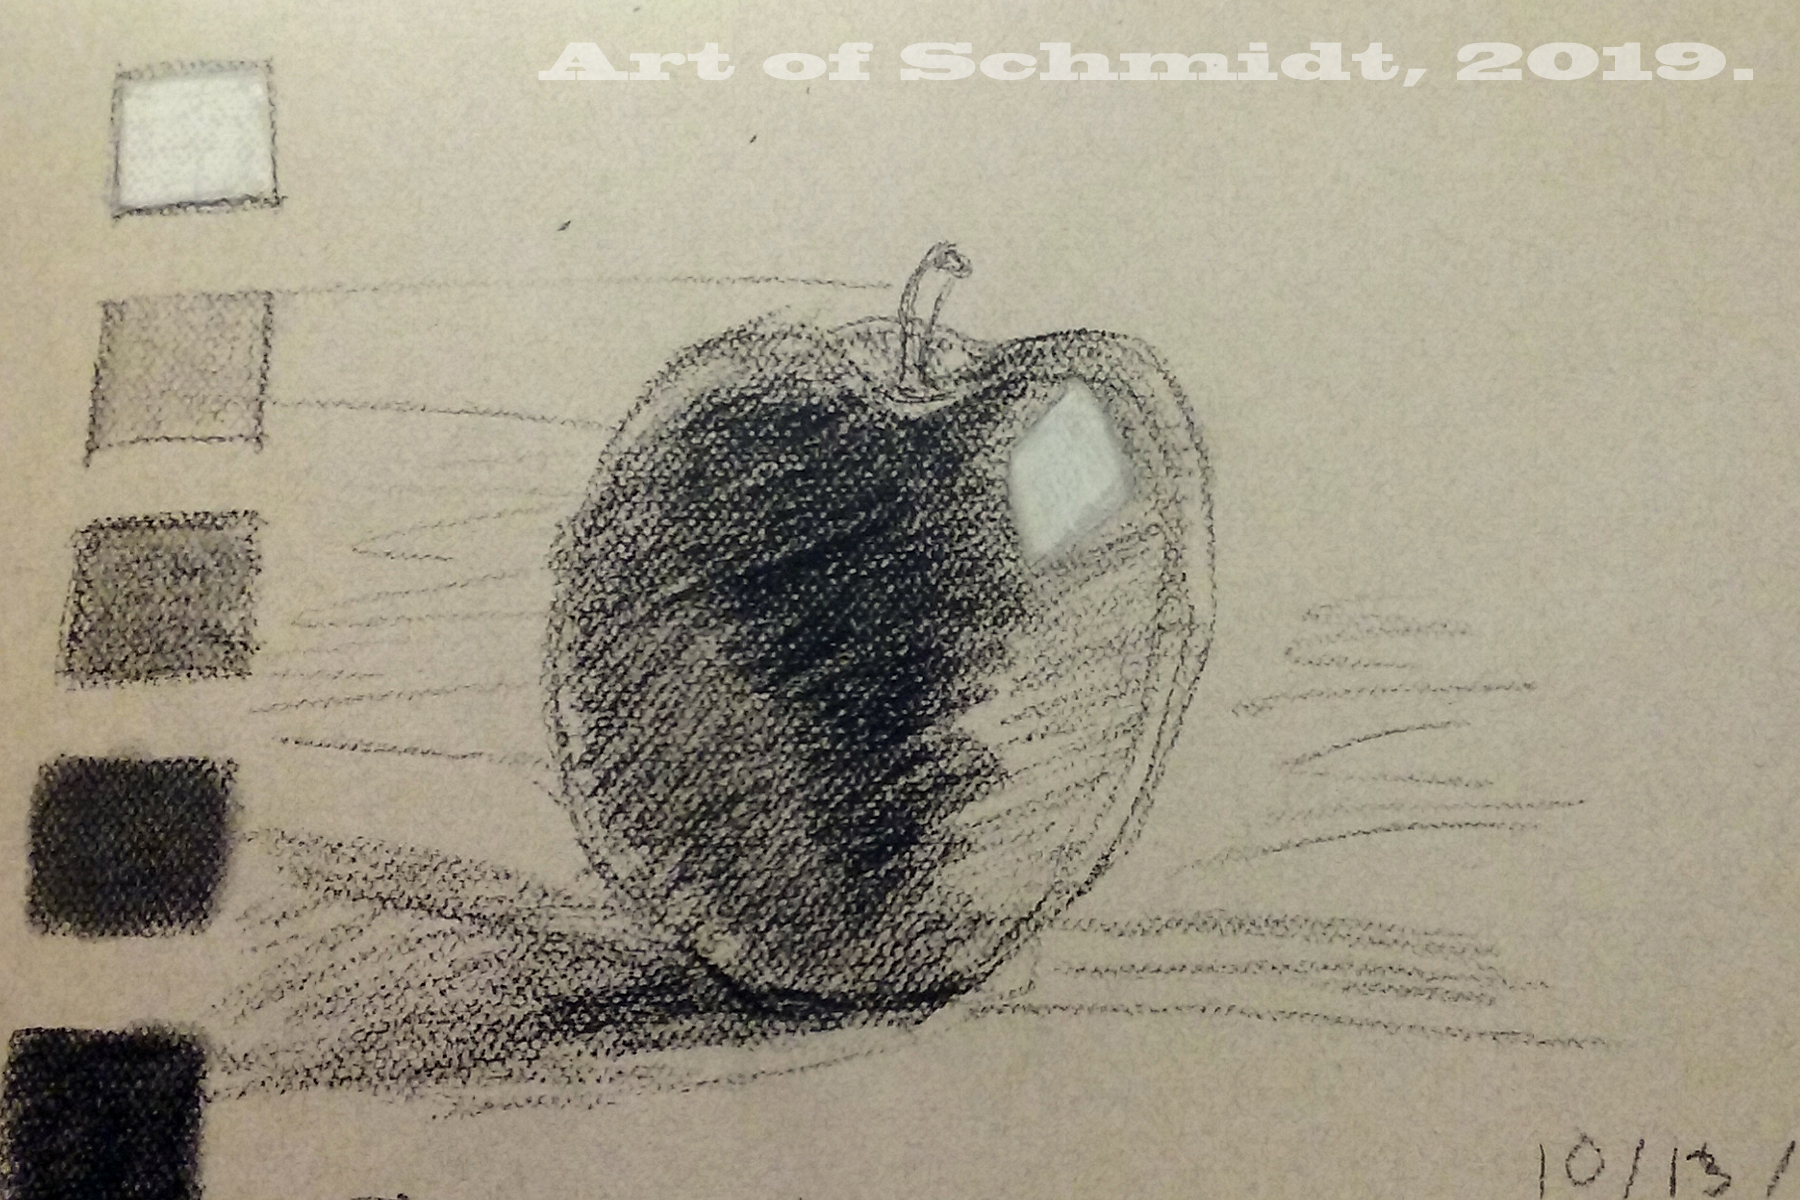
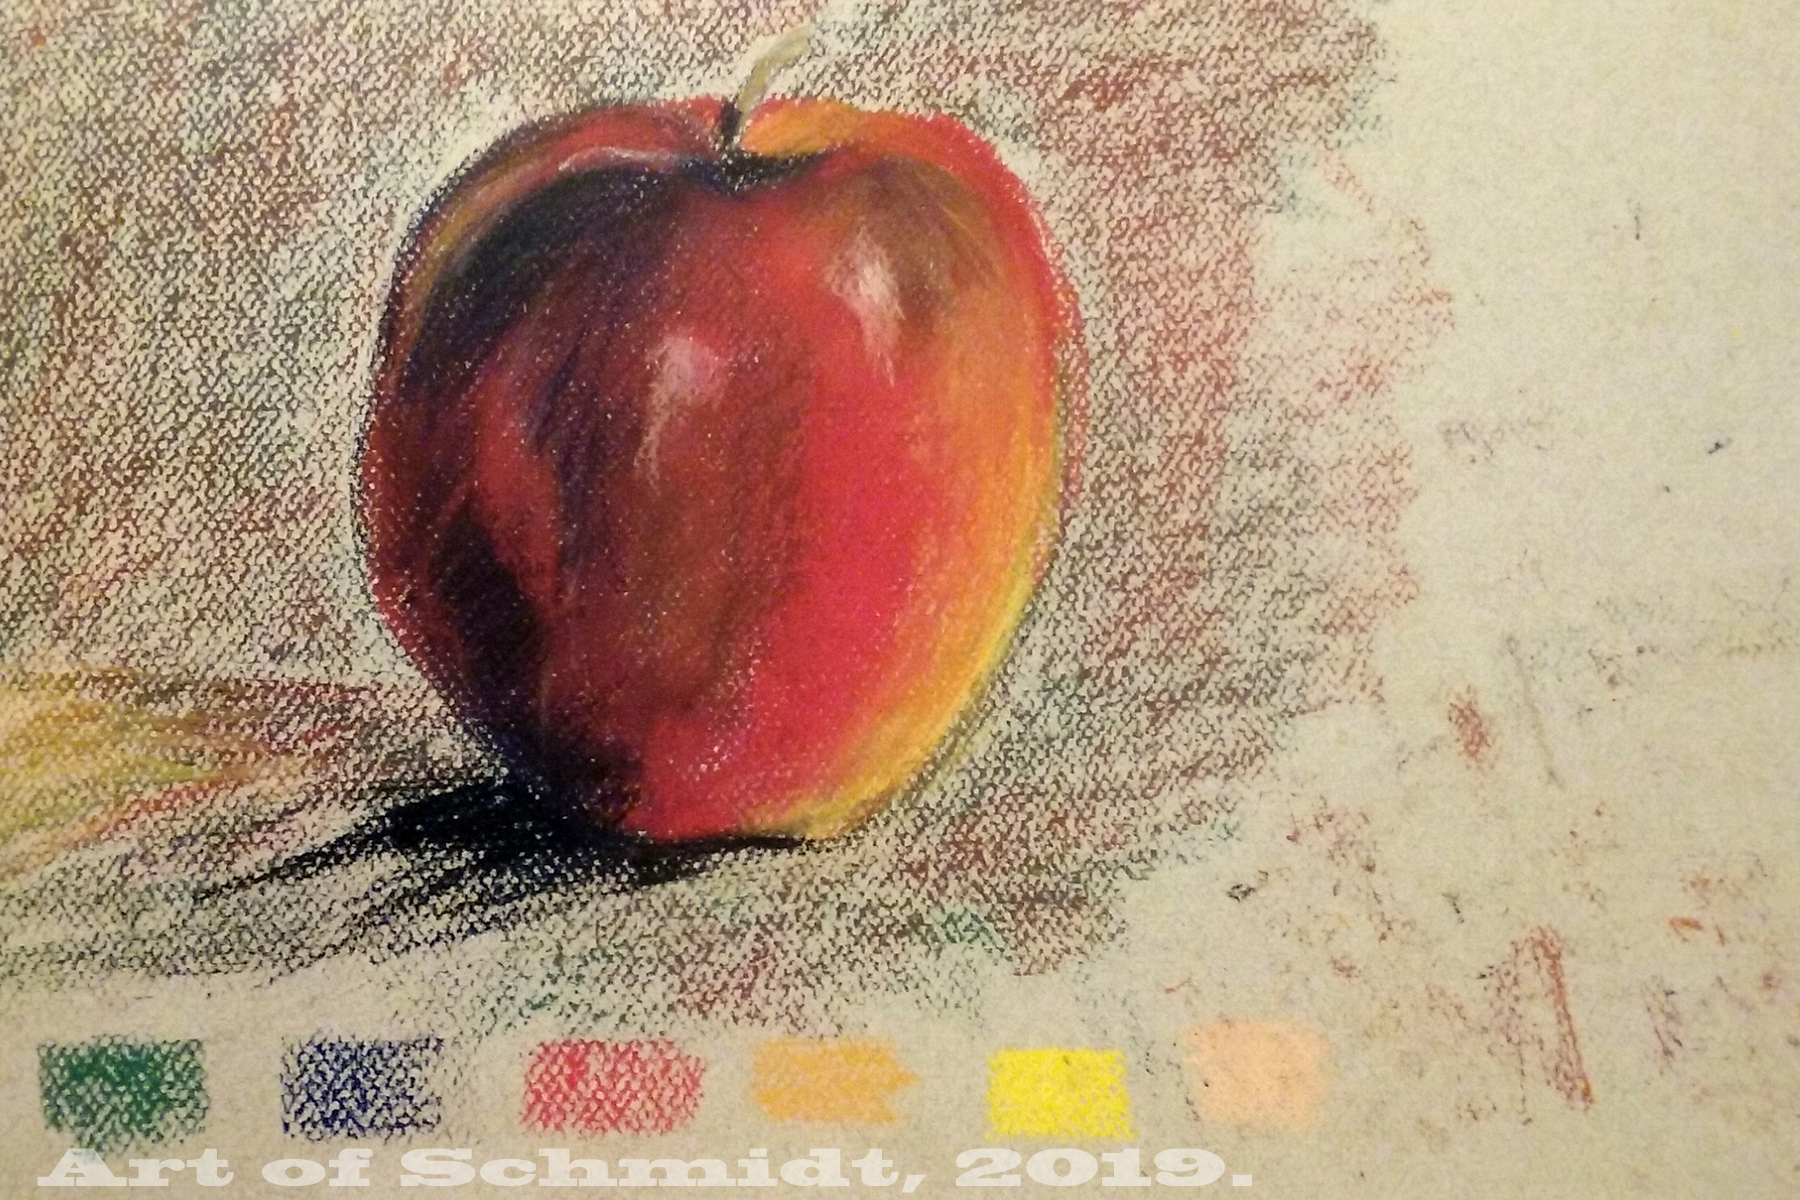
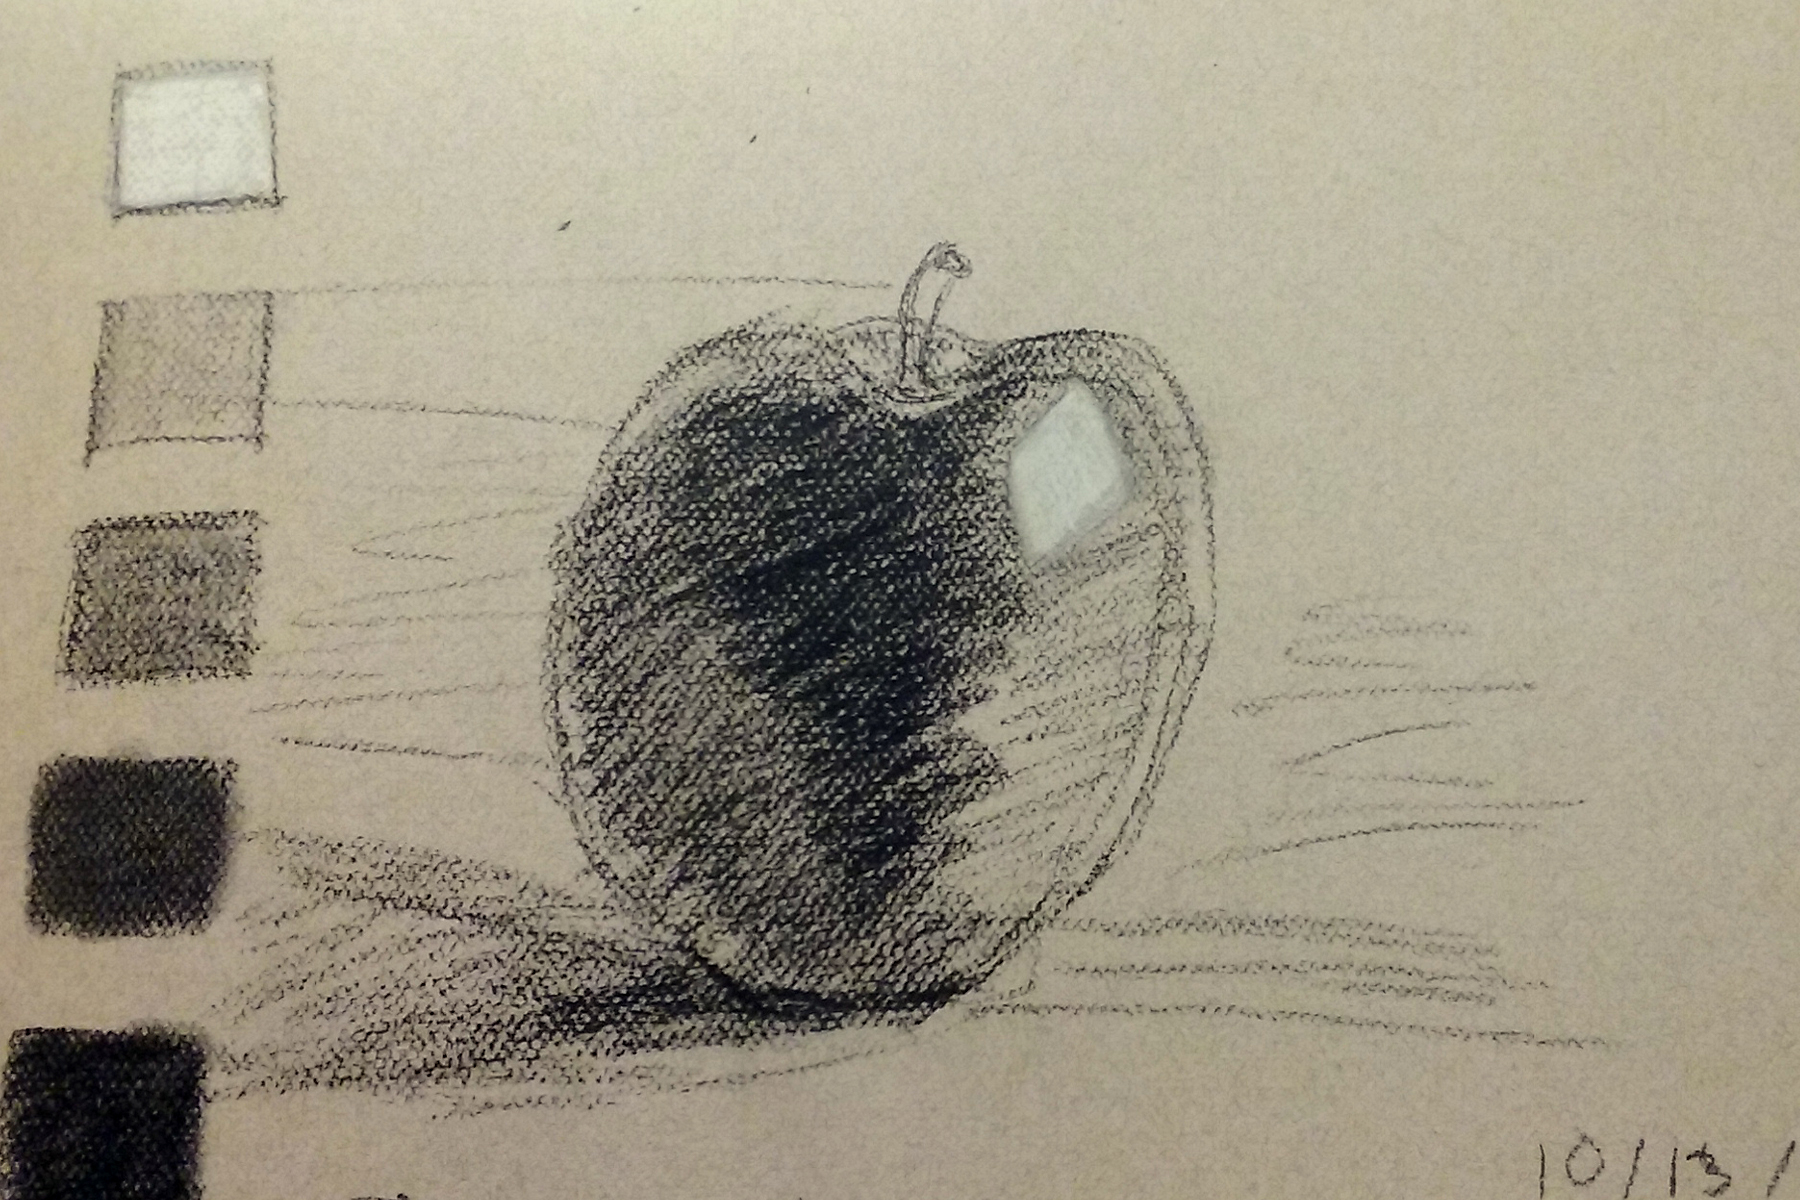
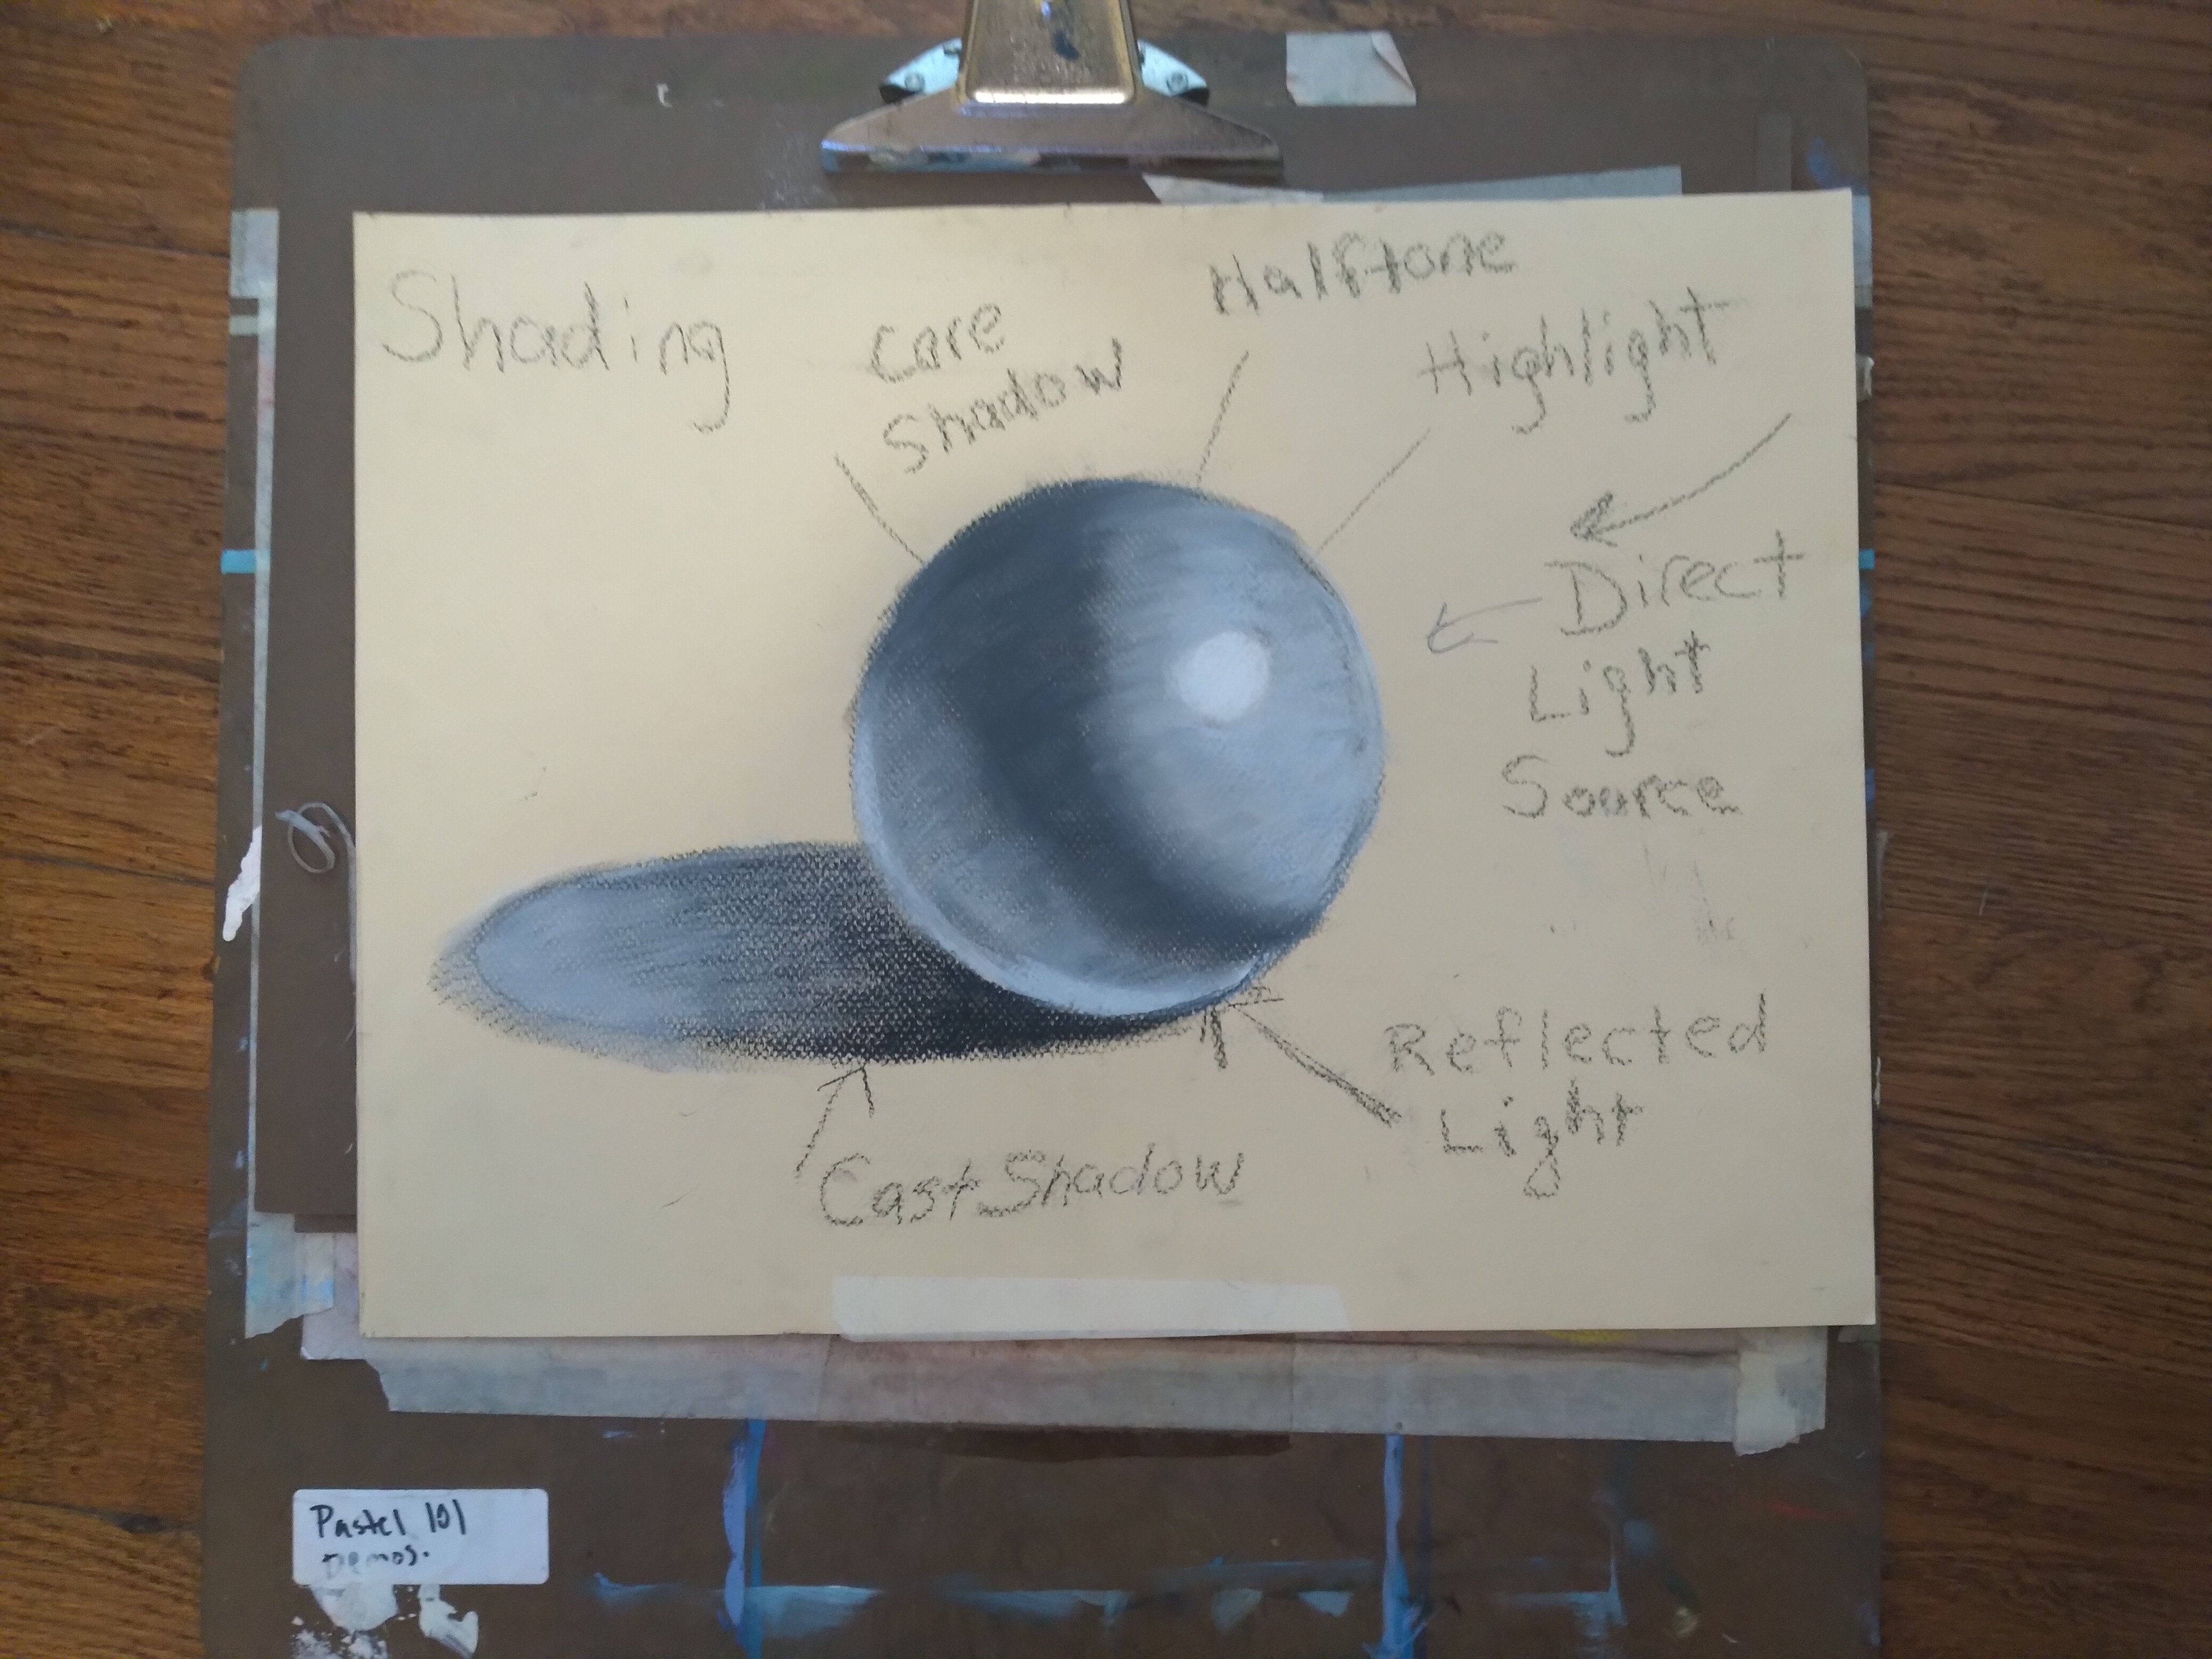
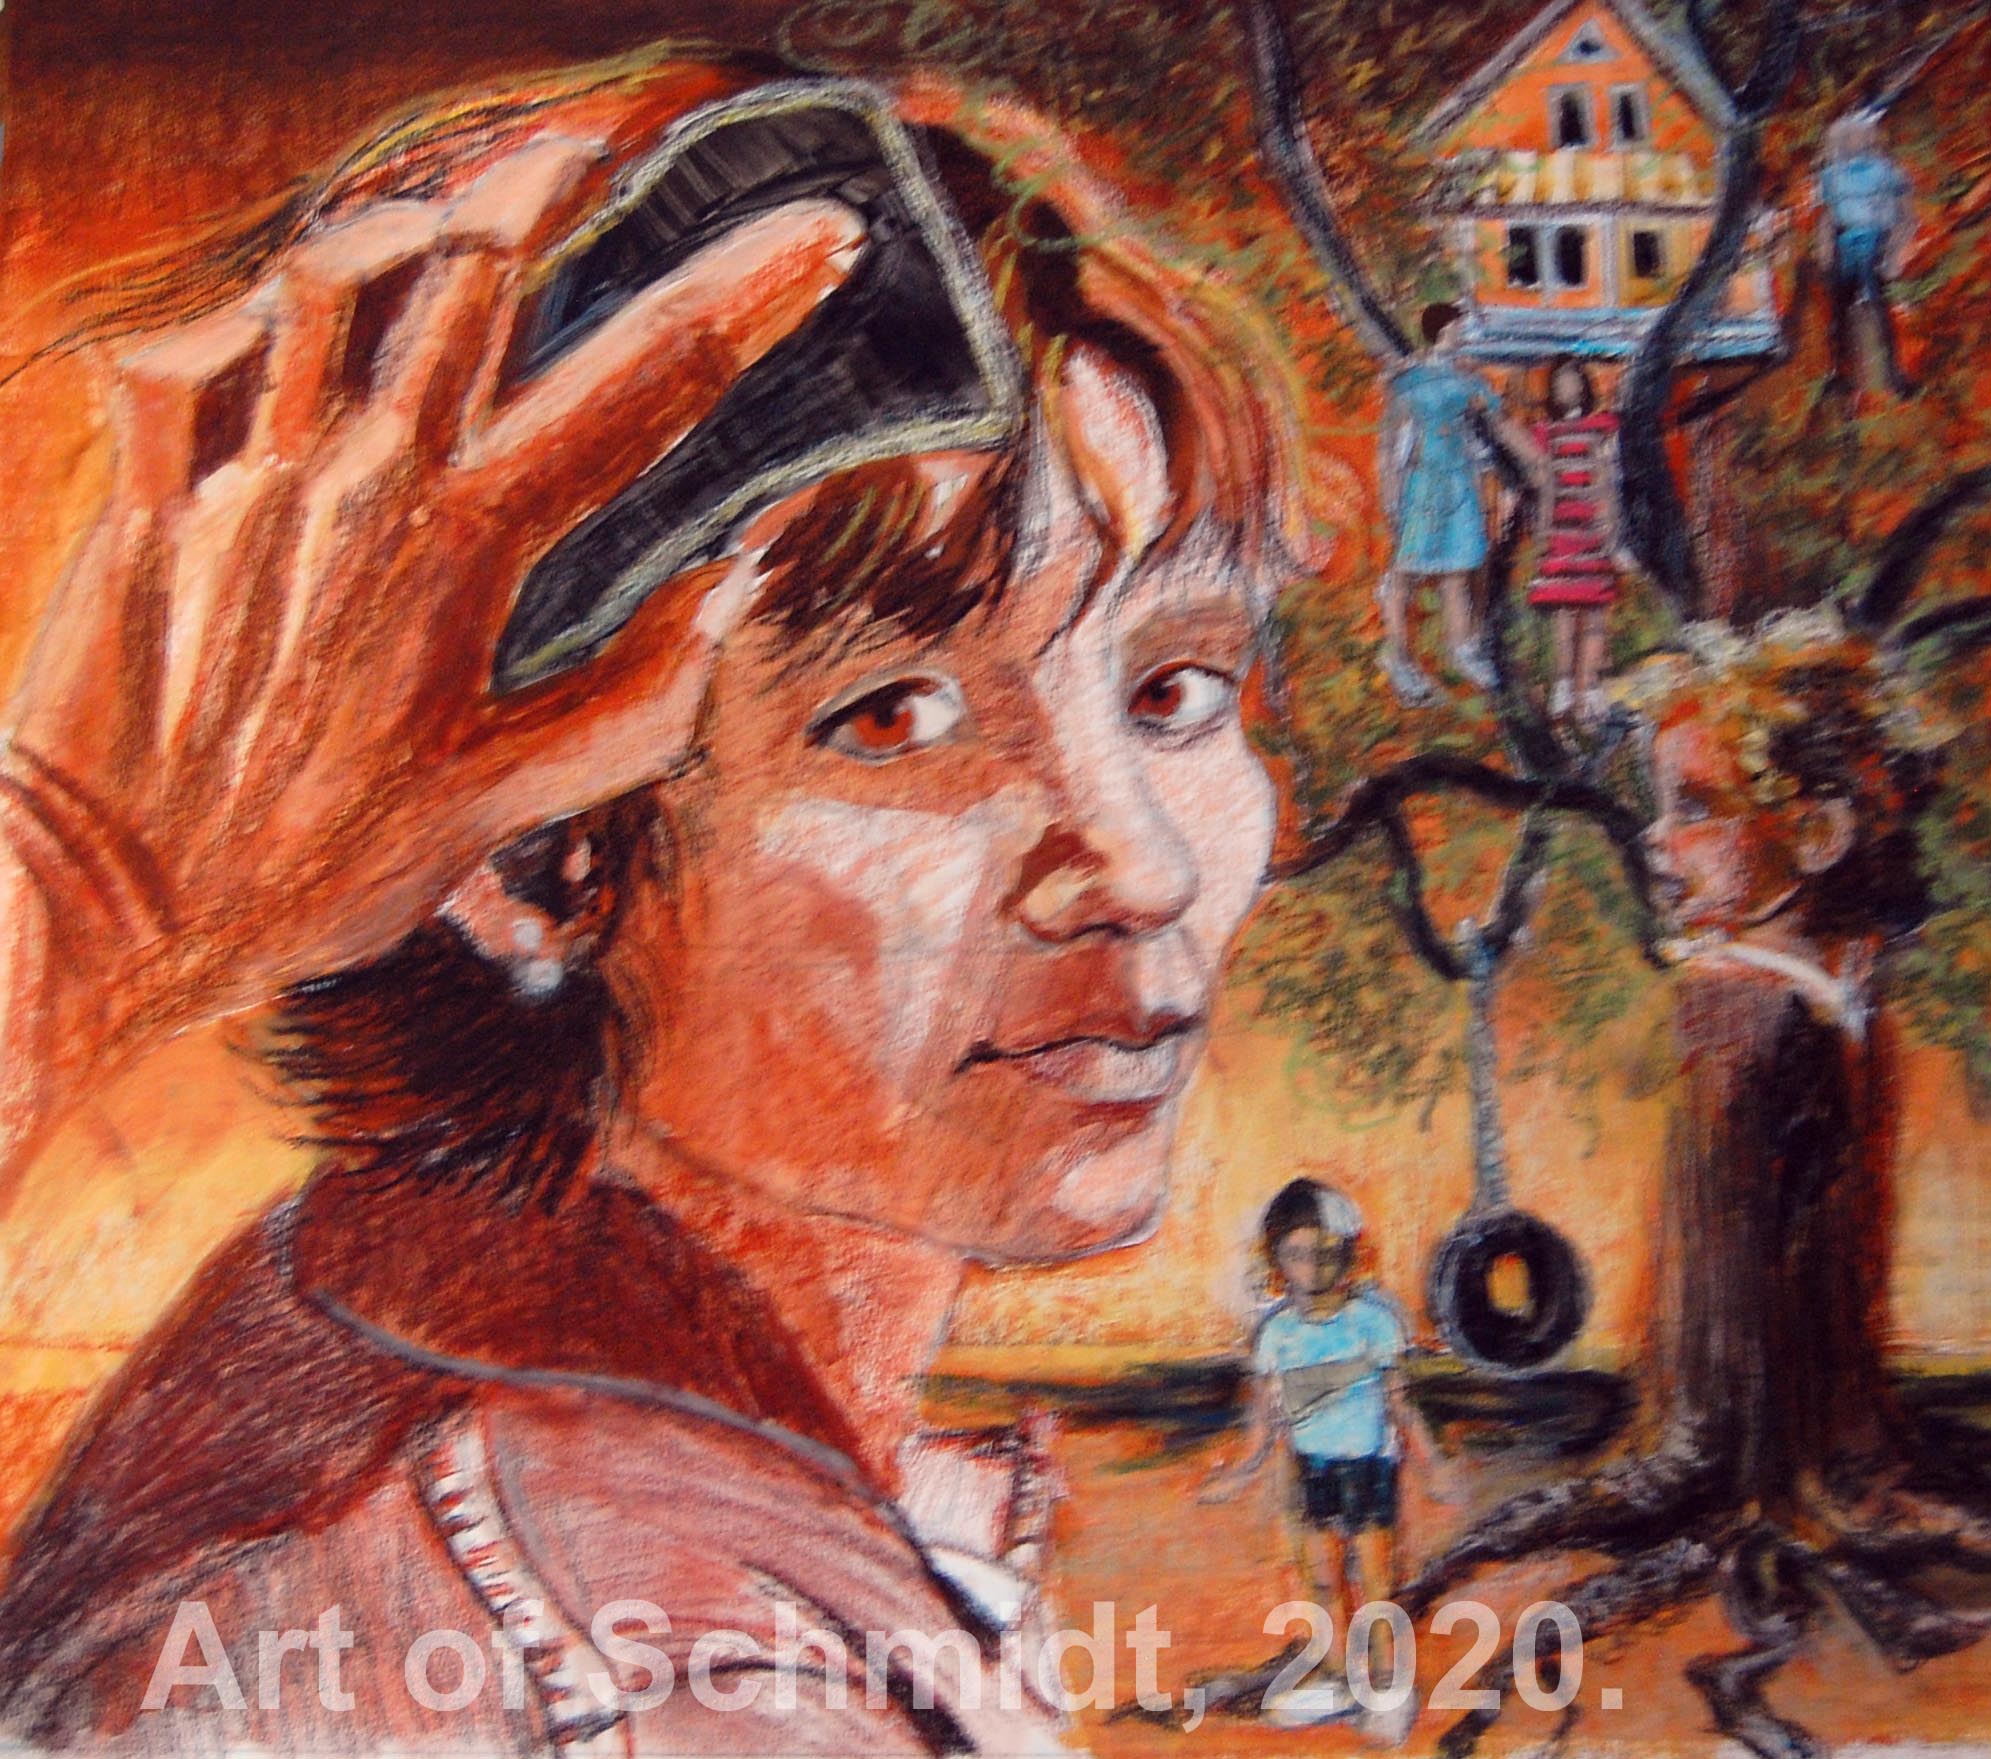
Another great way to improve your painting skills is to draw, yes draw. Regularly and in a sketchbook if you can, as much as you can so that you can practice things like composition, color, proportions, etc. It can also help you see patterns in your work, such as a favorite subject you return to, or a color palette. A sketchbook is also a great place to try out a variety of art media since it doesn’t feel as precious as a large painting can sometimes feel. This week I am featuring photos from my old sketchbook to show just how diverse you can be in art media. I include mixed-media collages and colored pencil drawings. The sky really is the limit with sketchbooks!


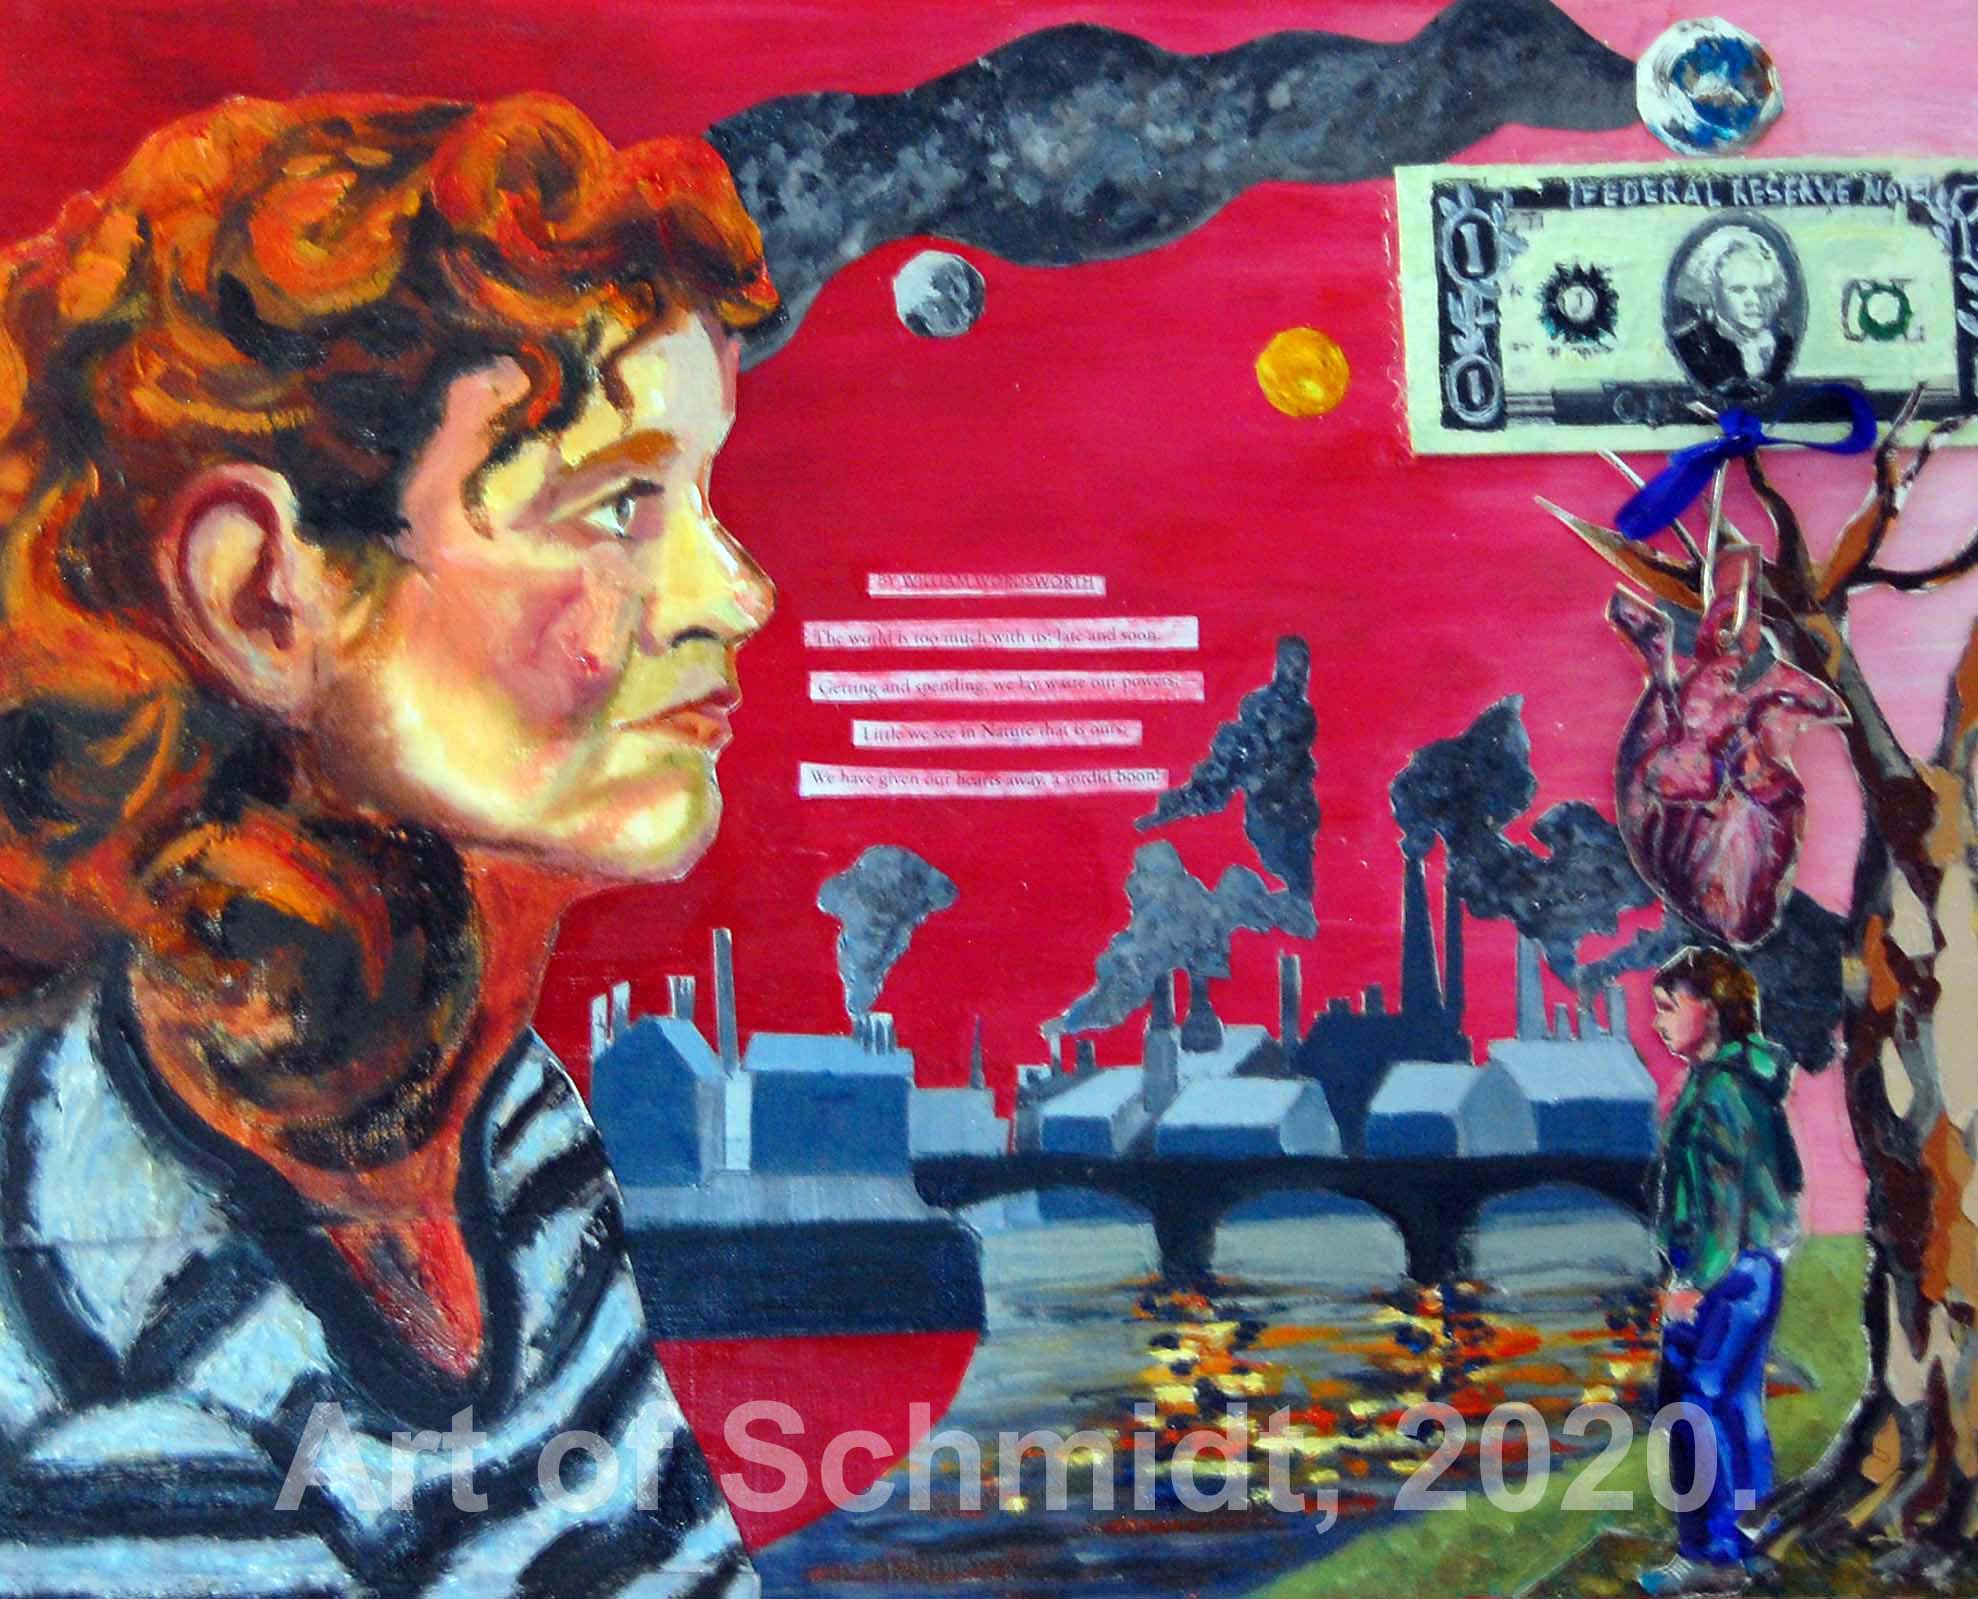
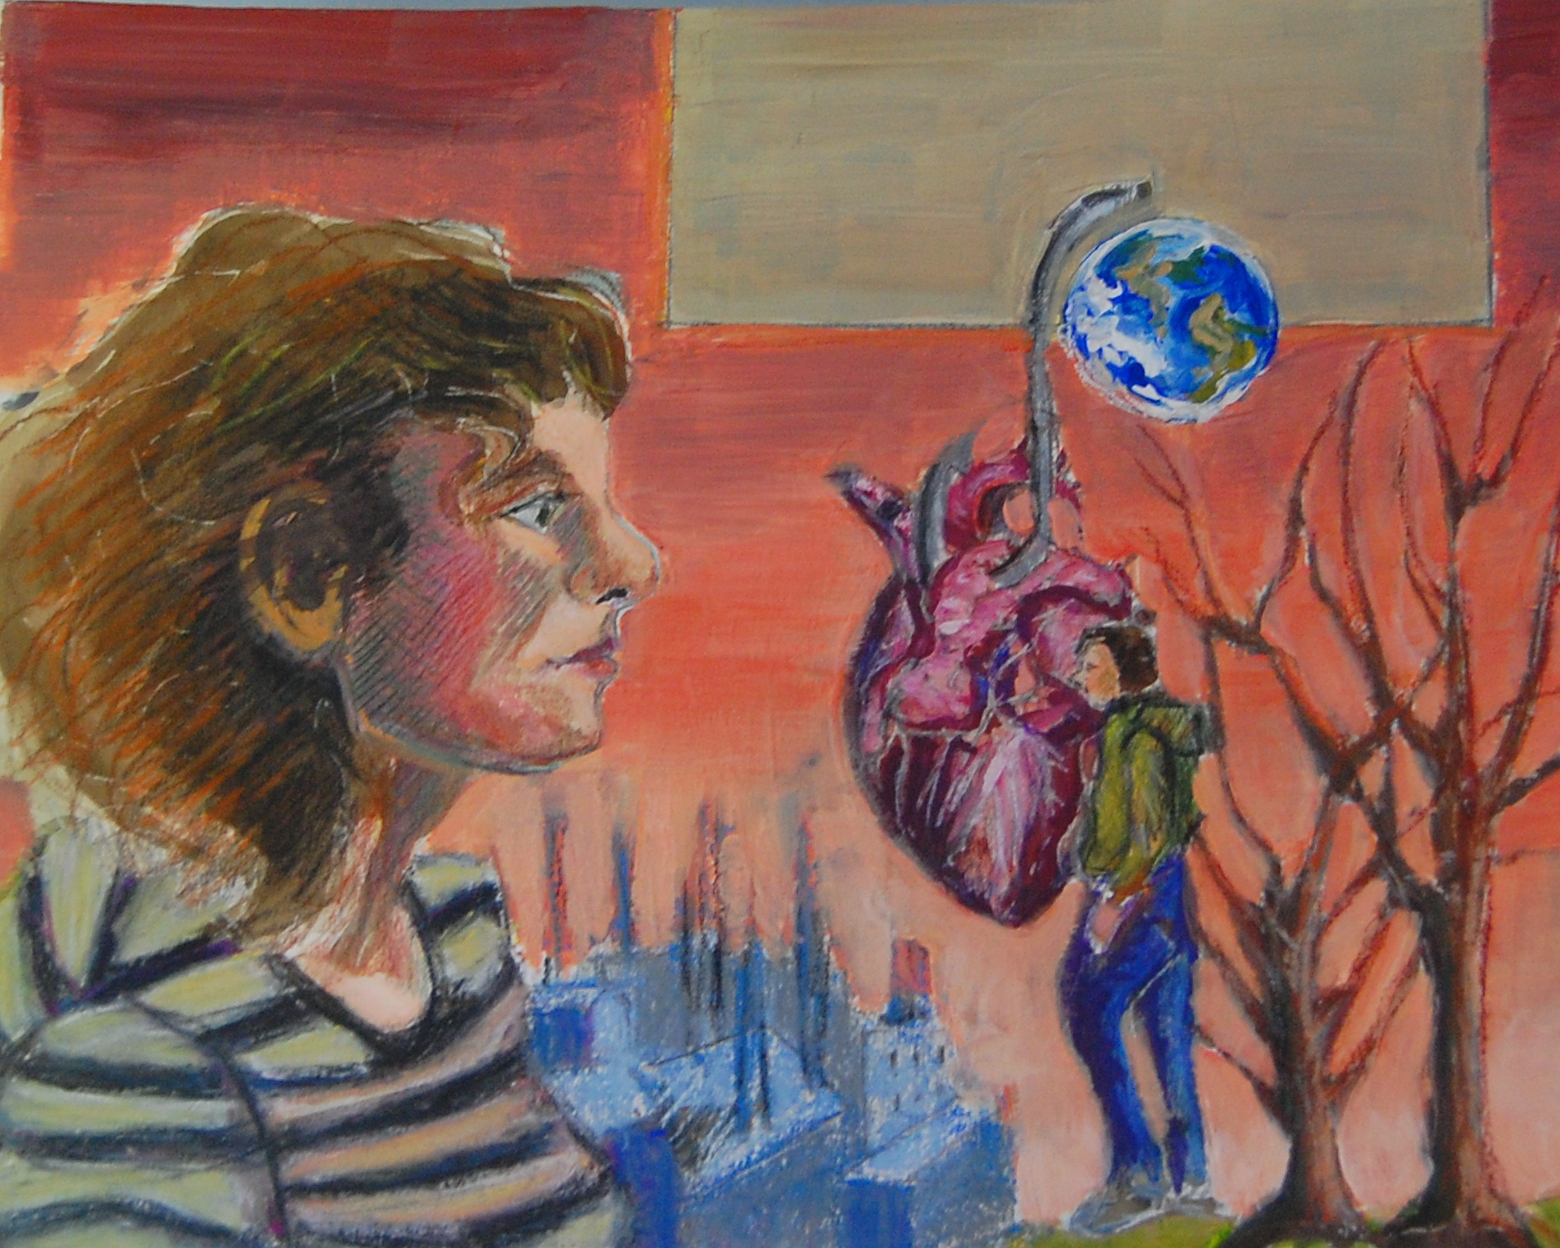

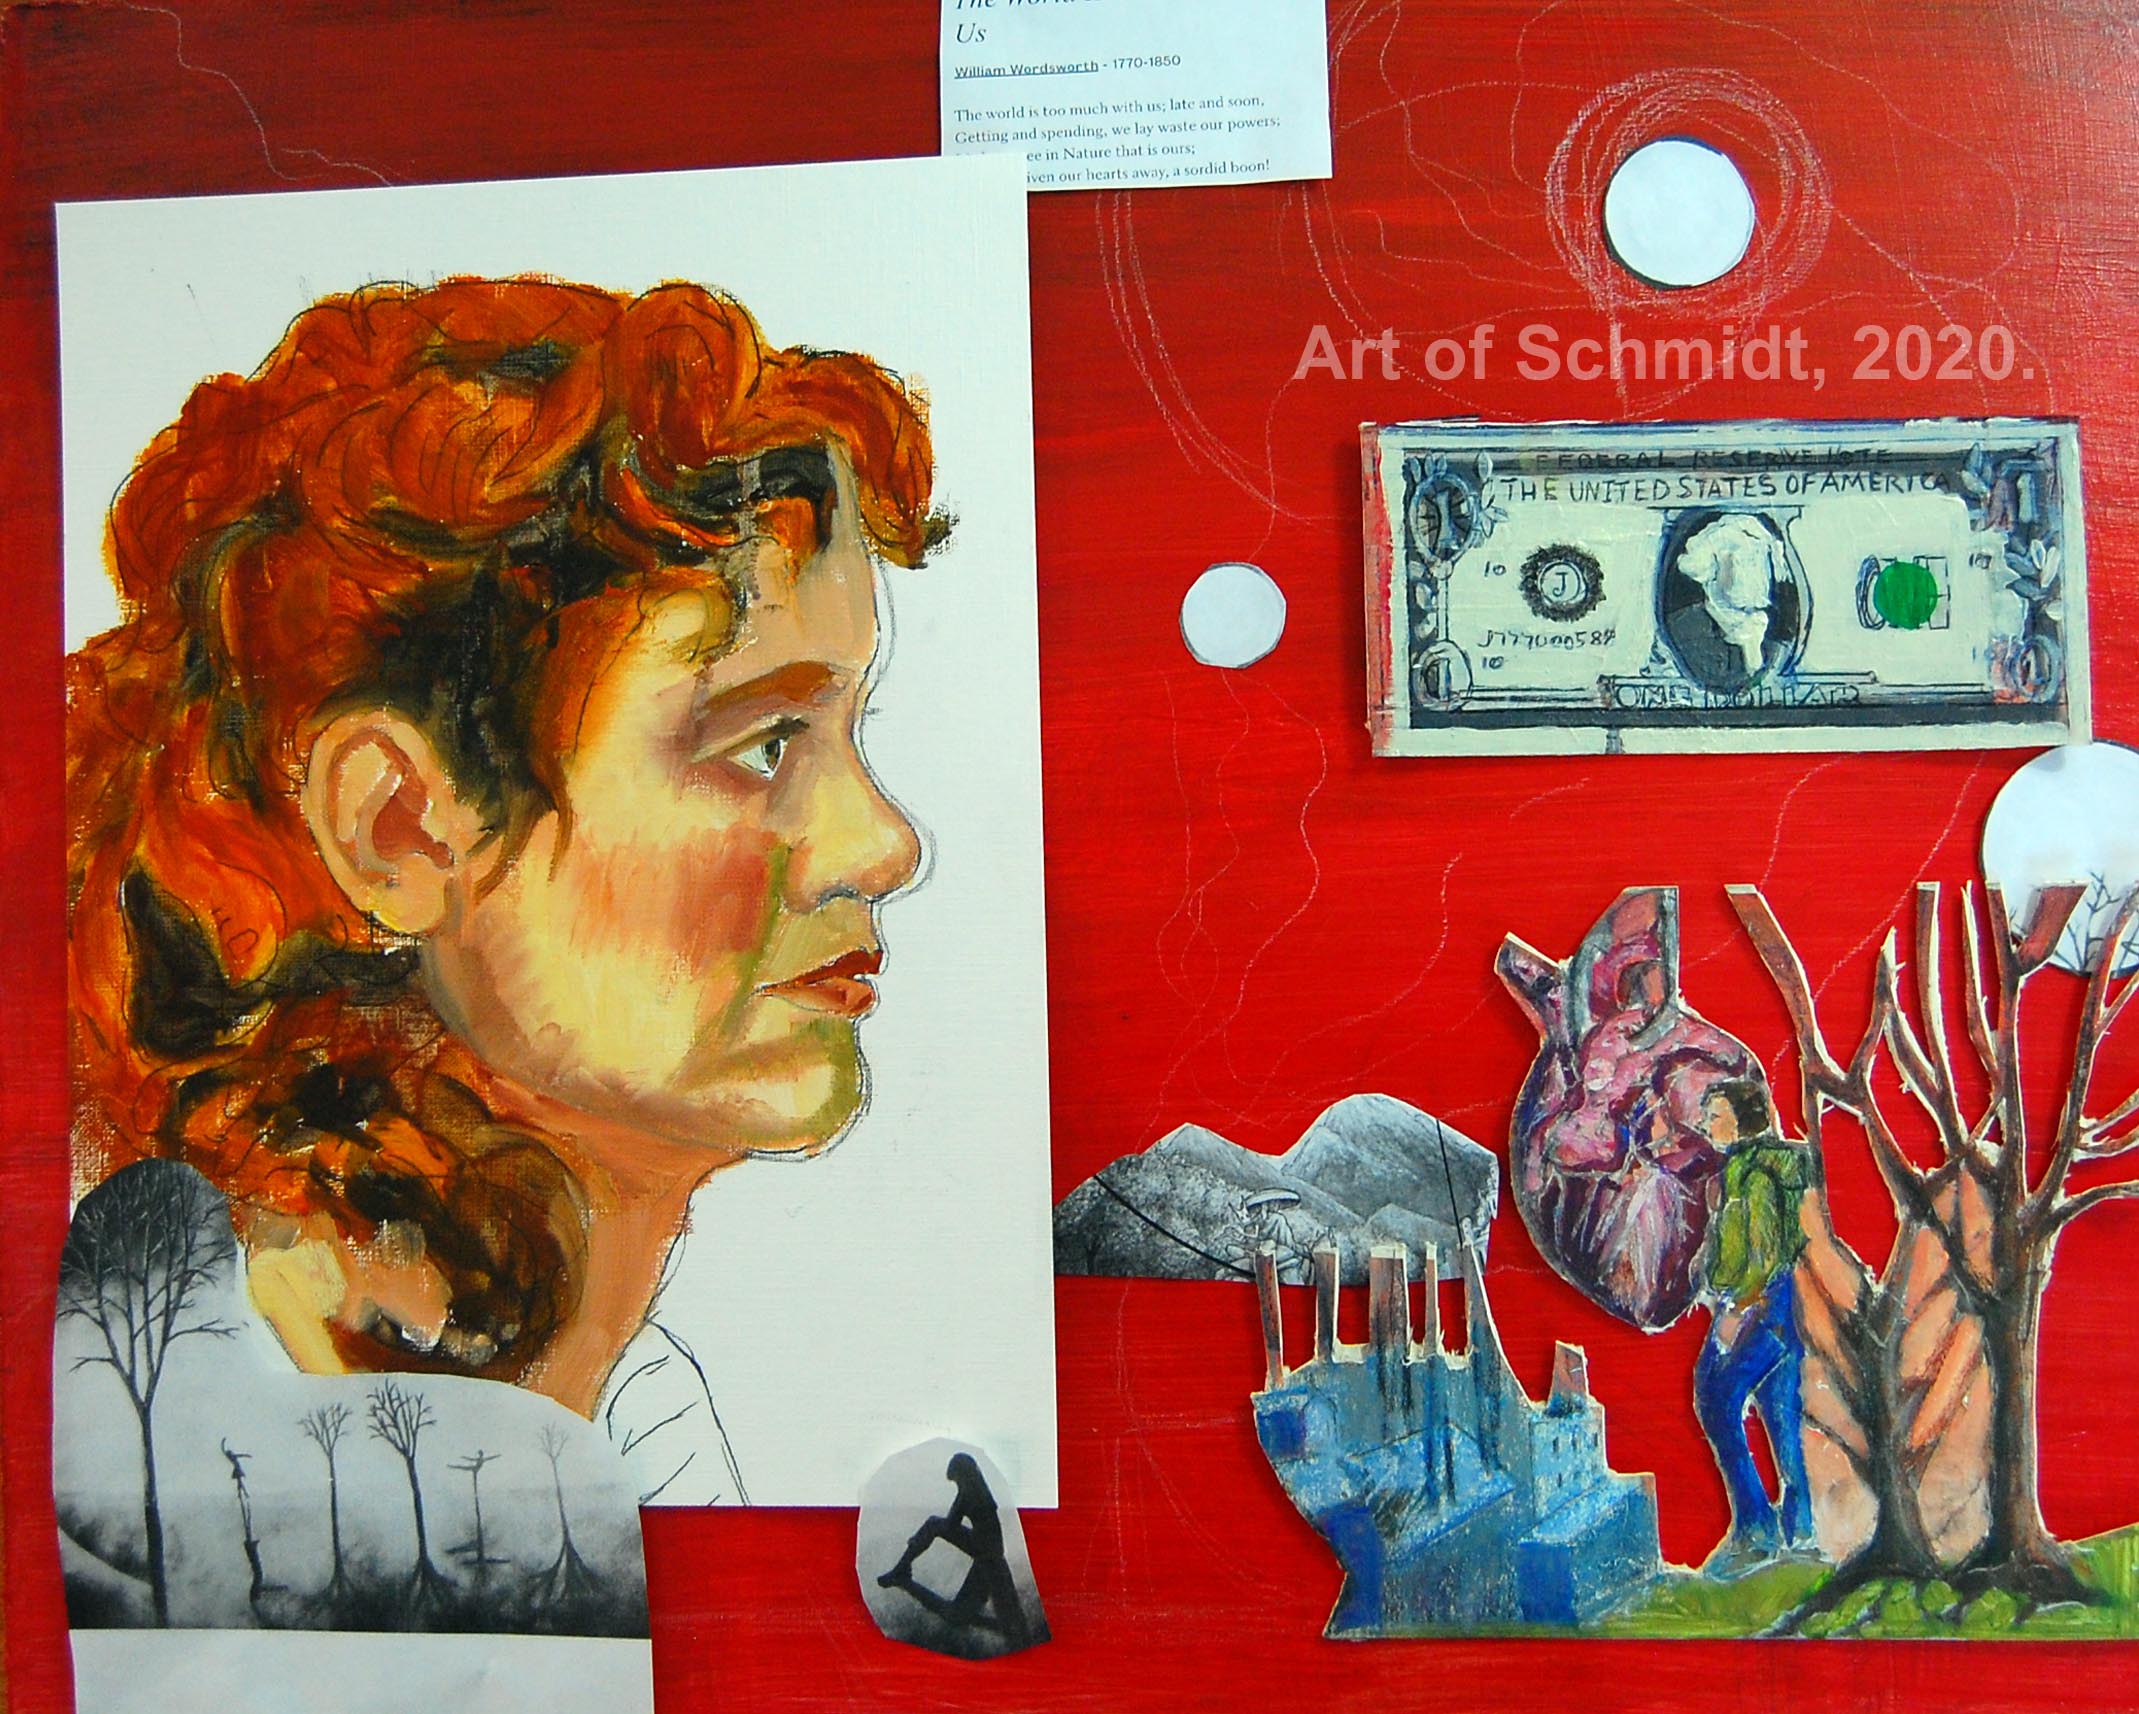 by William Wordsworth. Although this poem was written in the 19th century, the theme of capitalism and greed is still relevant today. I think that’s what makes great art and poetry, something is written or painted in the past, which still resonates today! If you are working on an artwork or other creative project and feel stuck, I hope this post will help give you encouragement to carry on, or just start over again.